

Popular Types of Wooden Figurines
Wood can be as flexible as clay when it comes to carving. Many of you have seen stunning wood sculptures that feel alive. You can build an entire collection of wooden figures, whether you prefer clean, geometric lines or carefully shaped details. Flat or three-dimensional, they make excellent hand carved gifts or strong portfolio pieces.
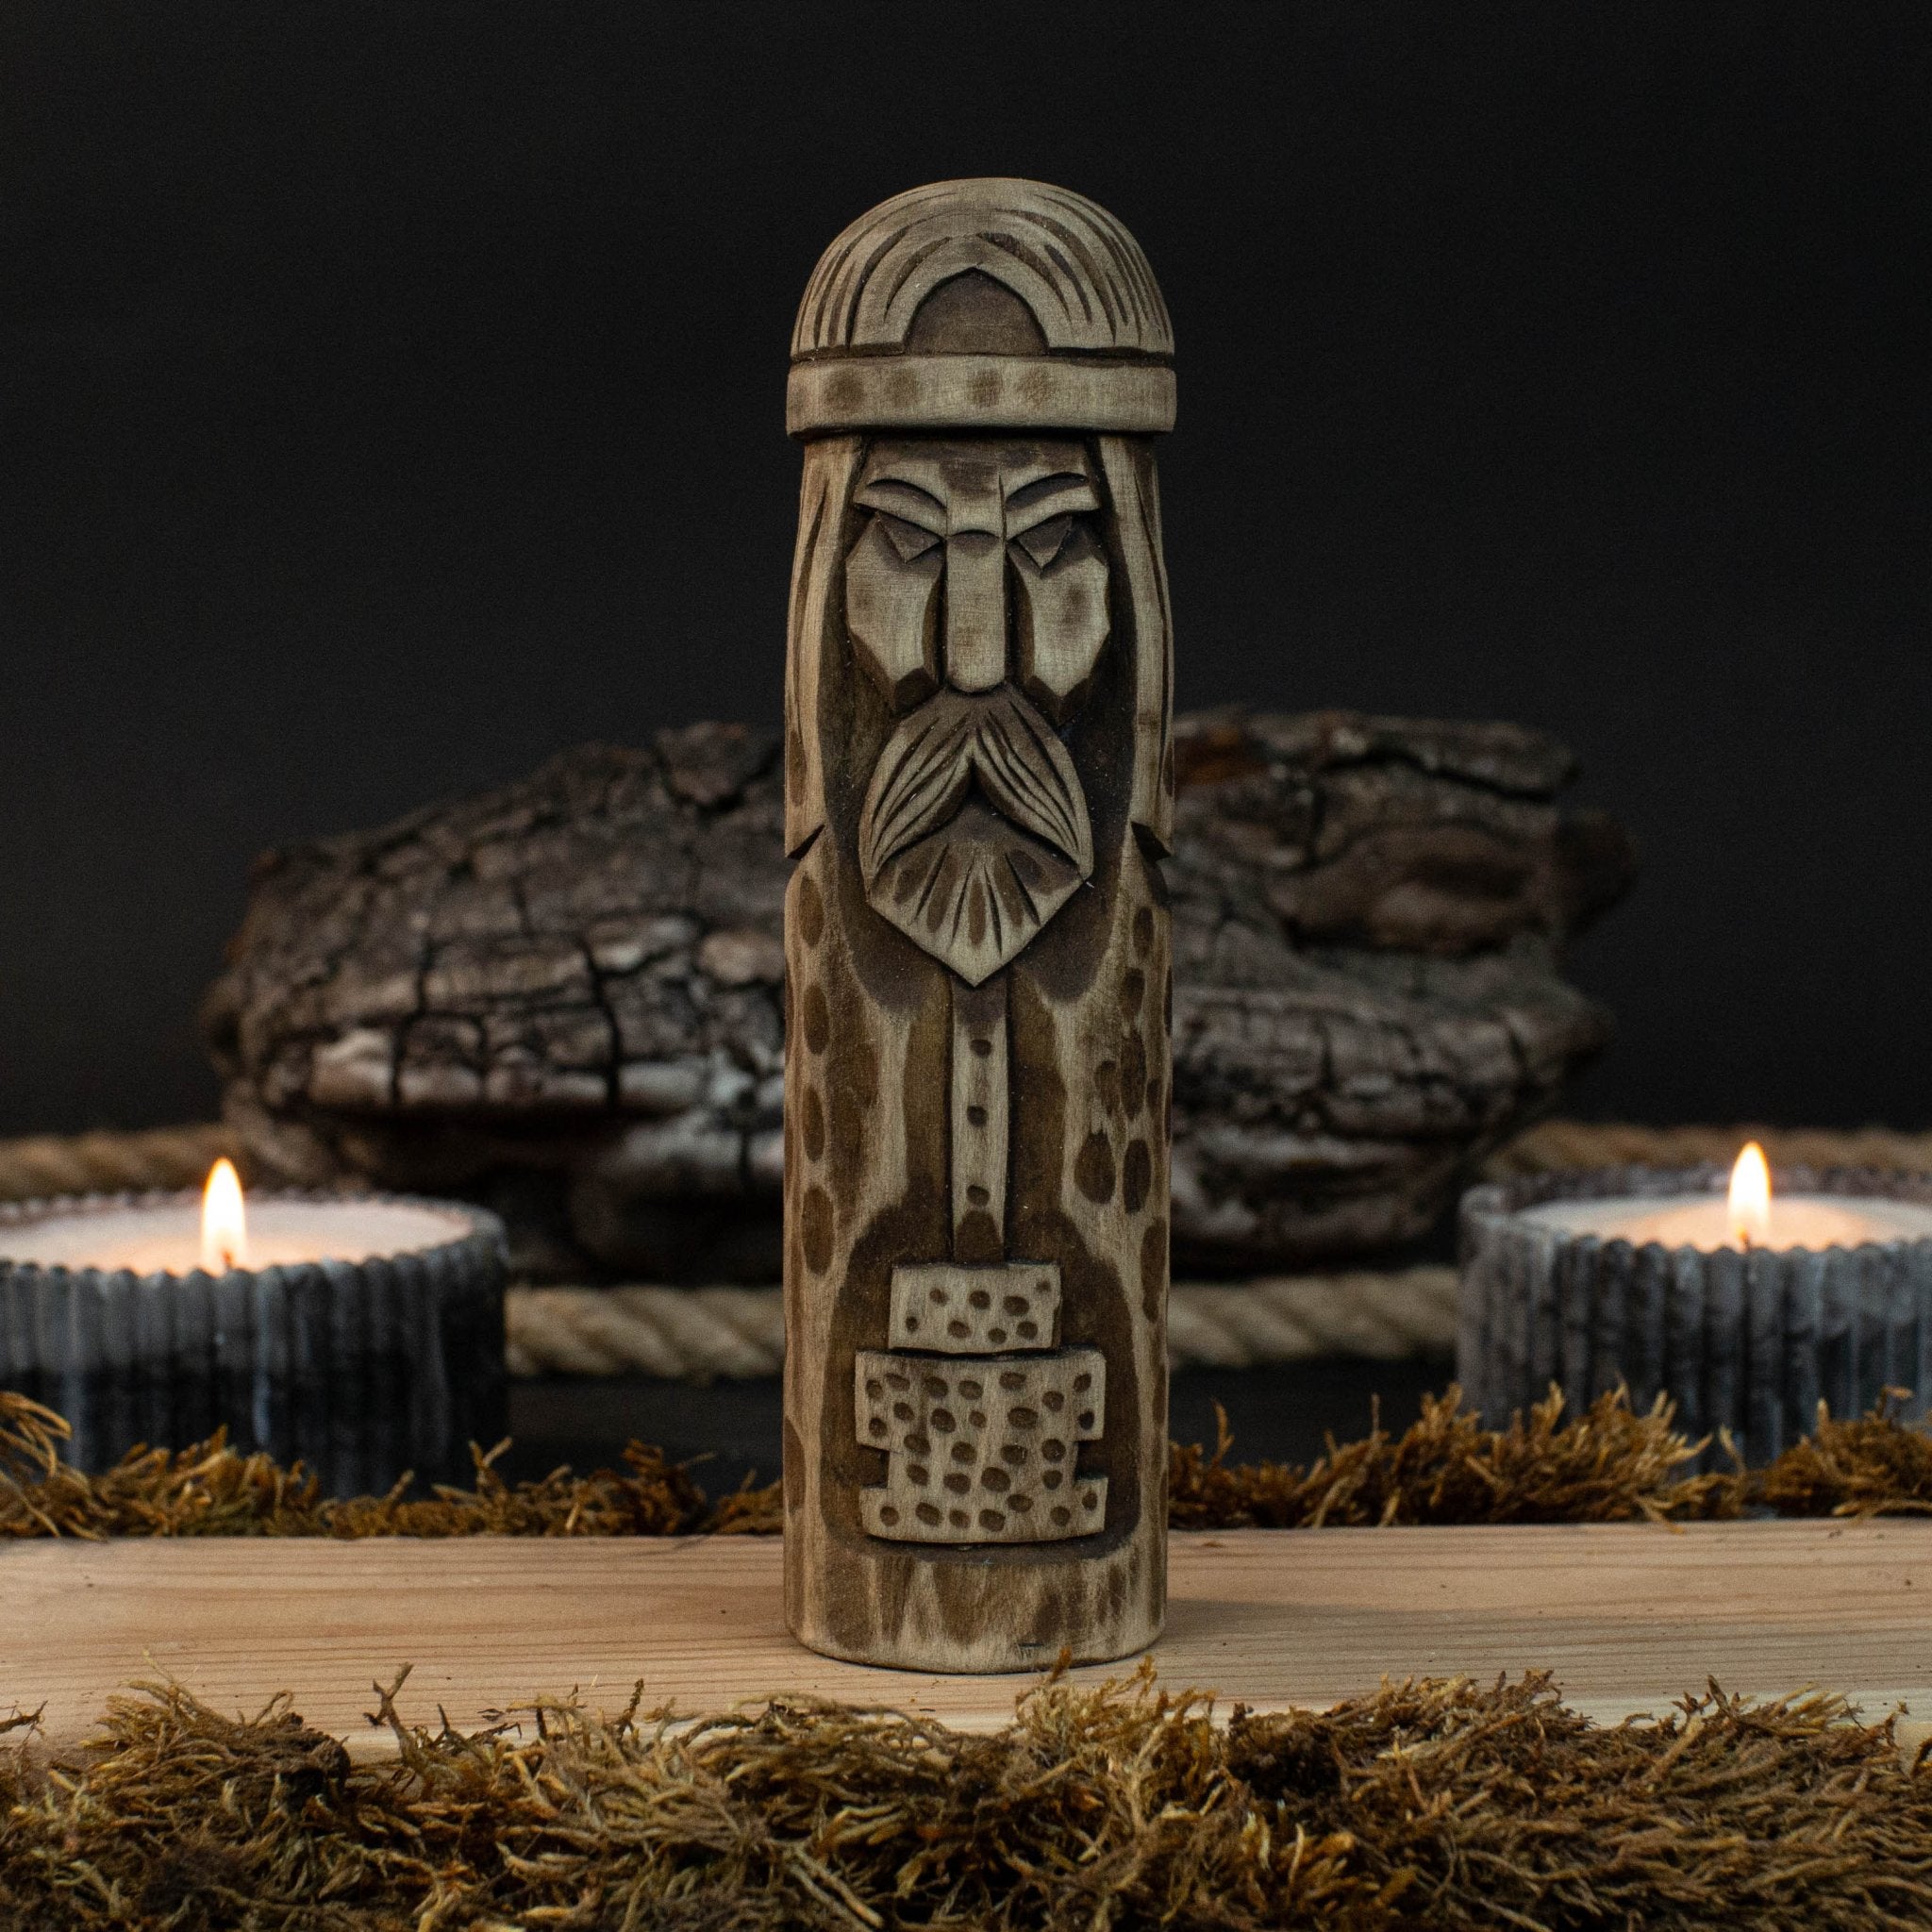
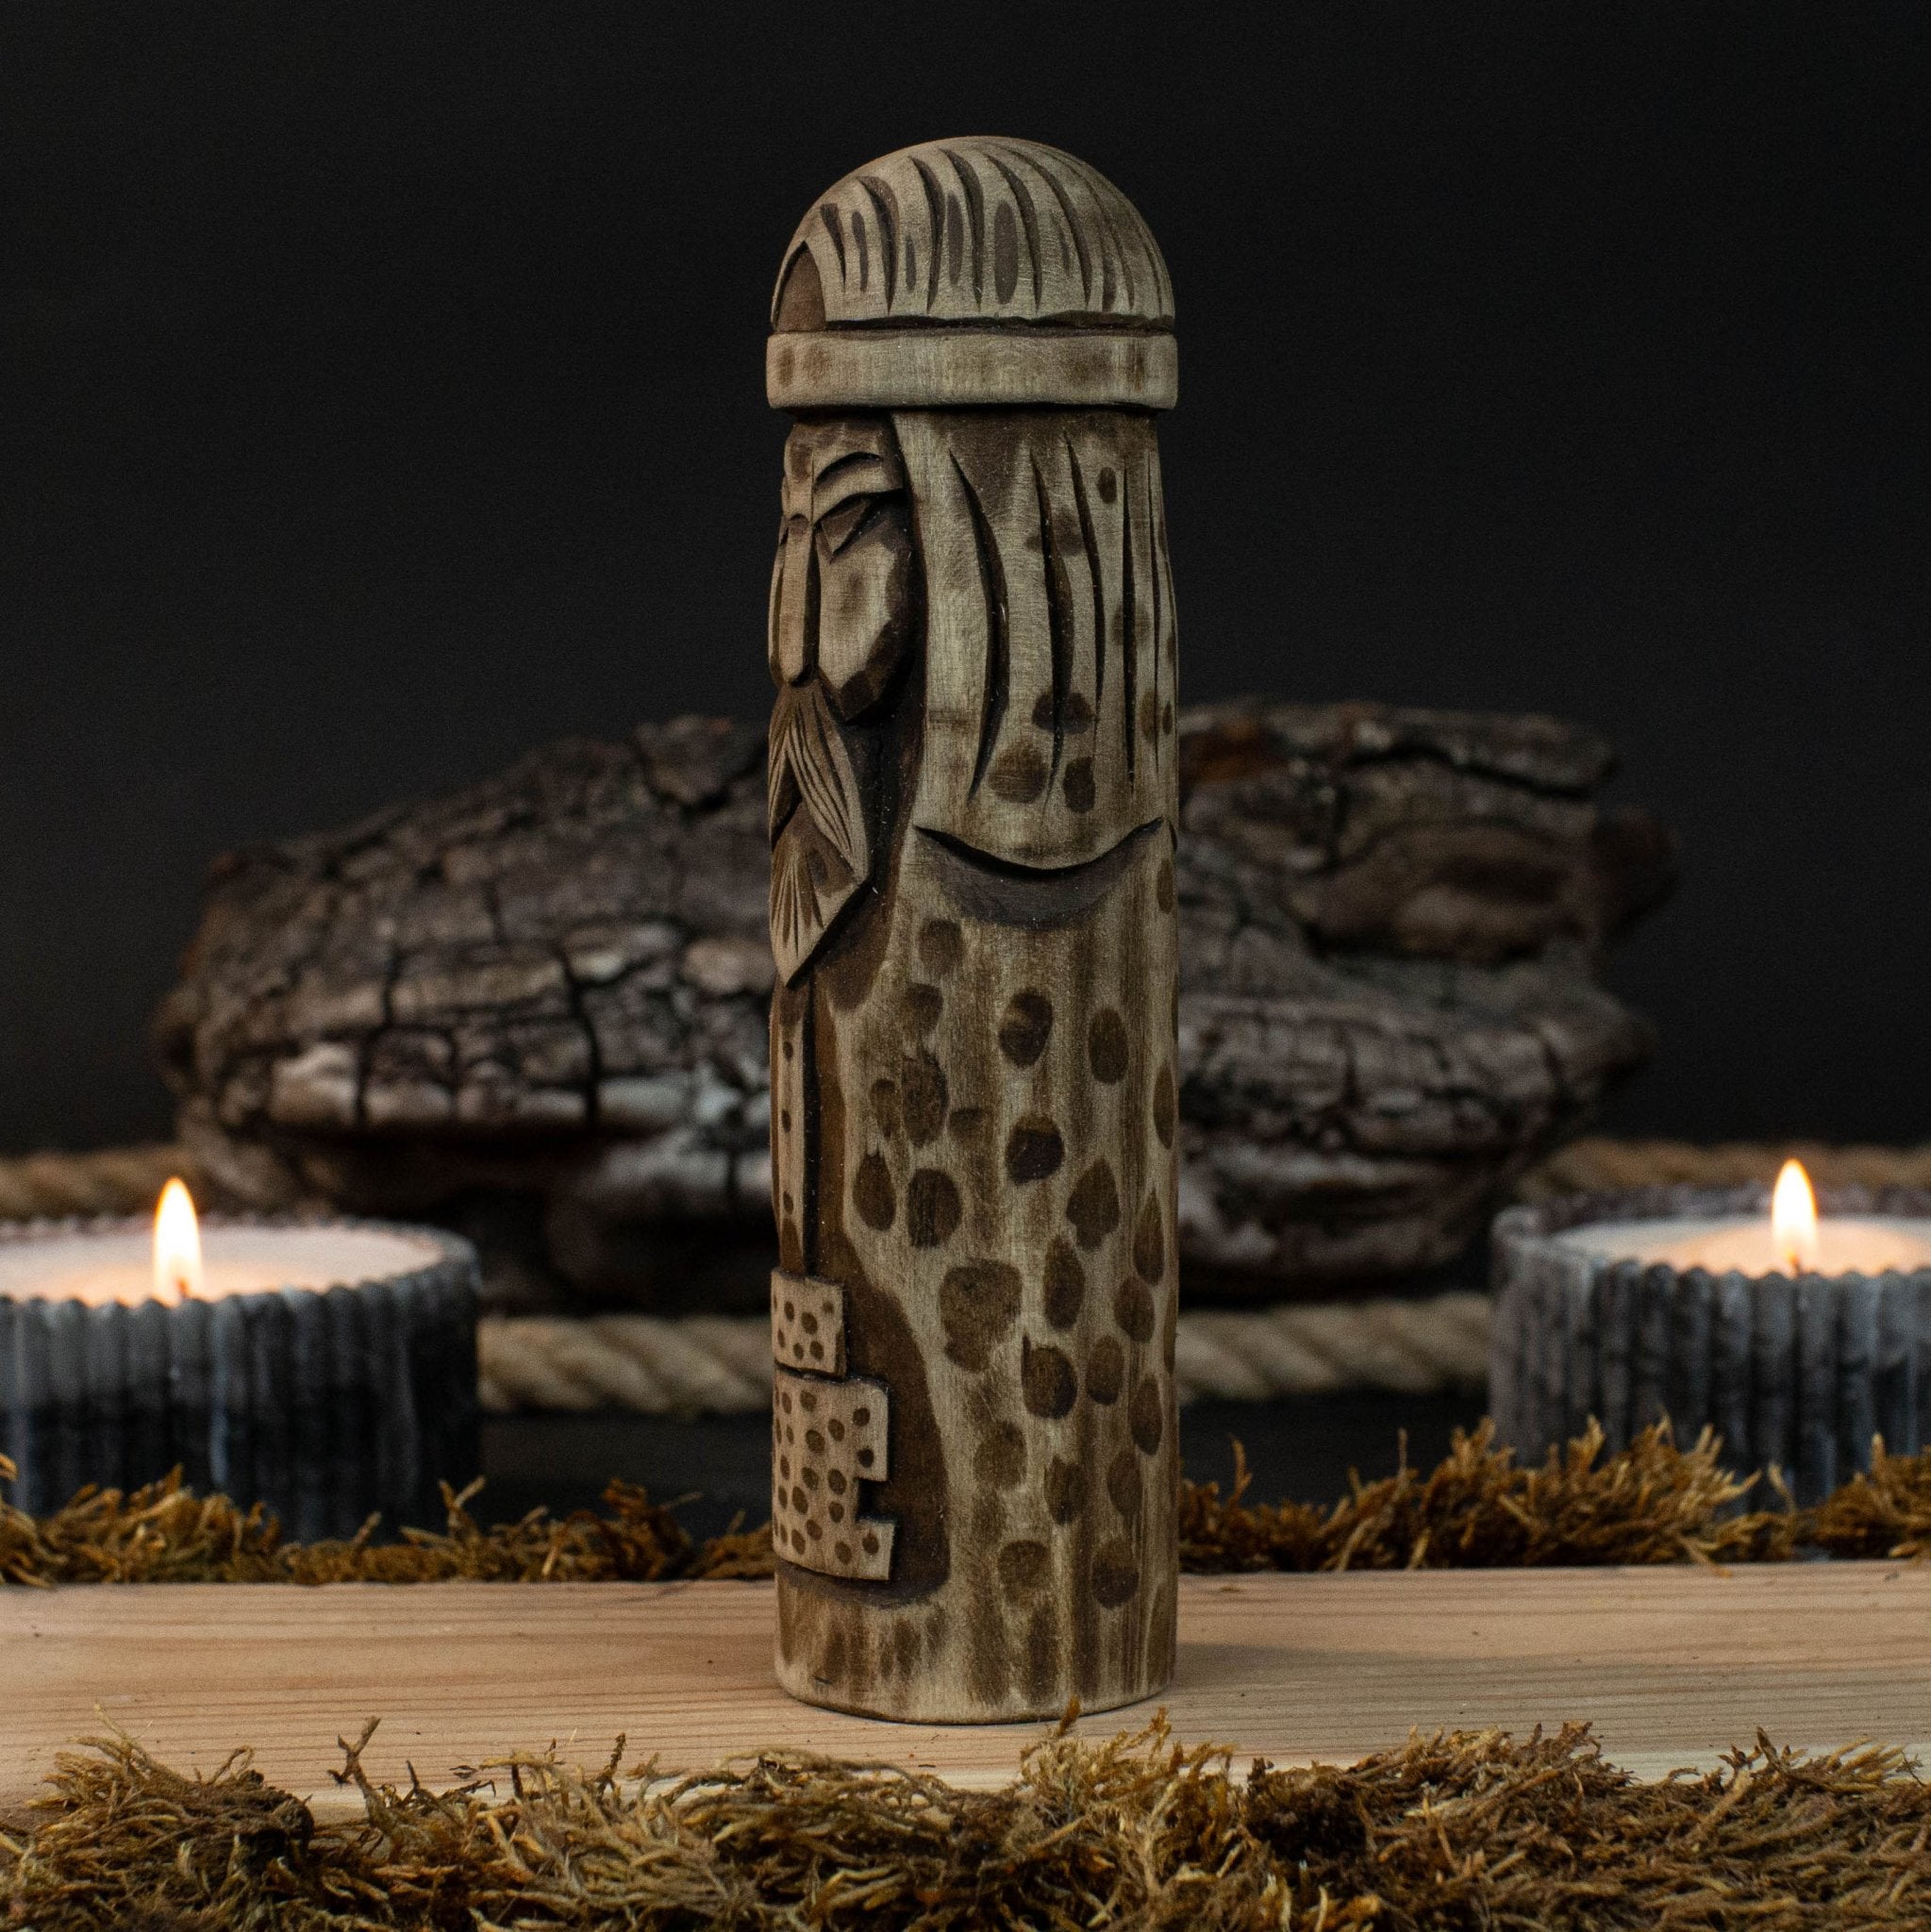
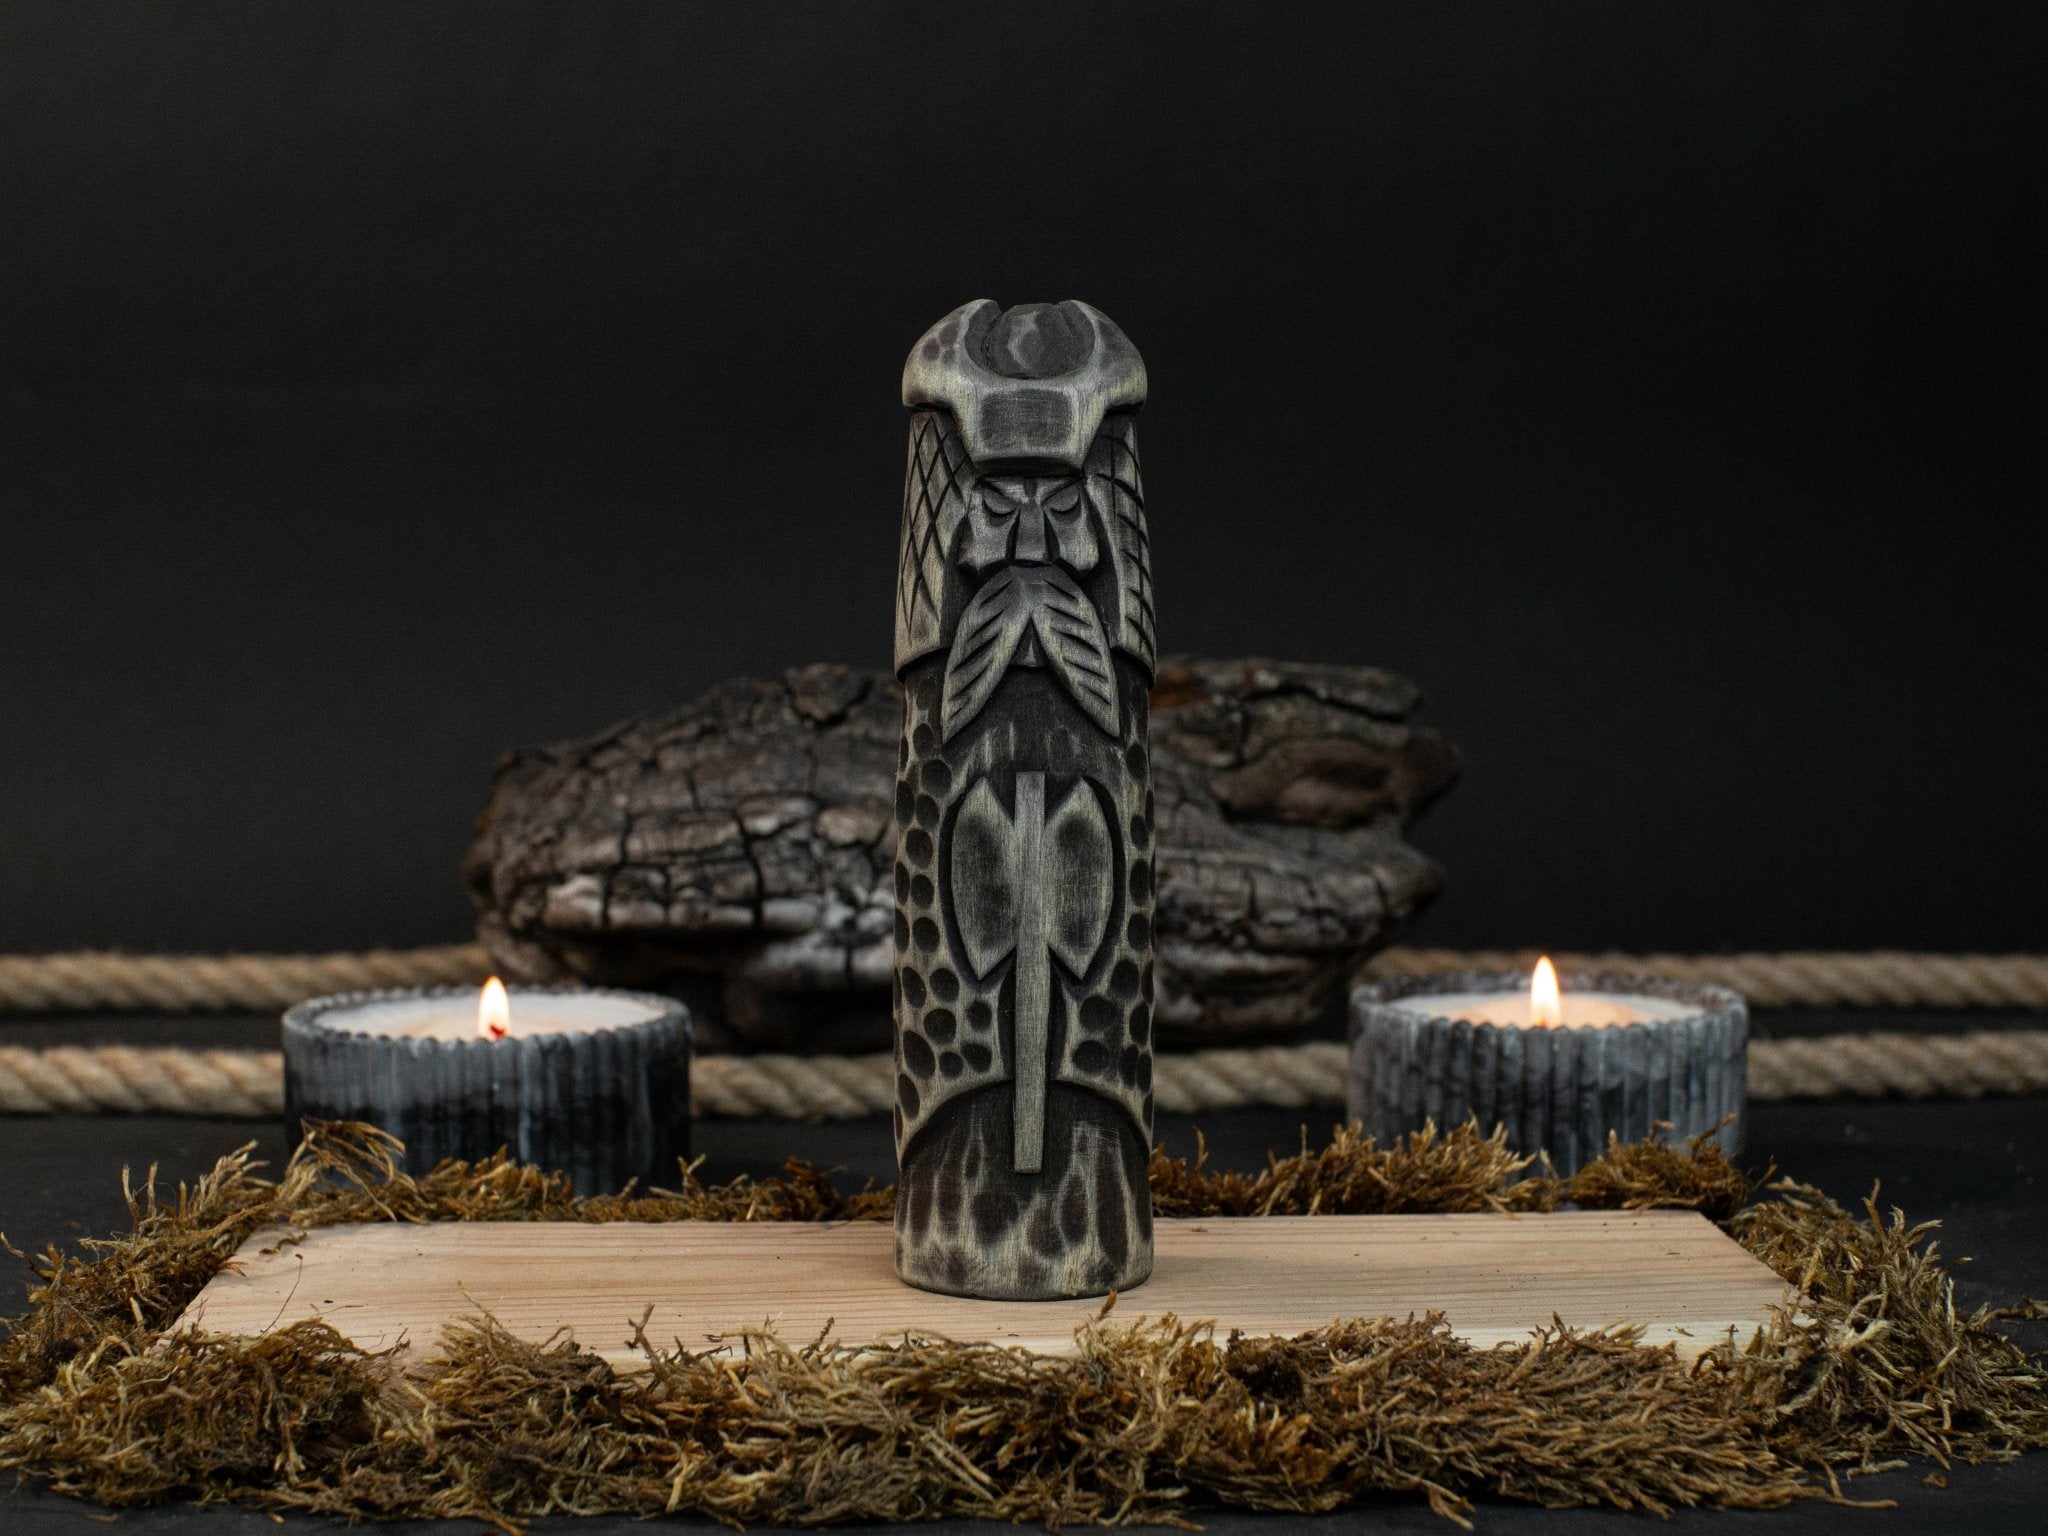
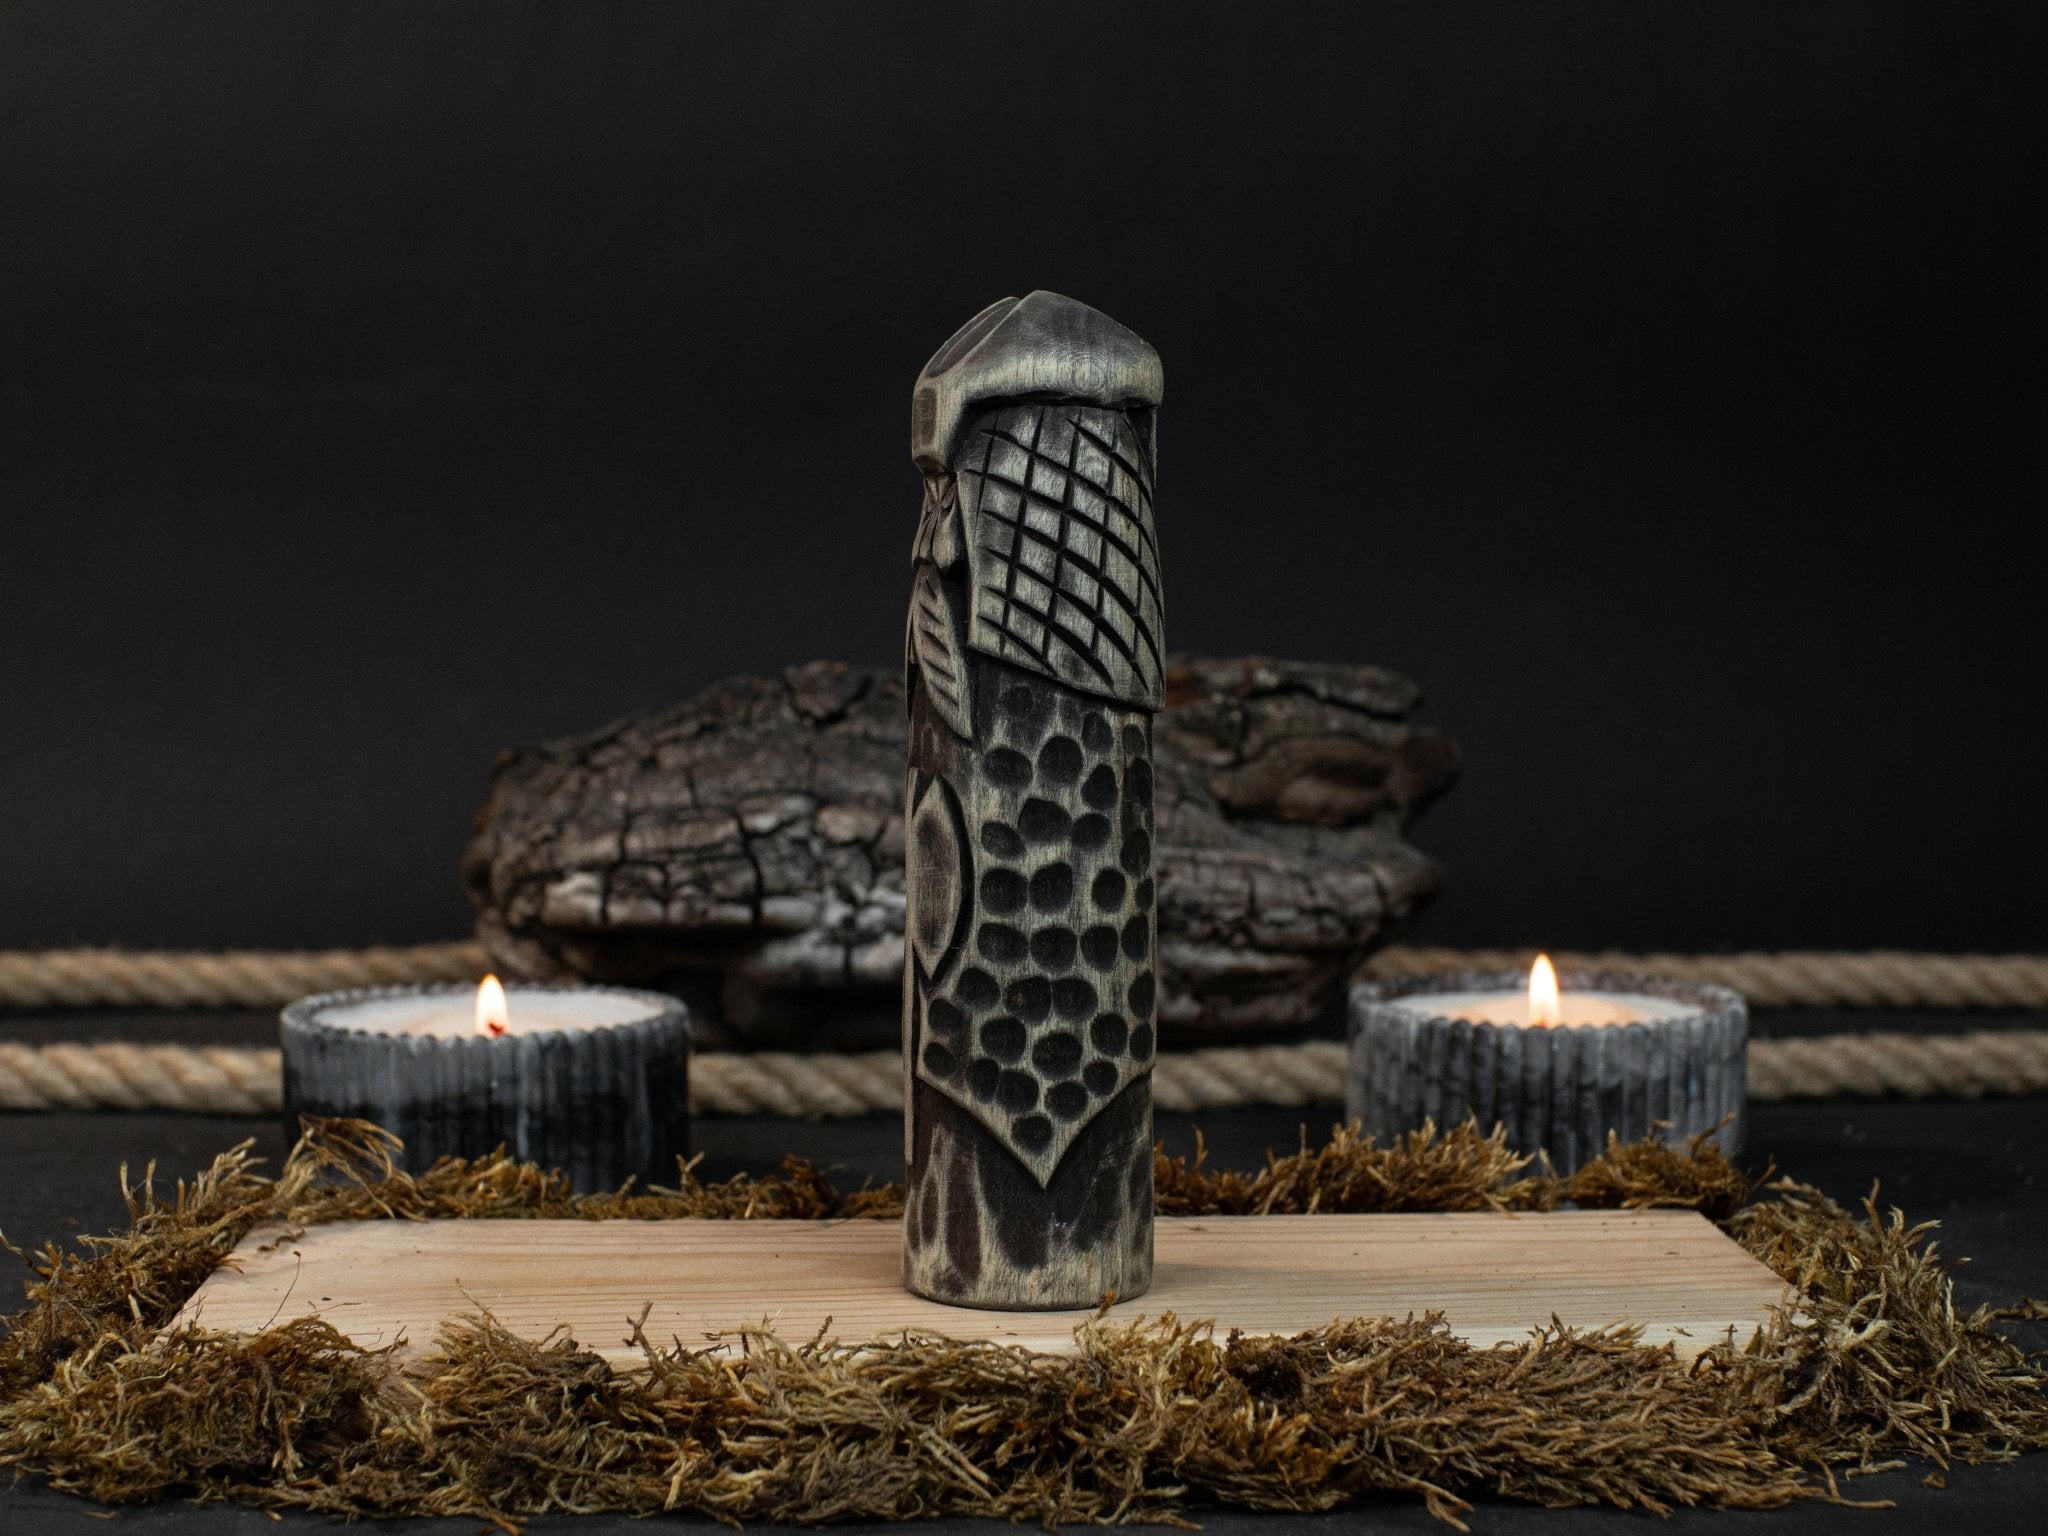
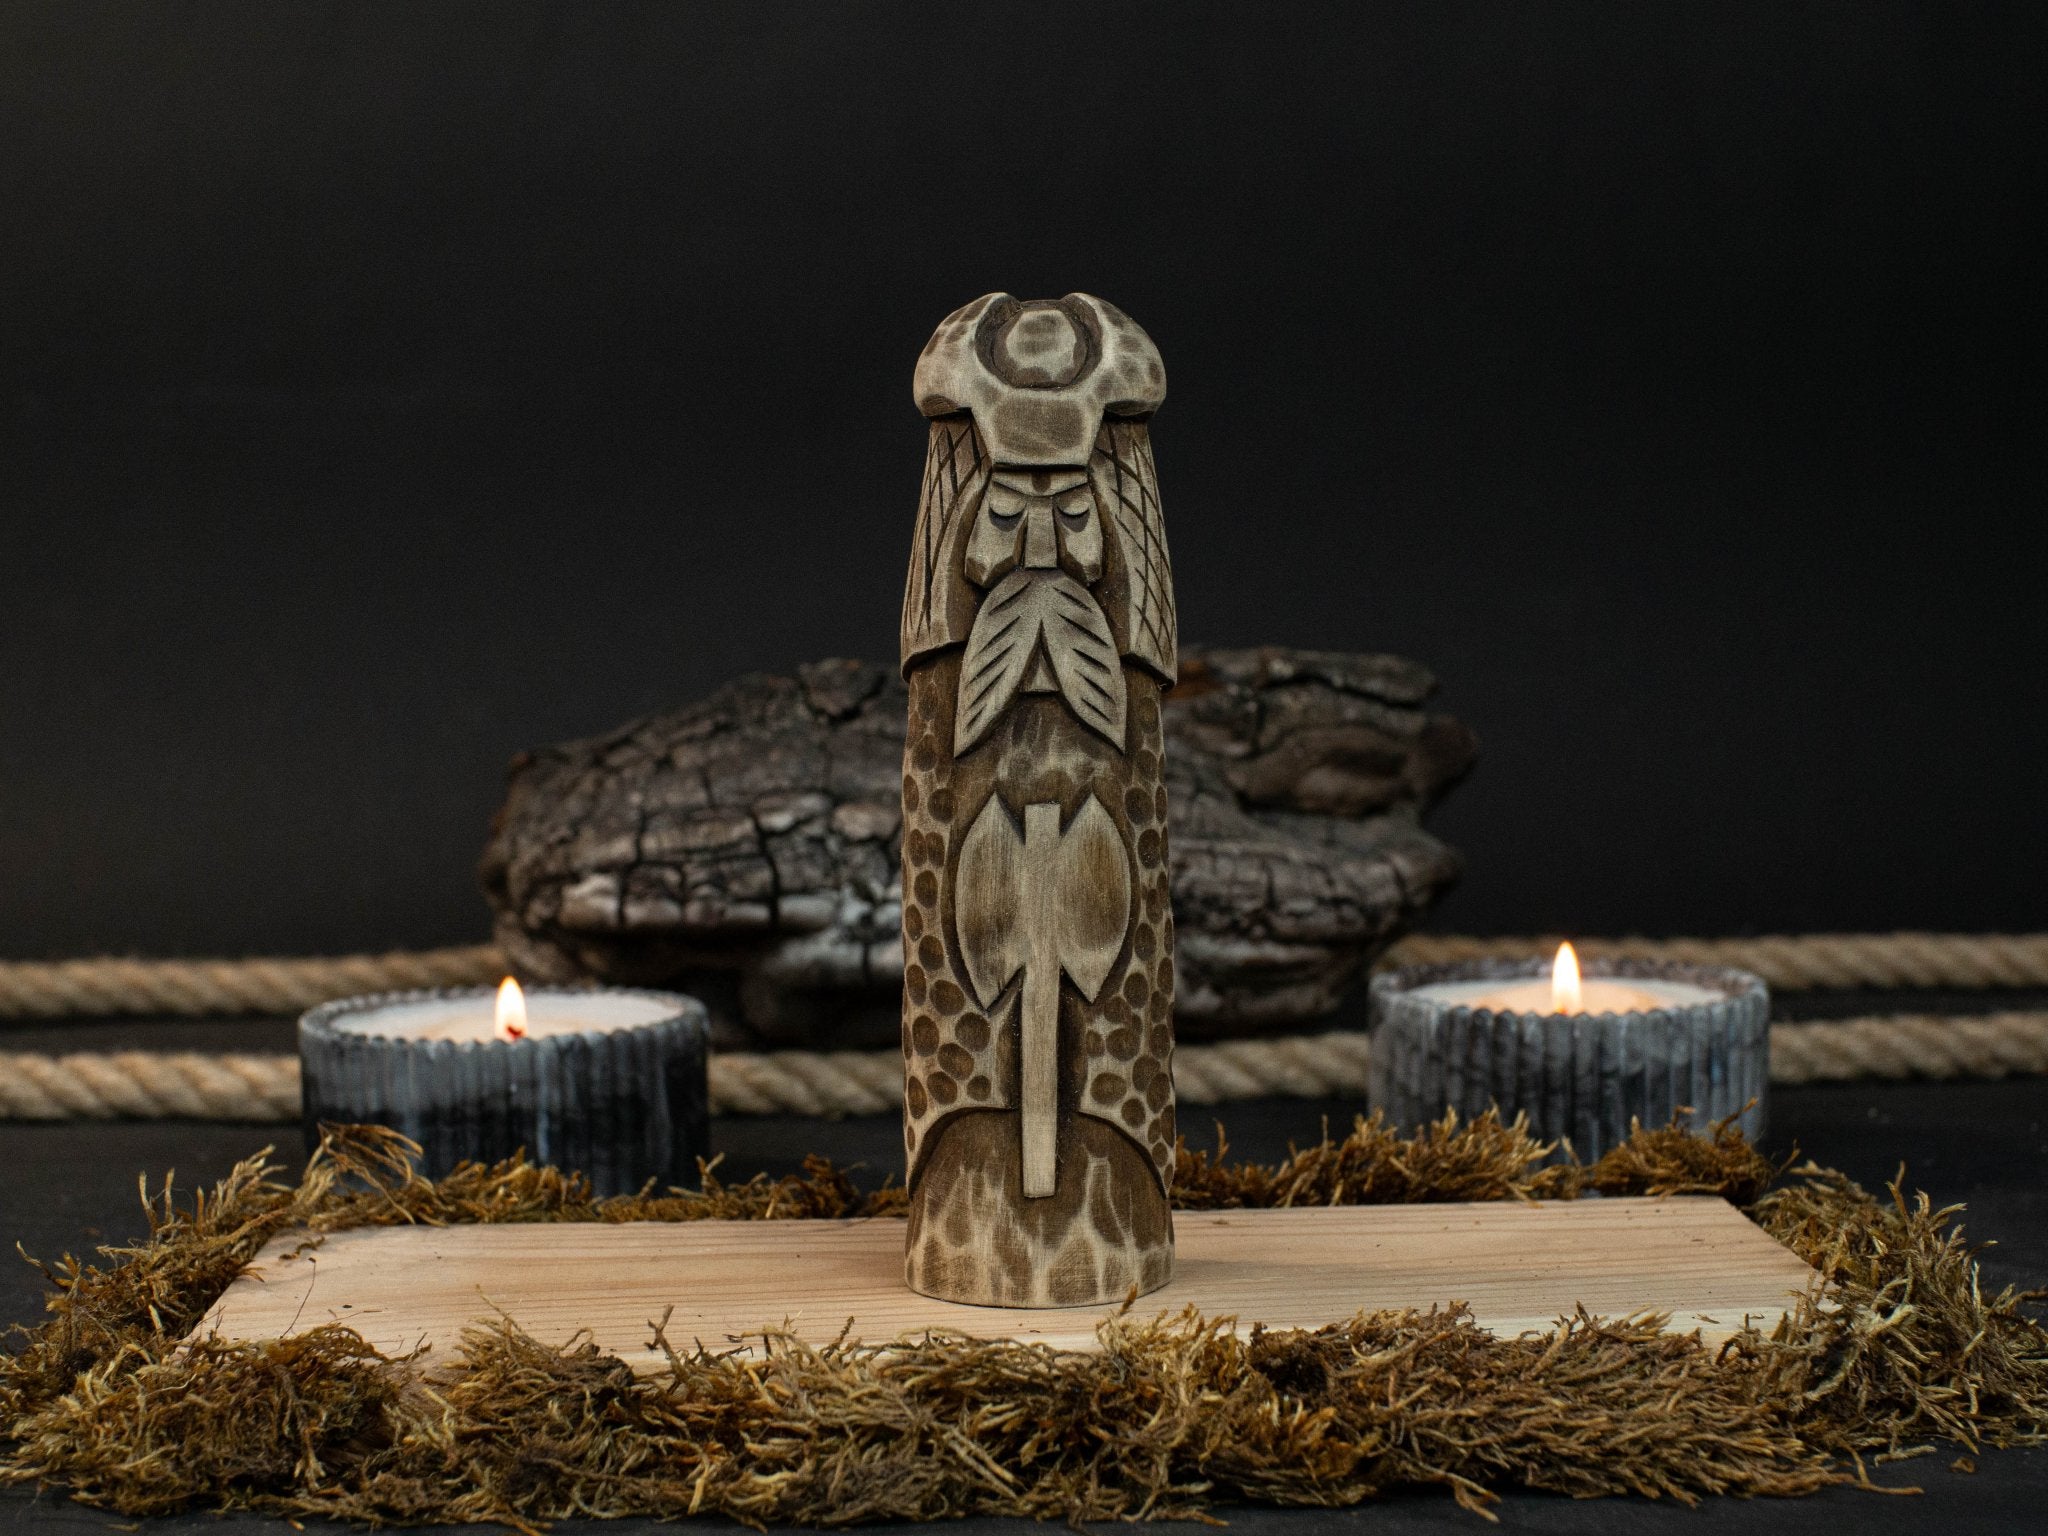
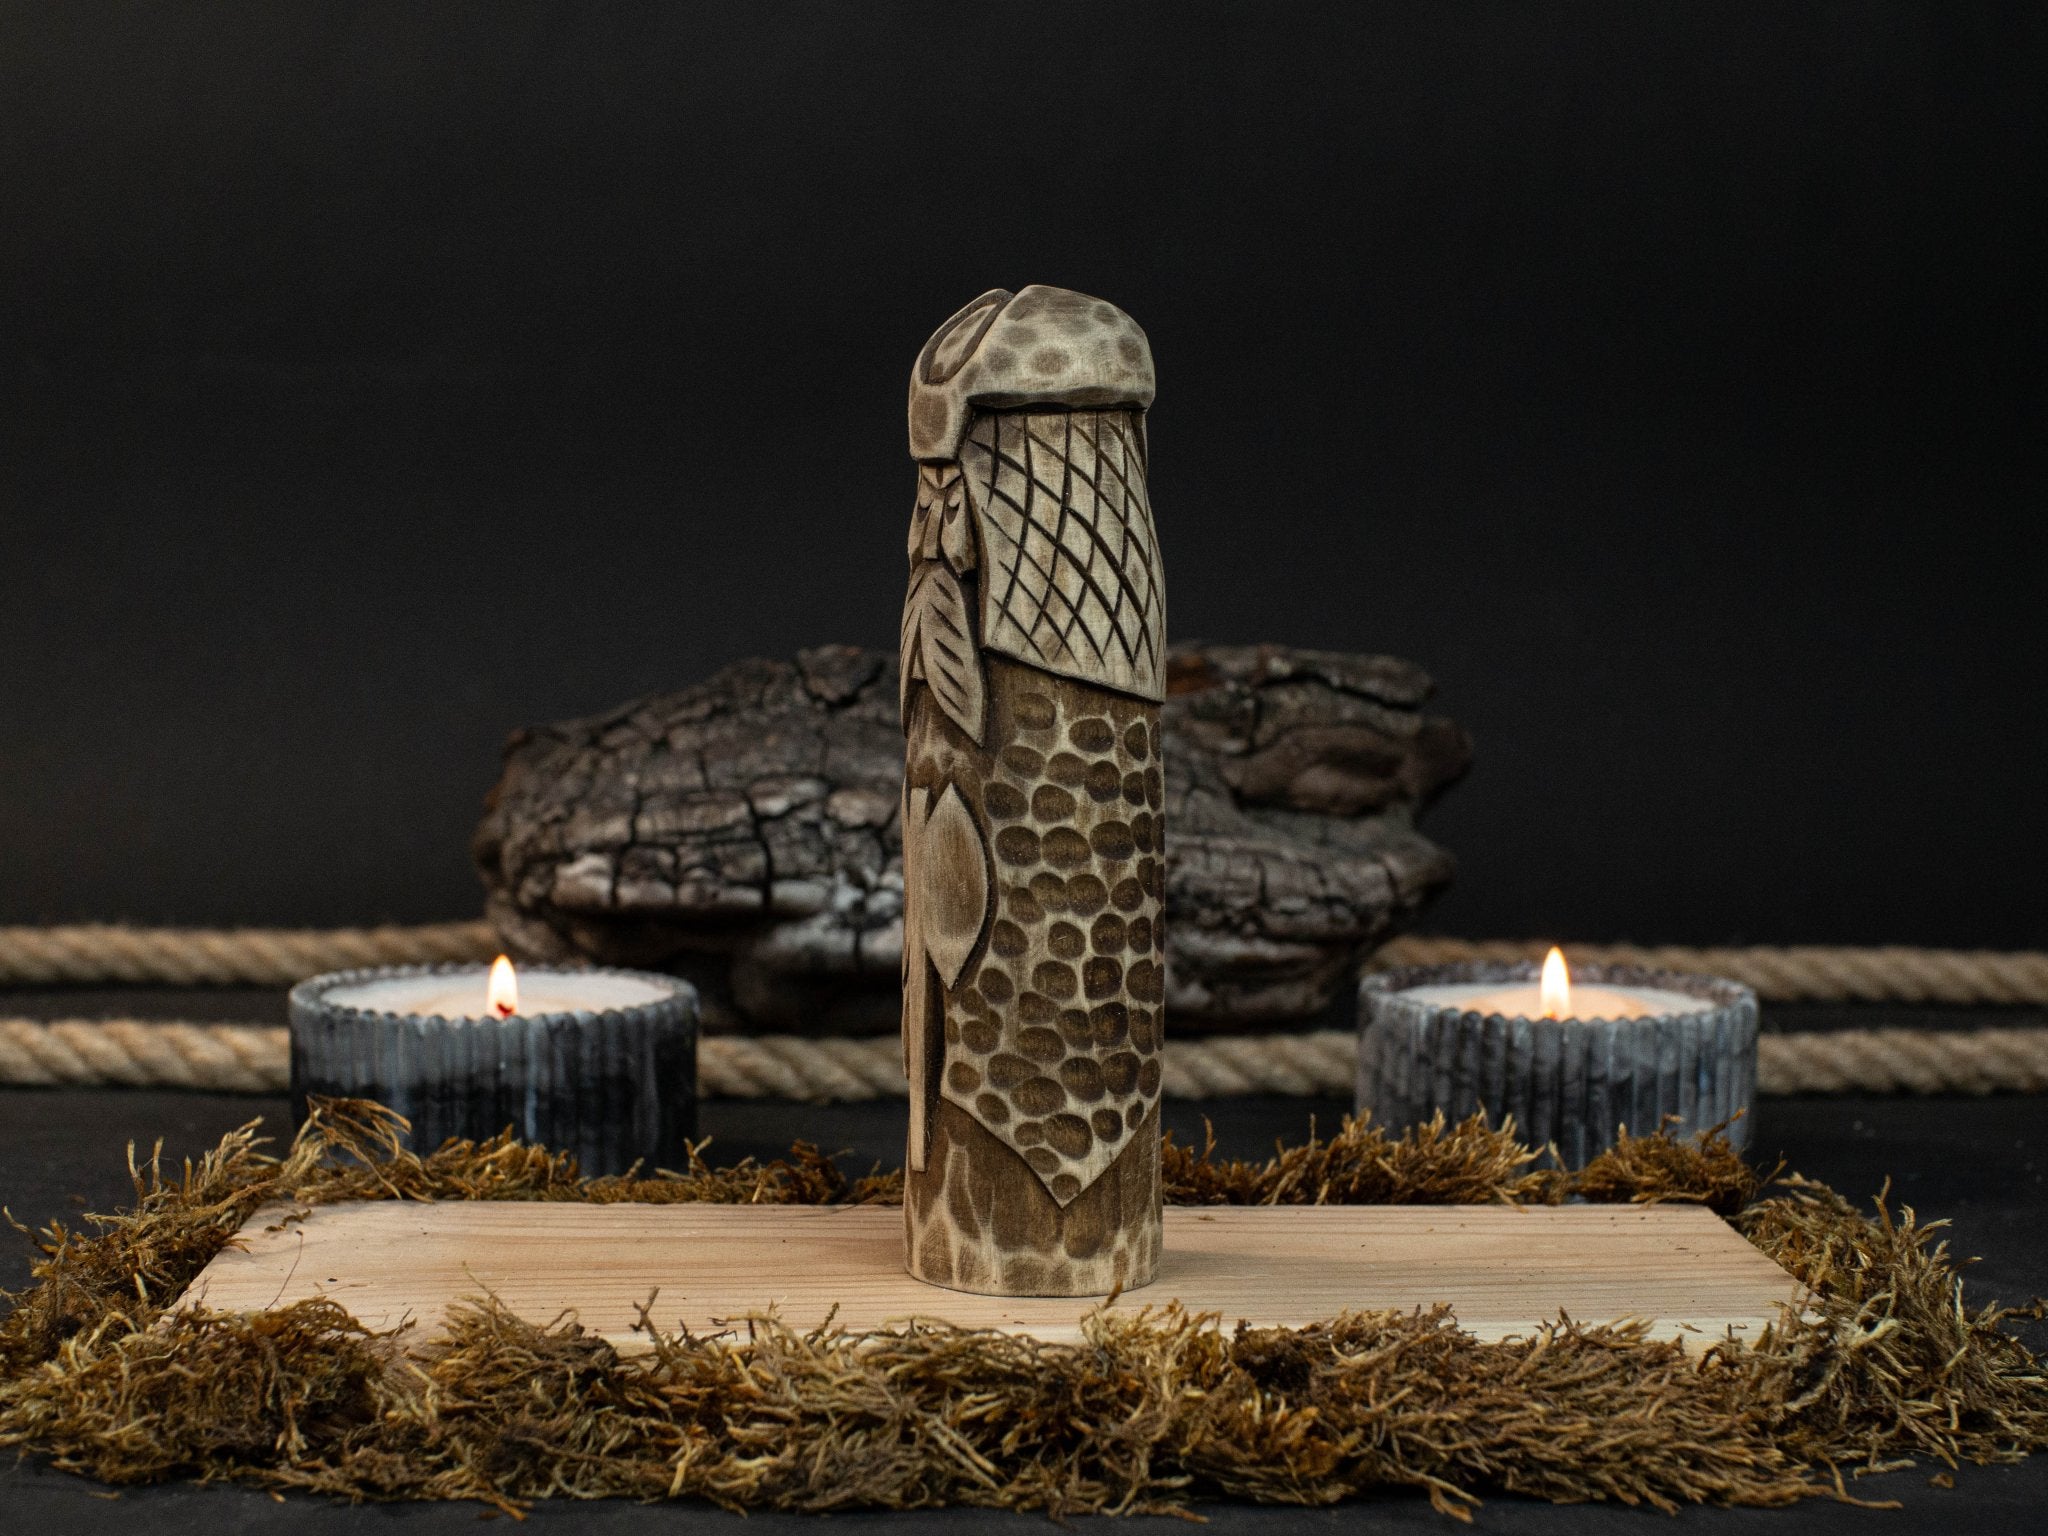
Wooden Norse God Sculptures
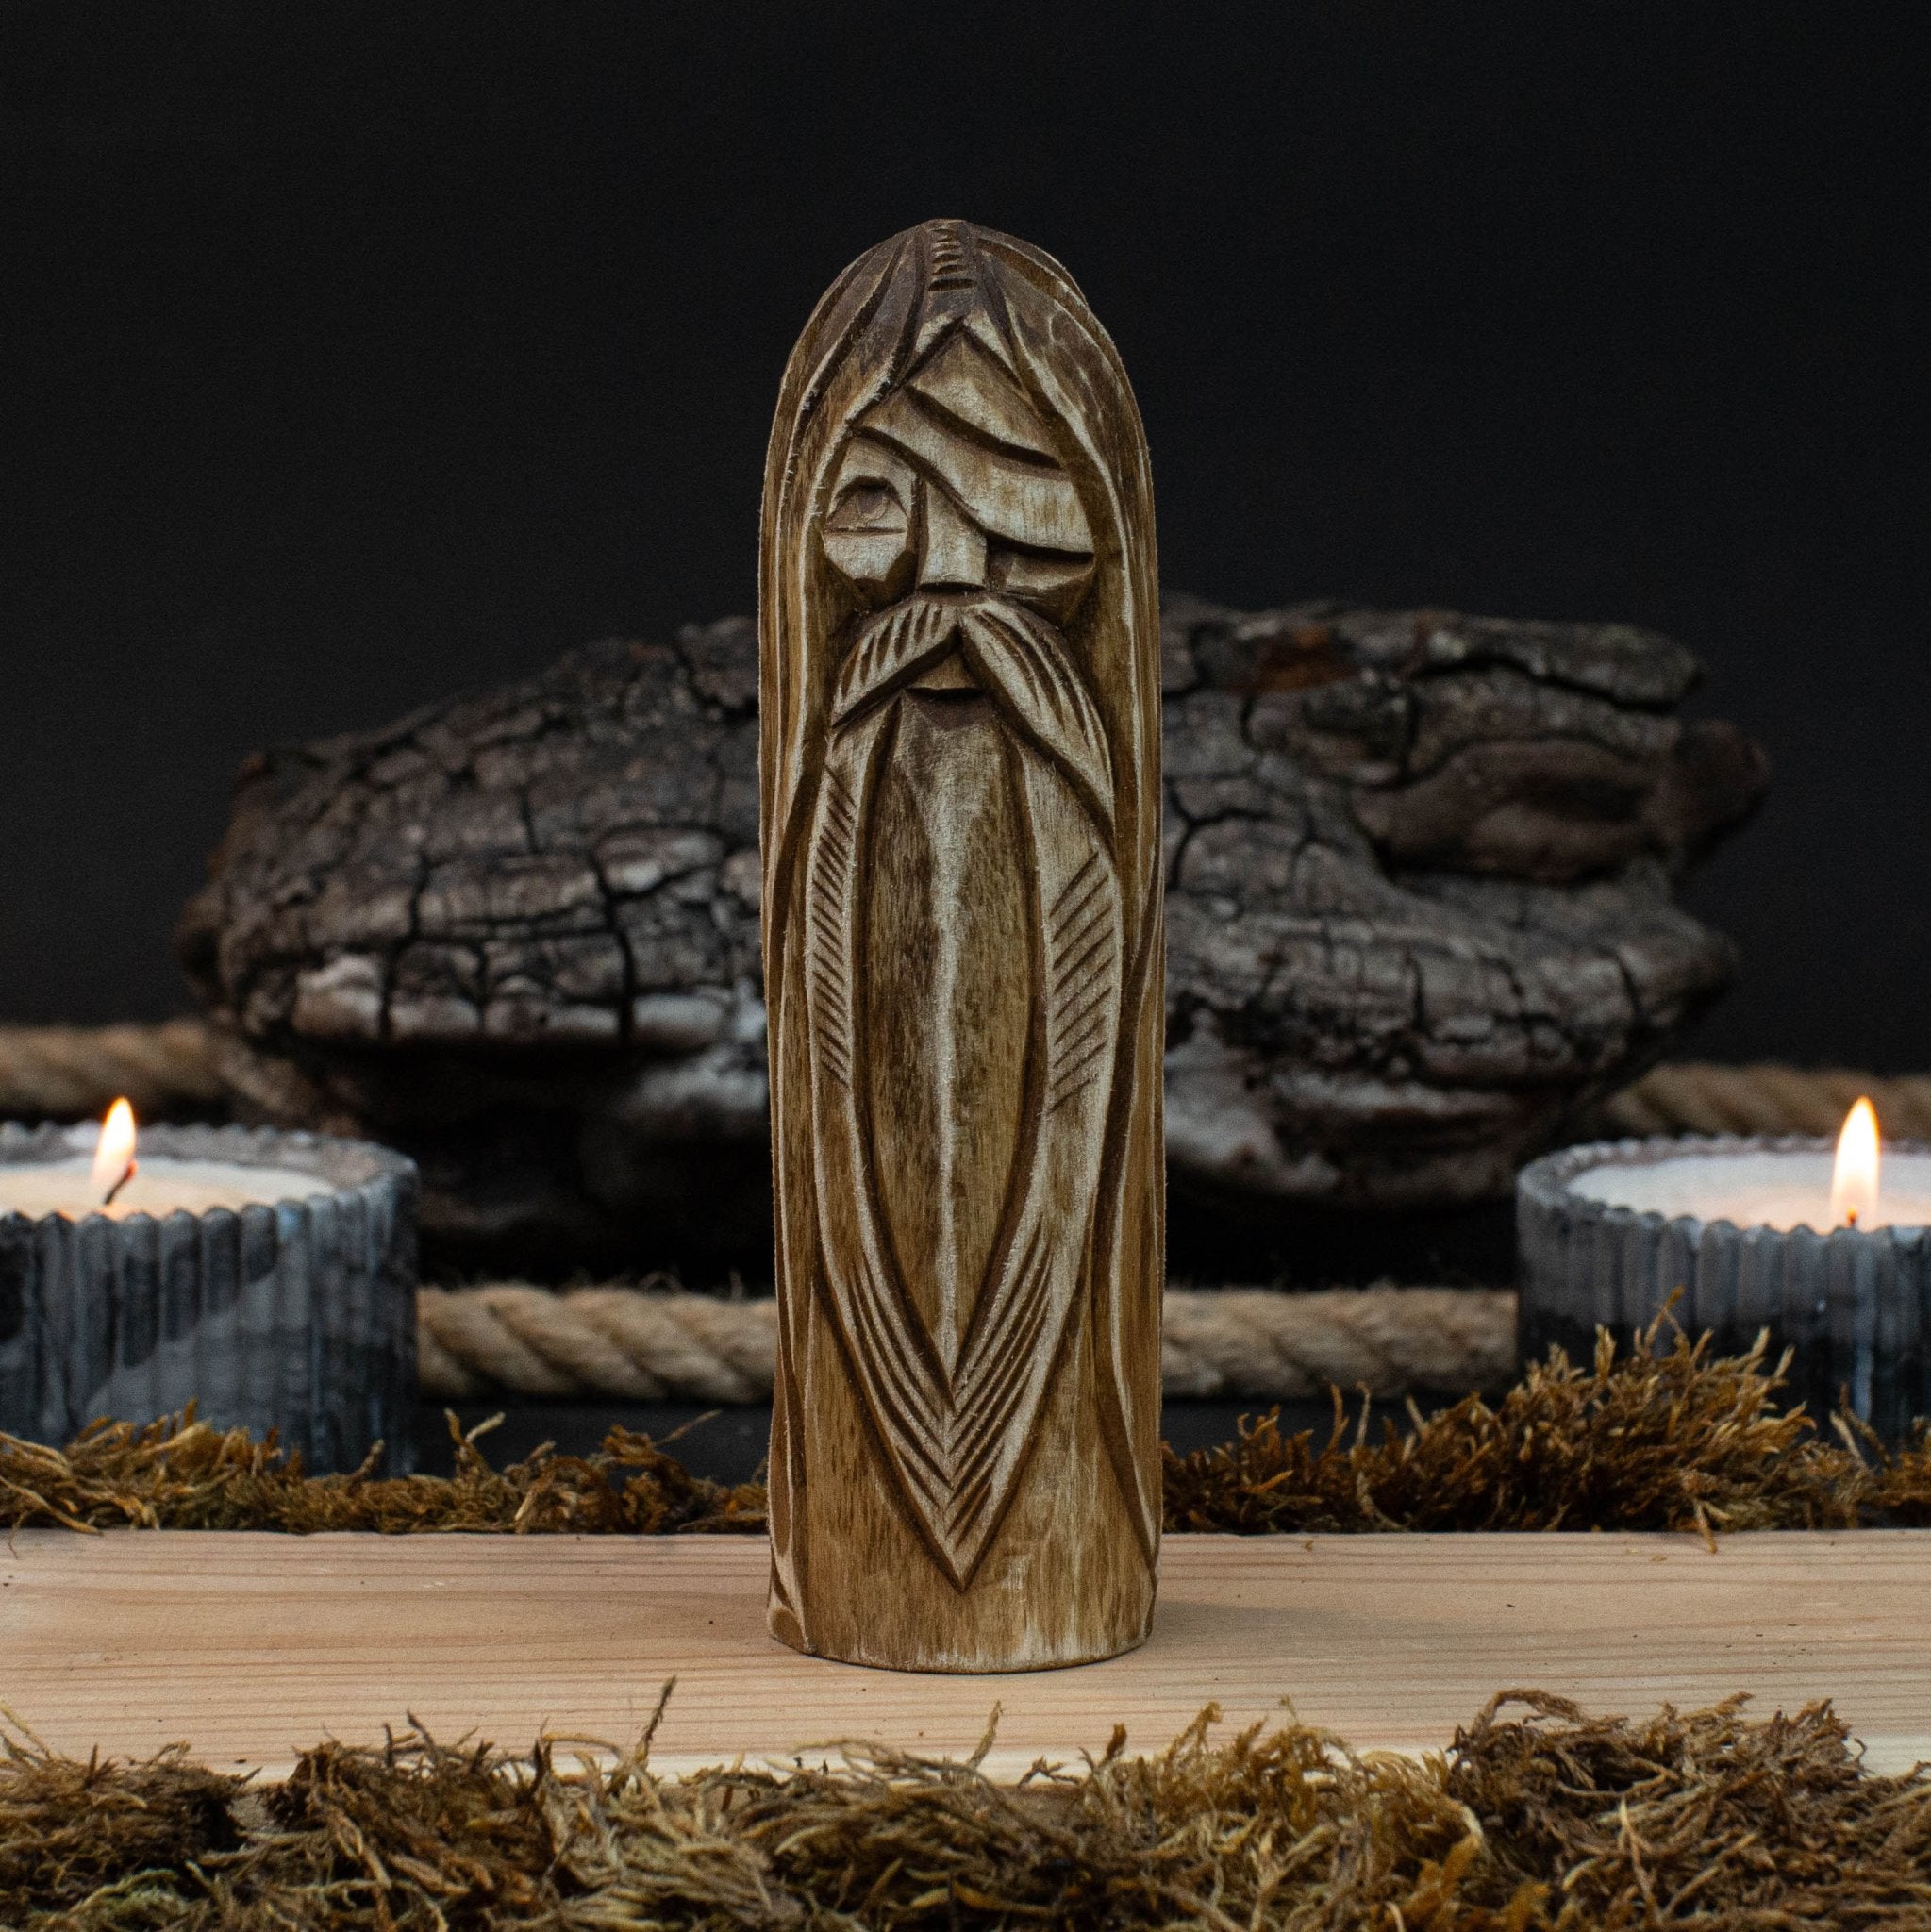
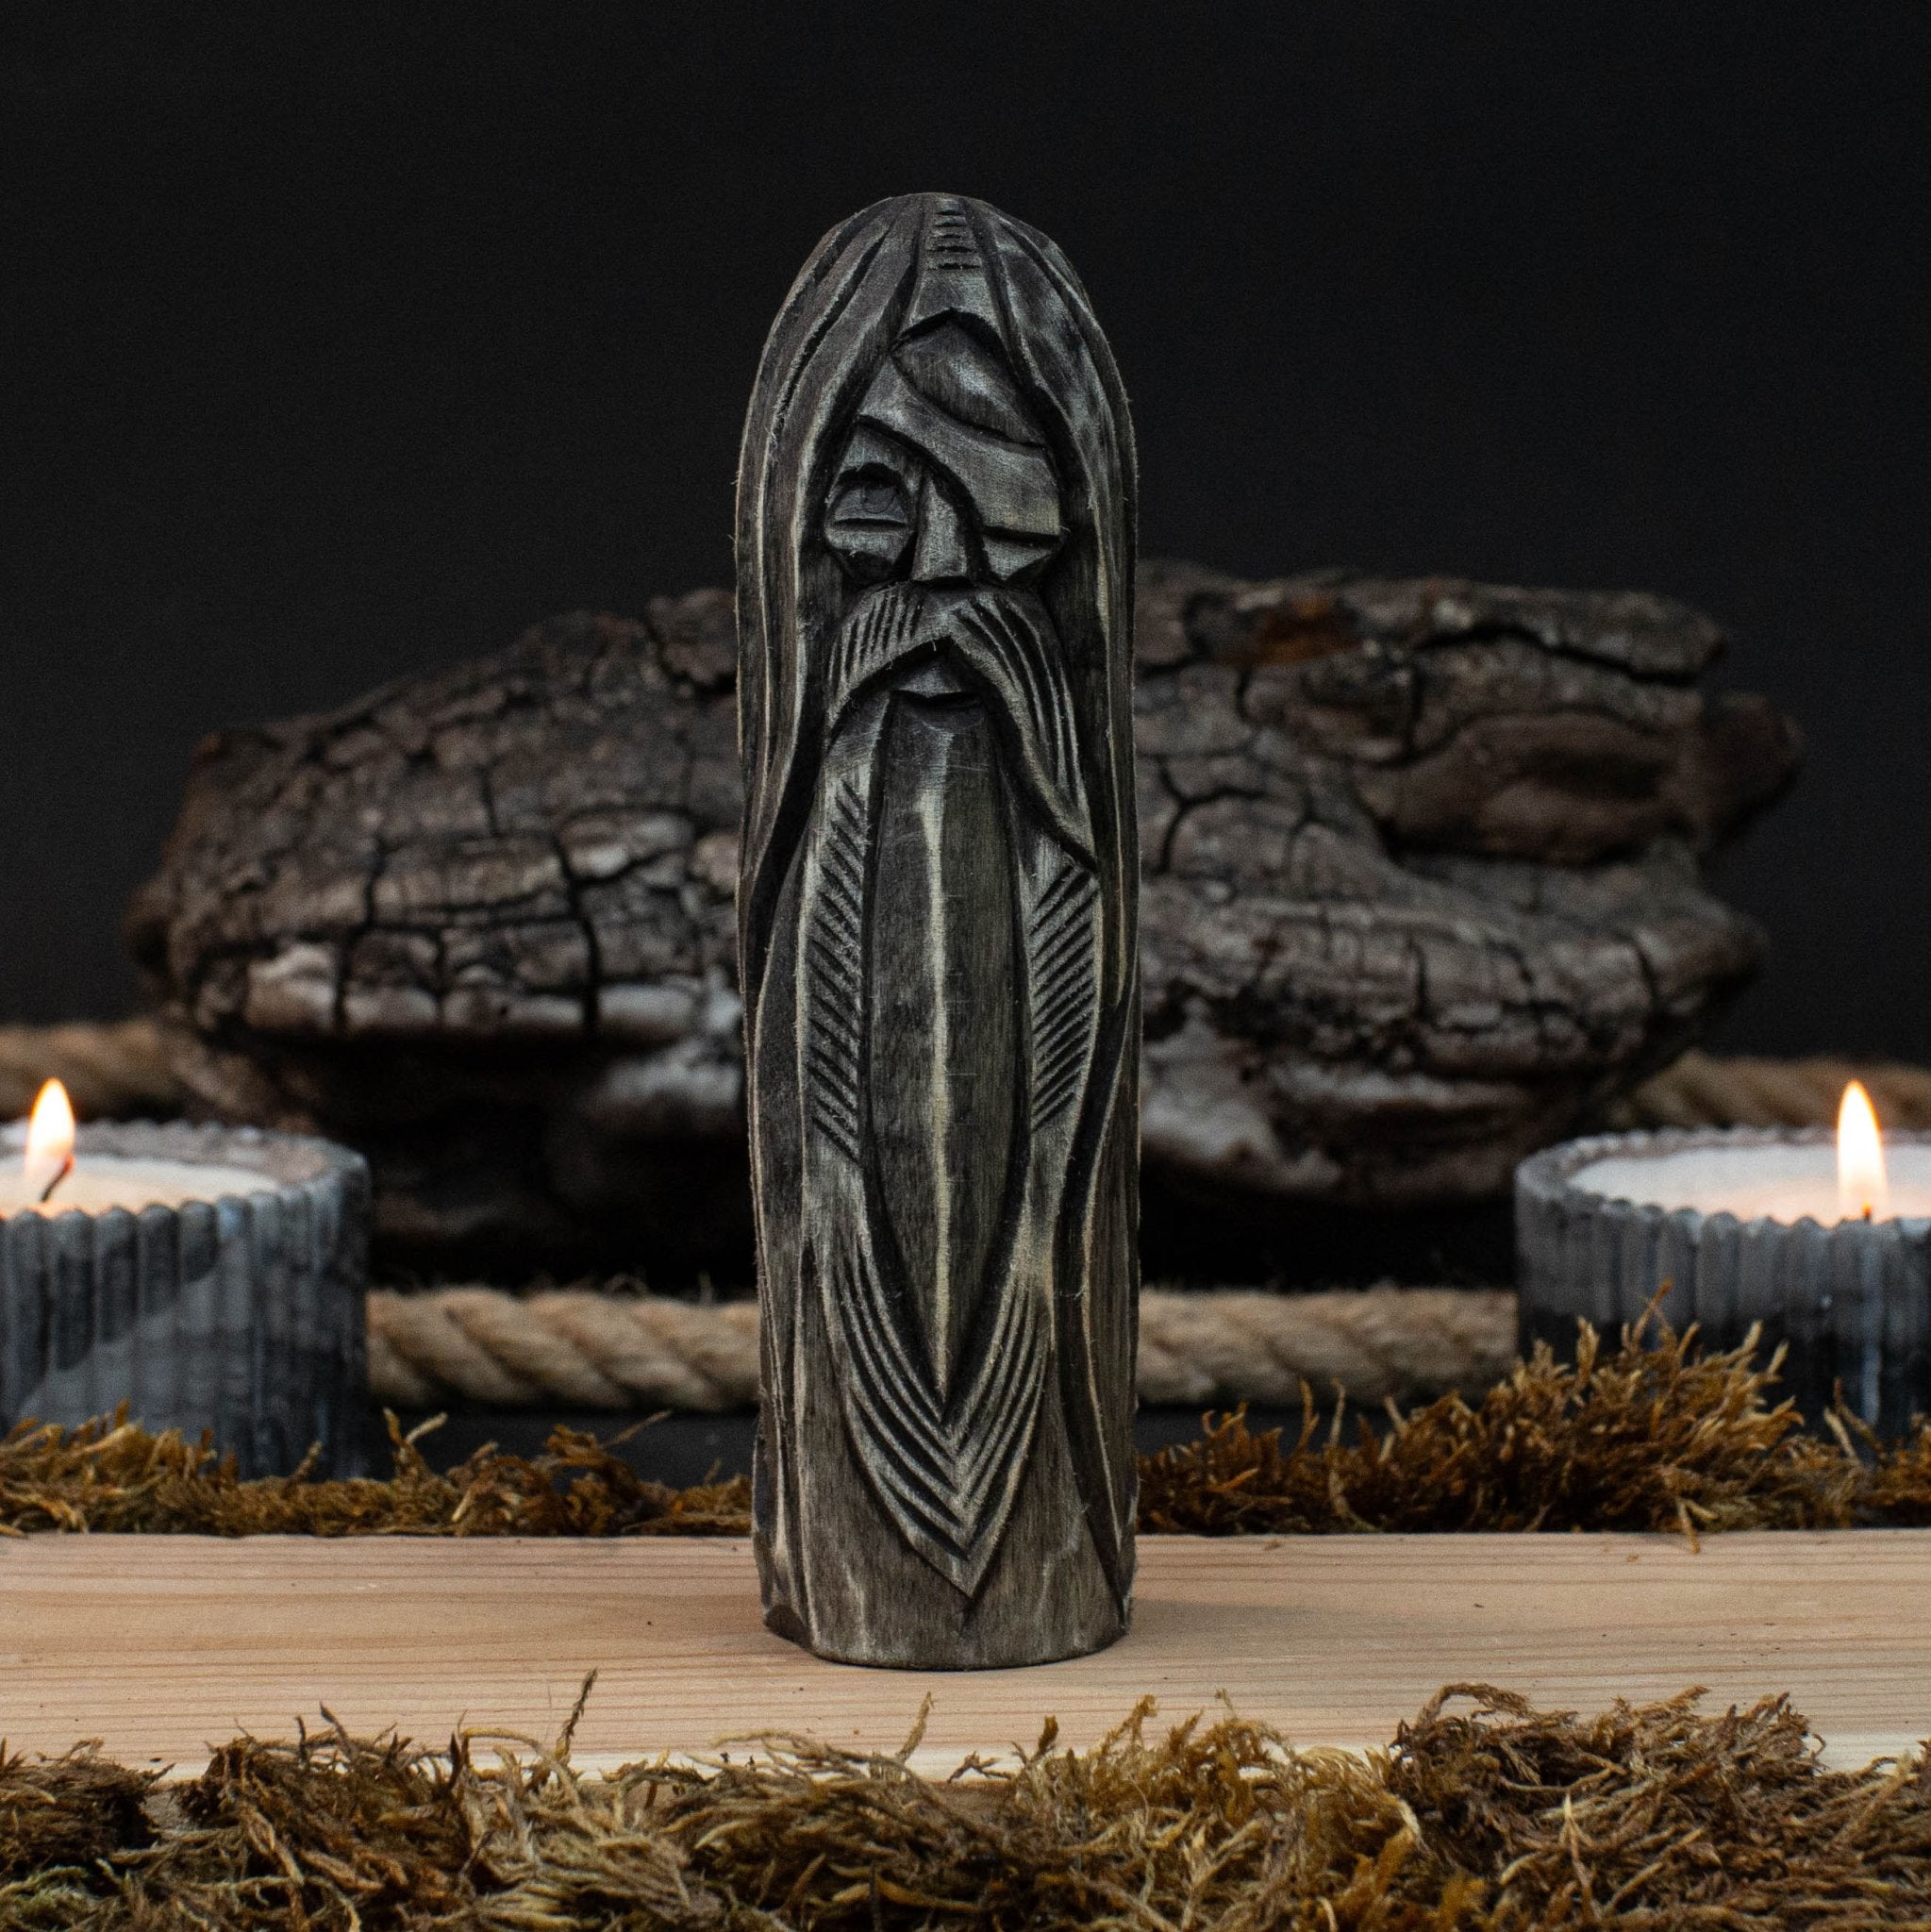
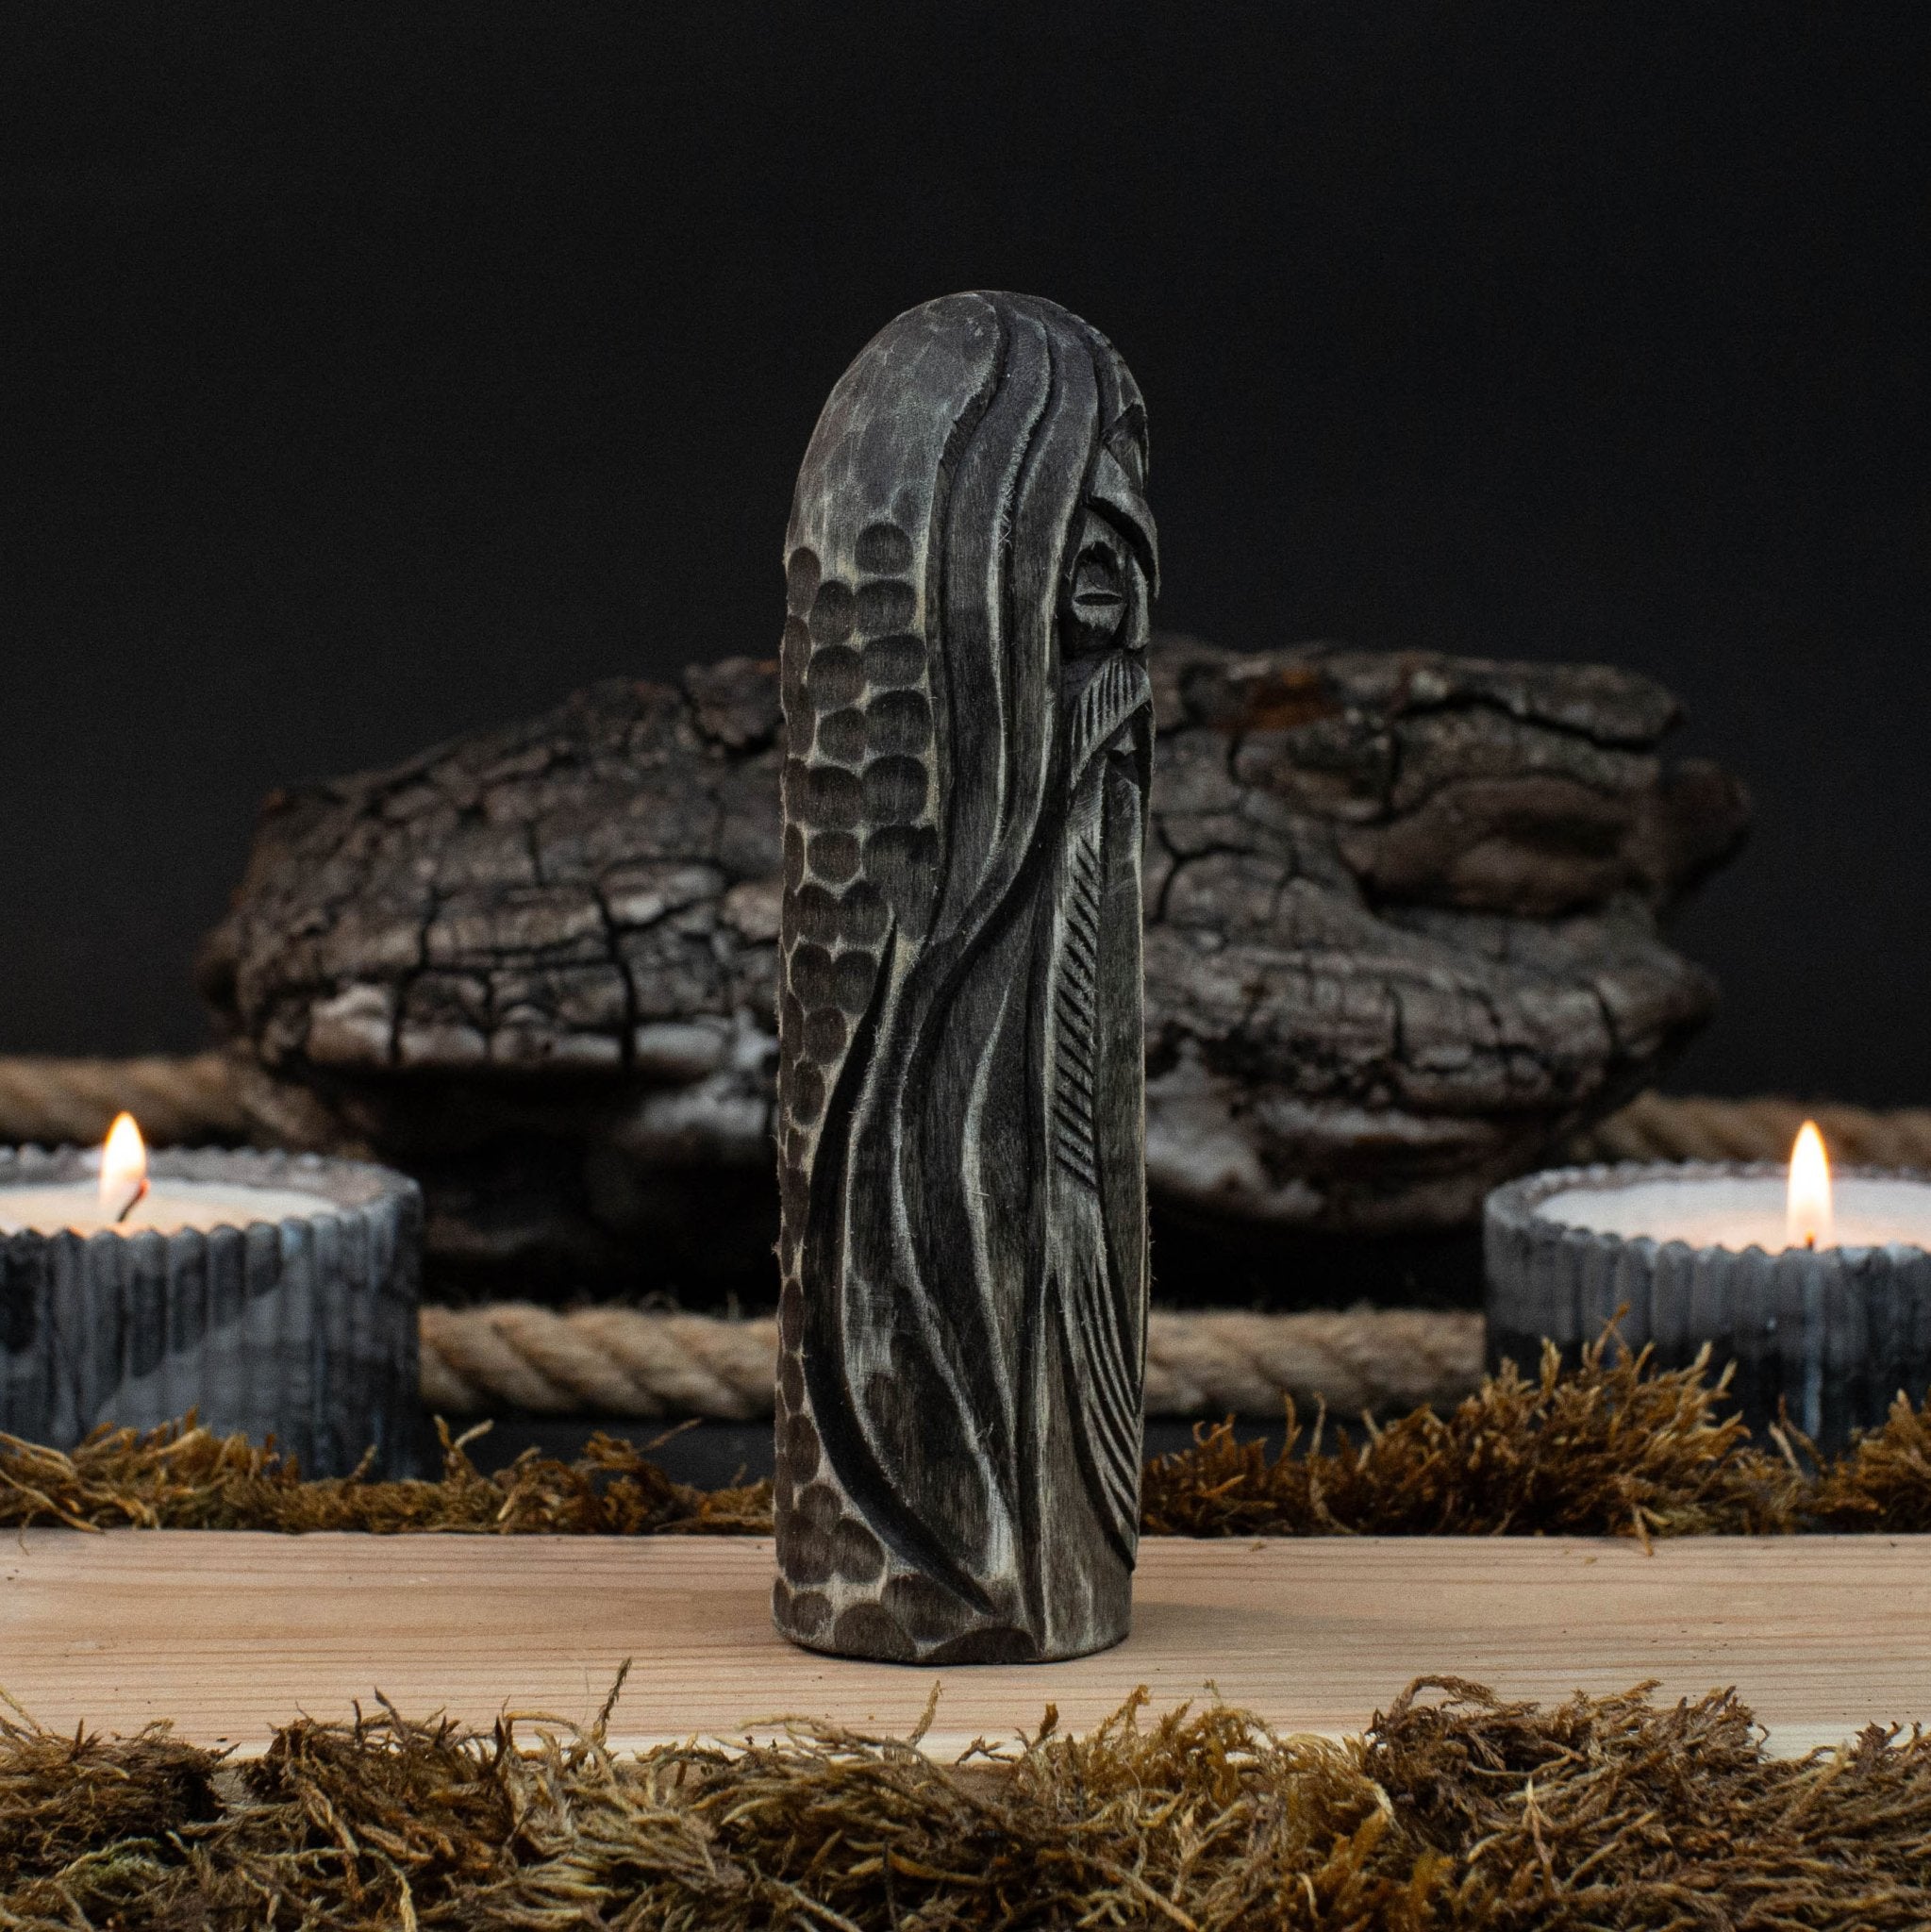
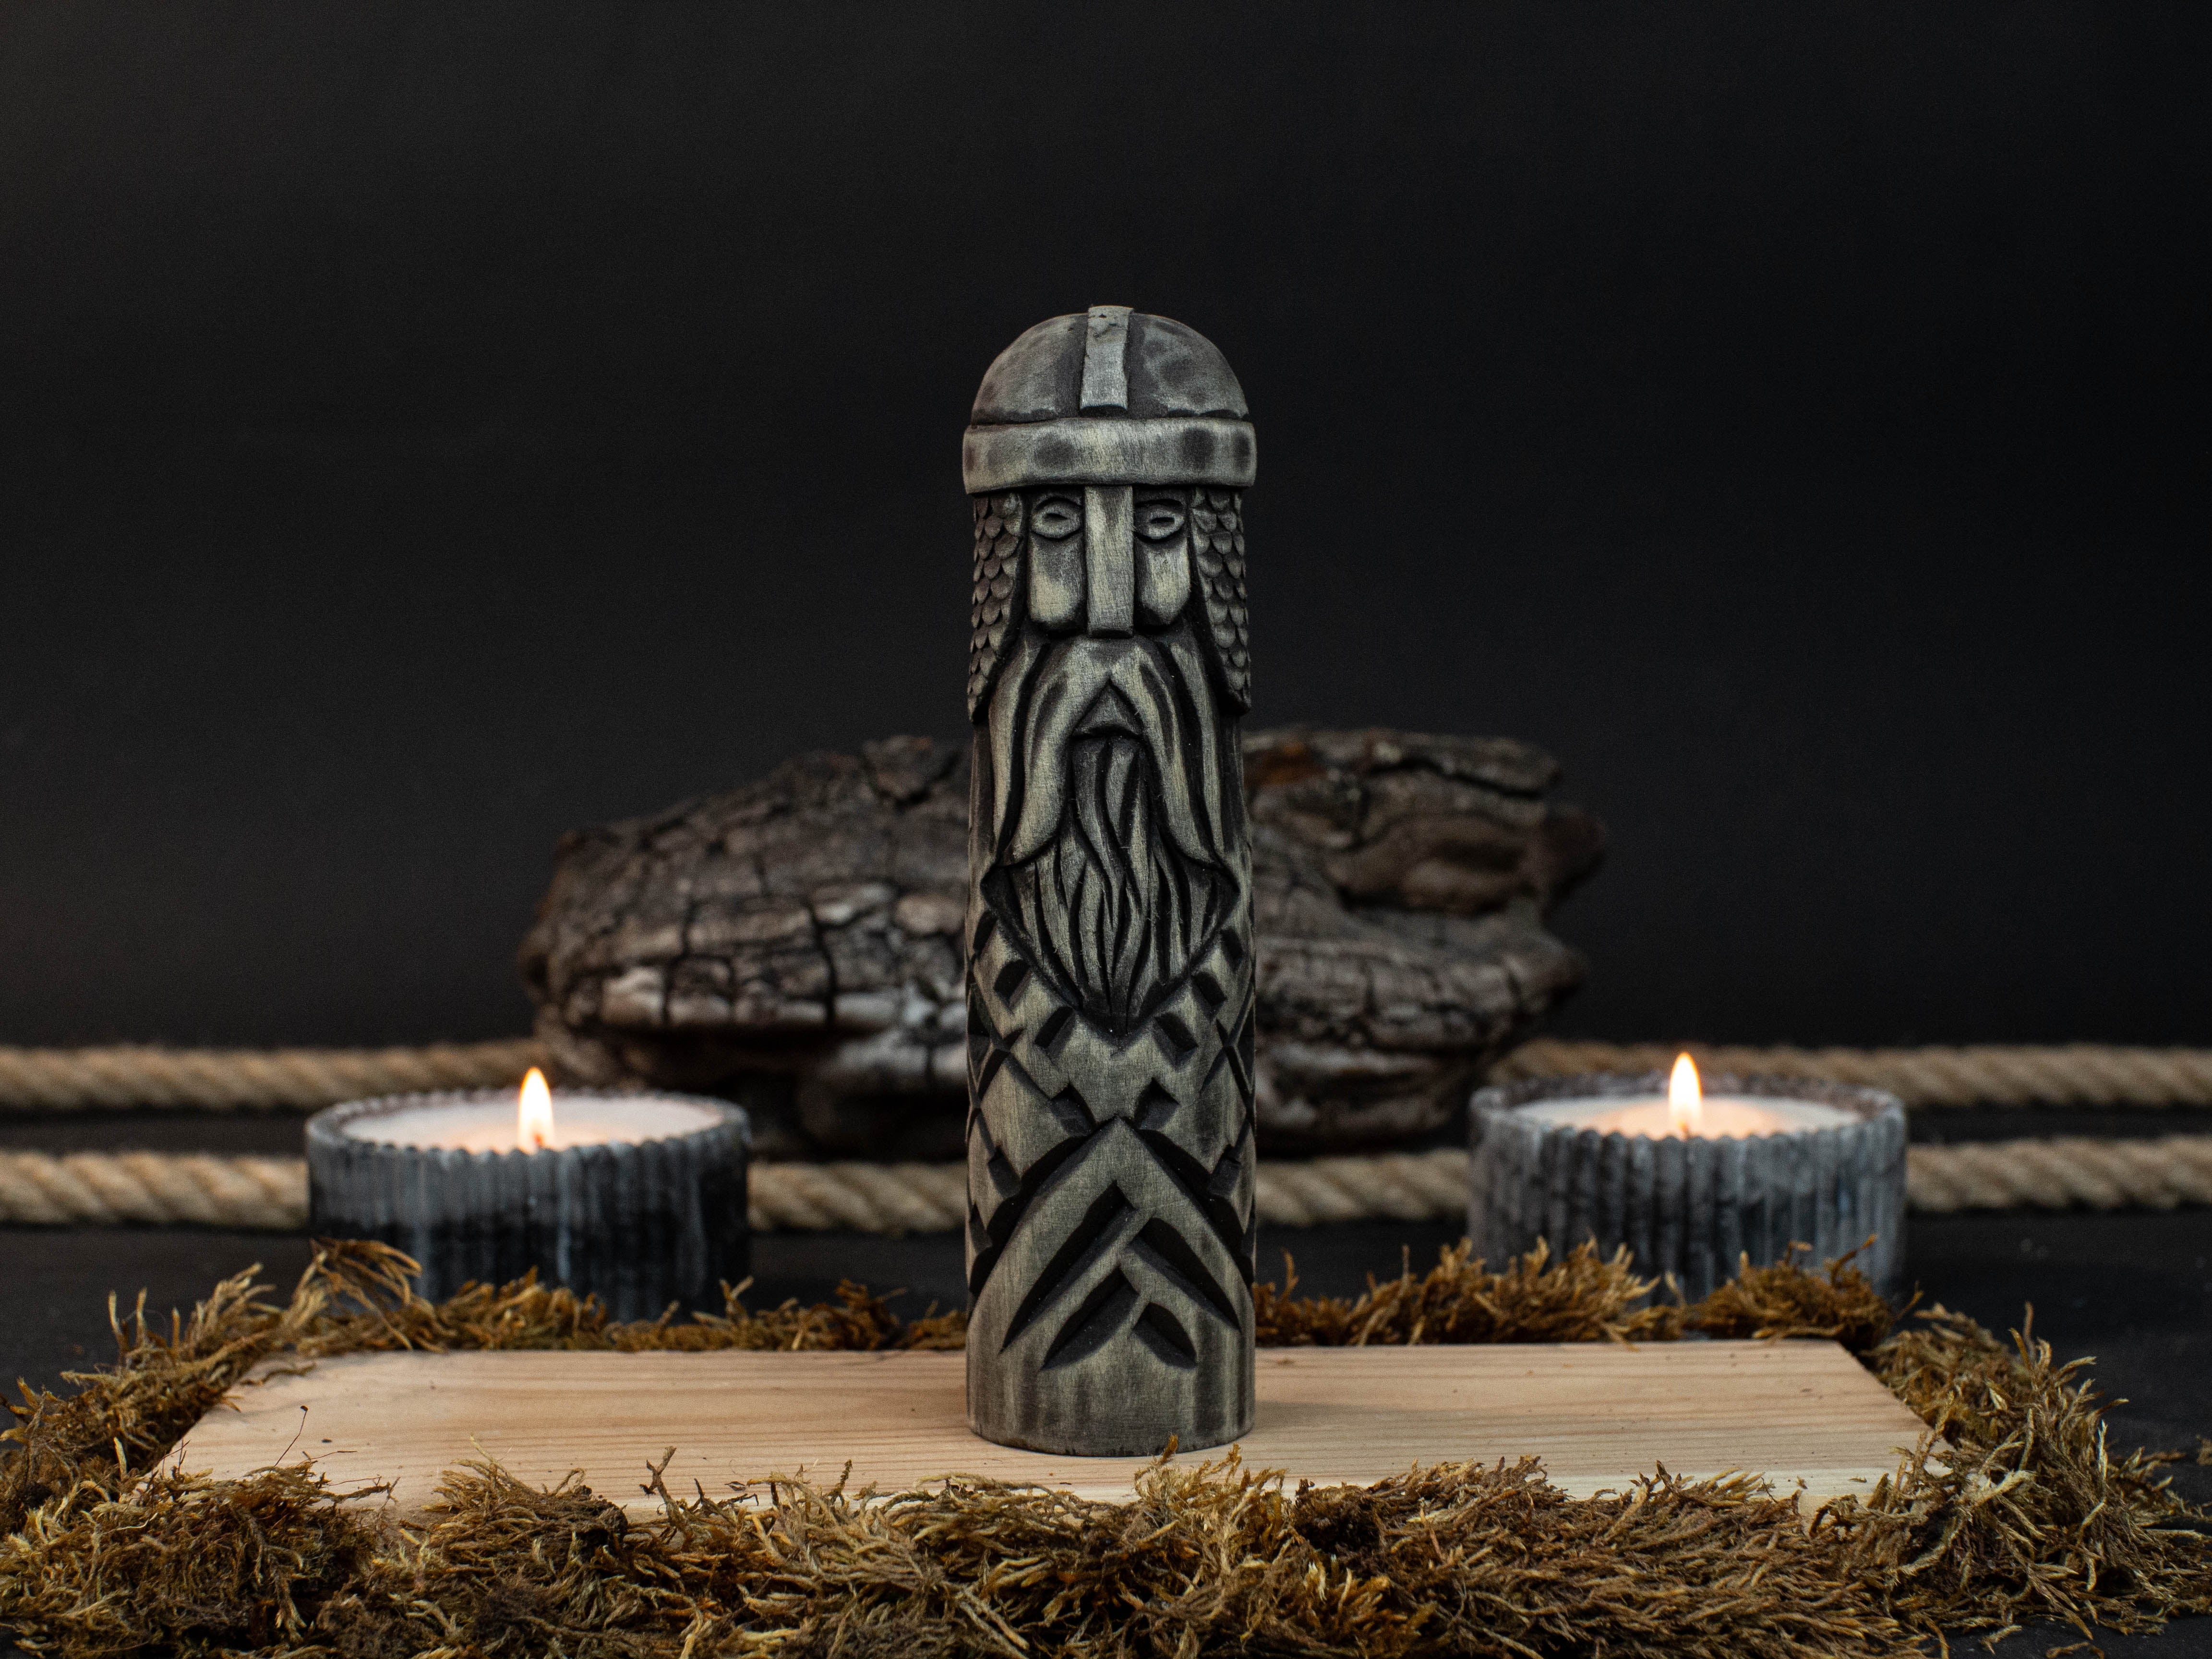
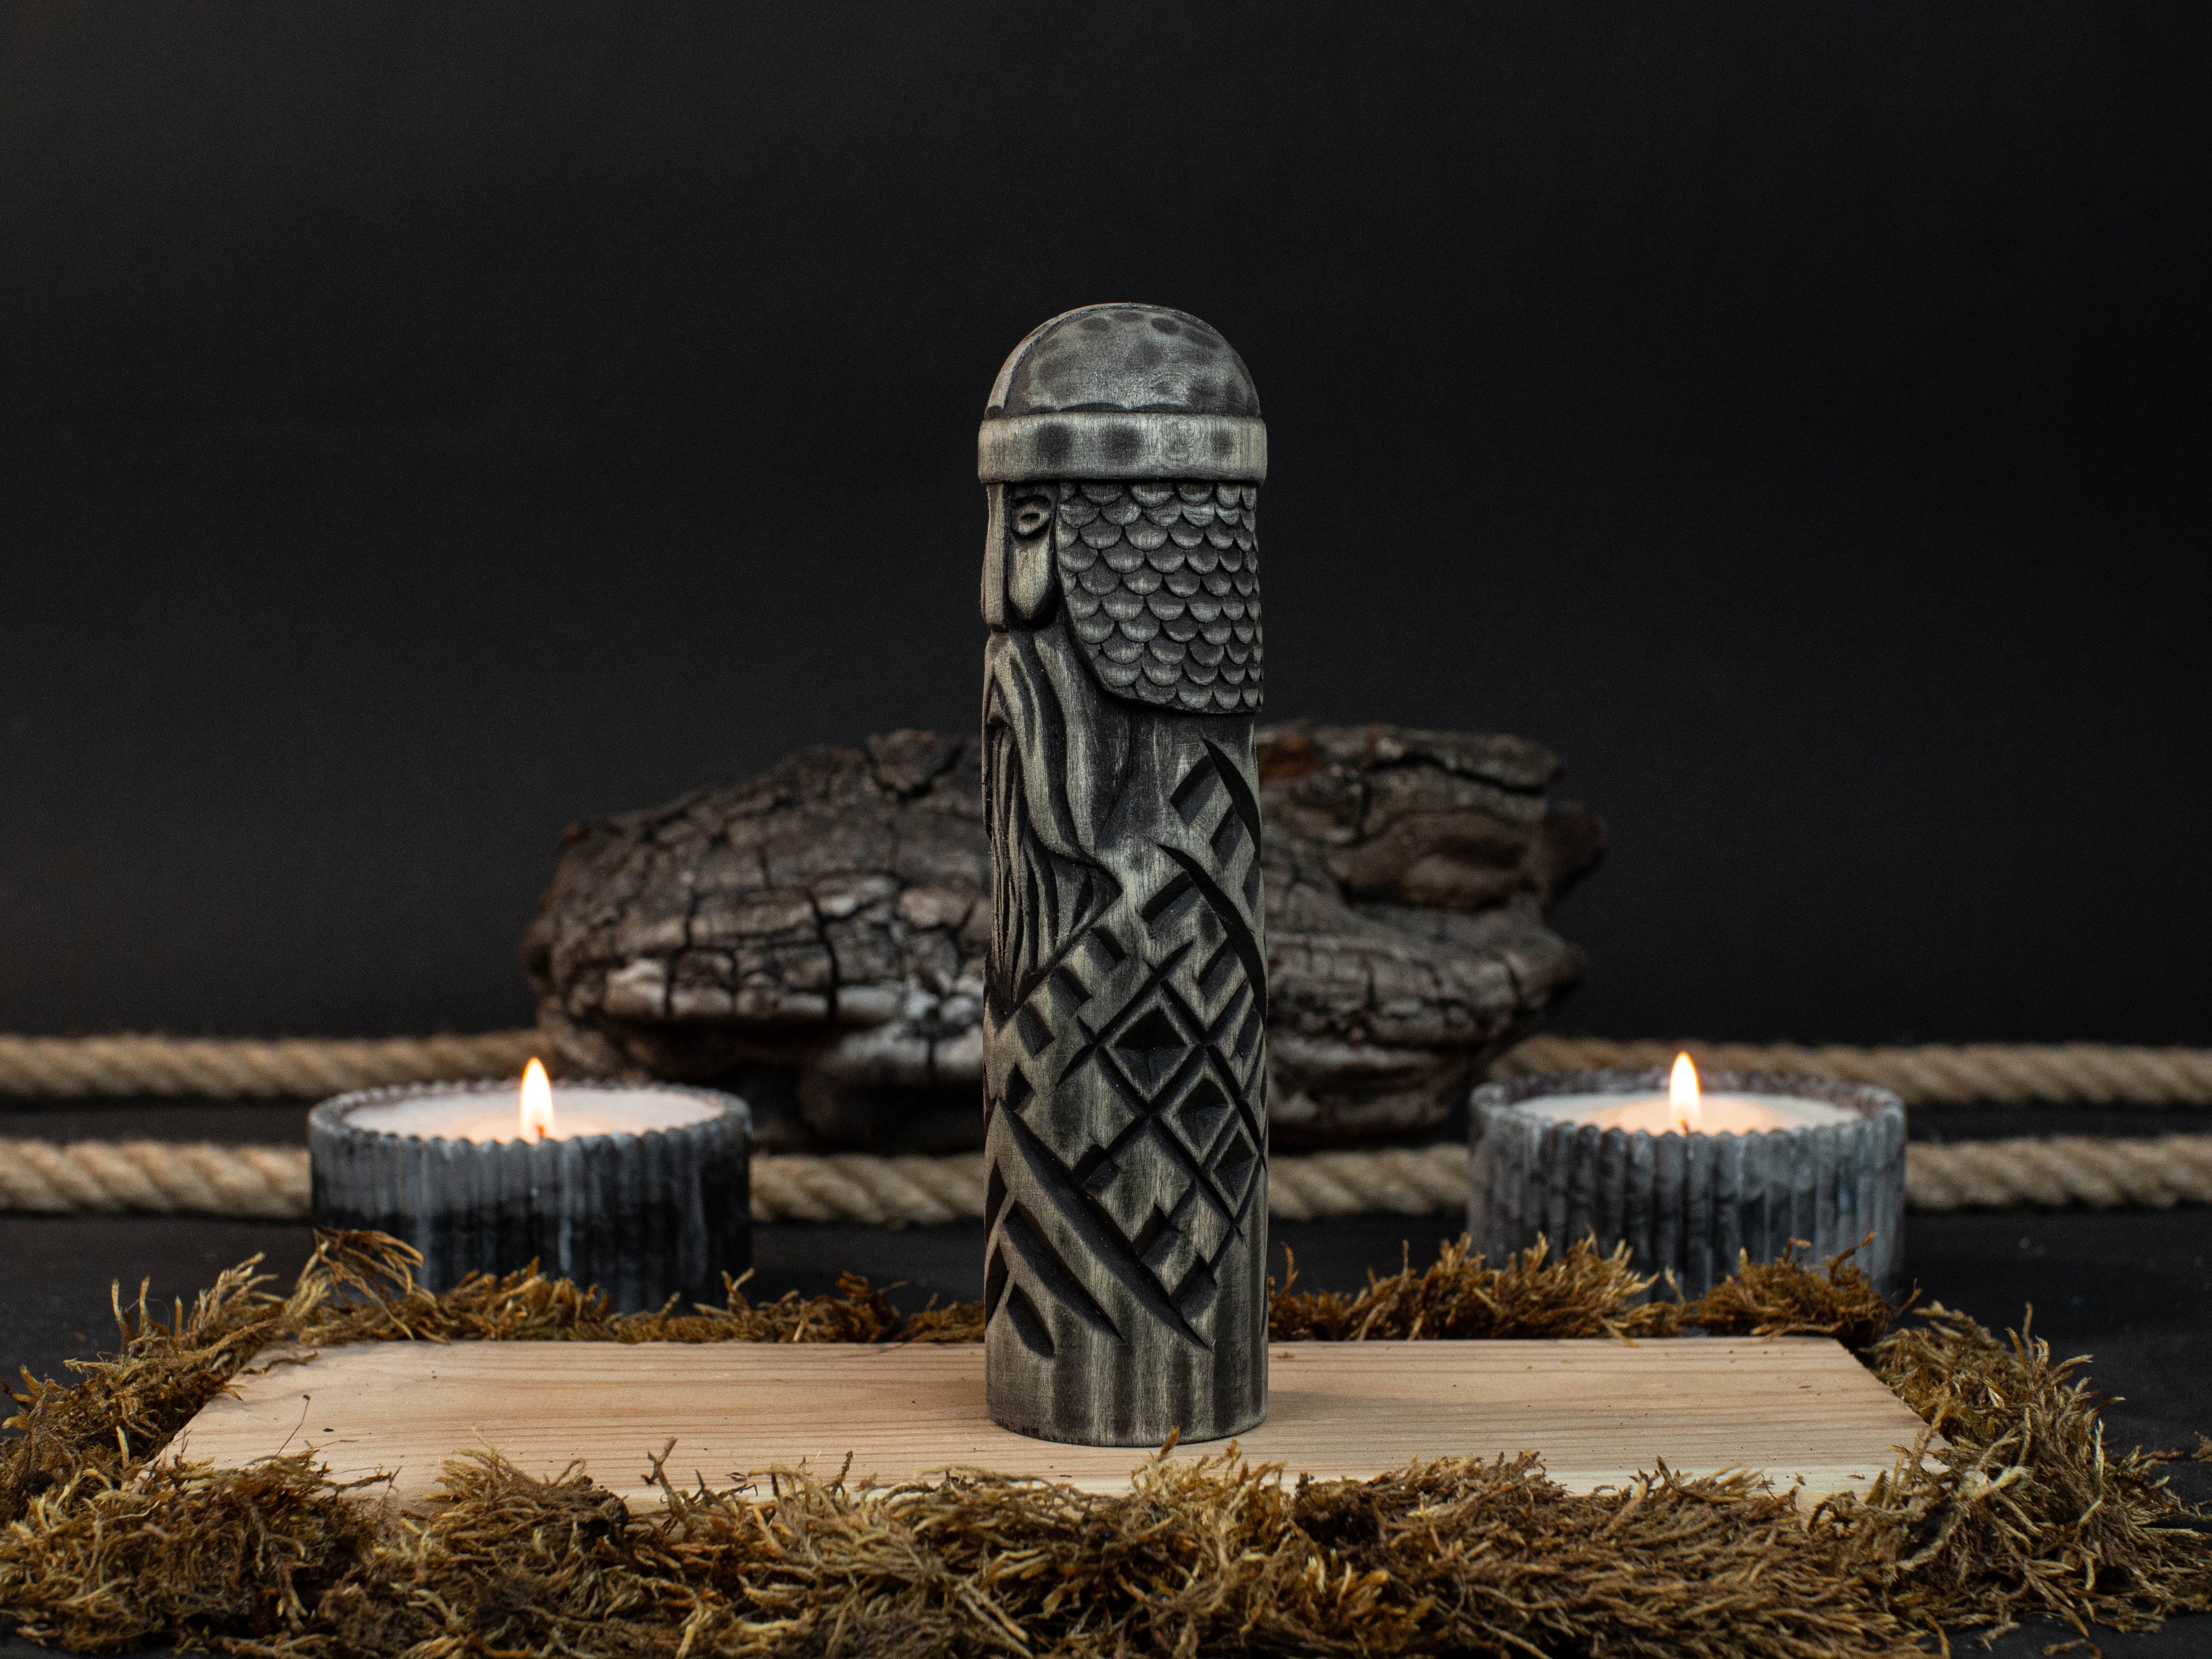
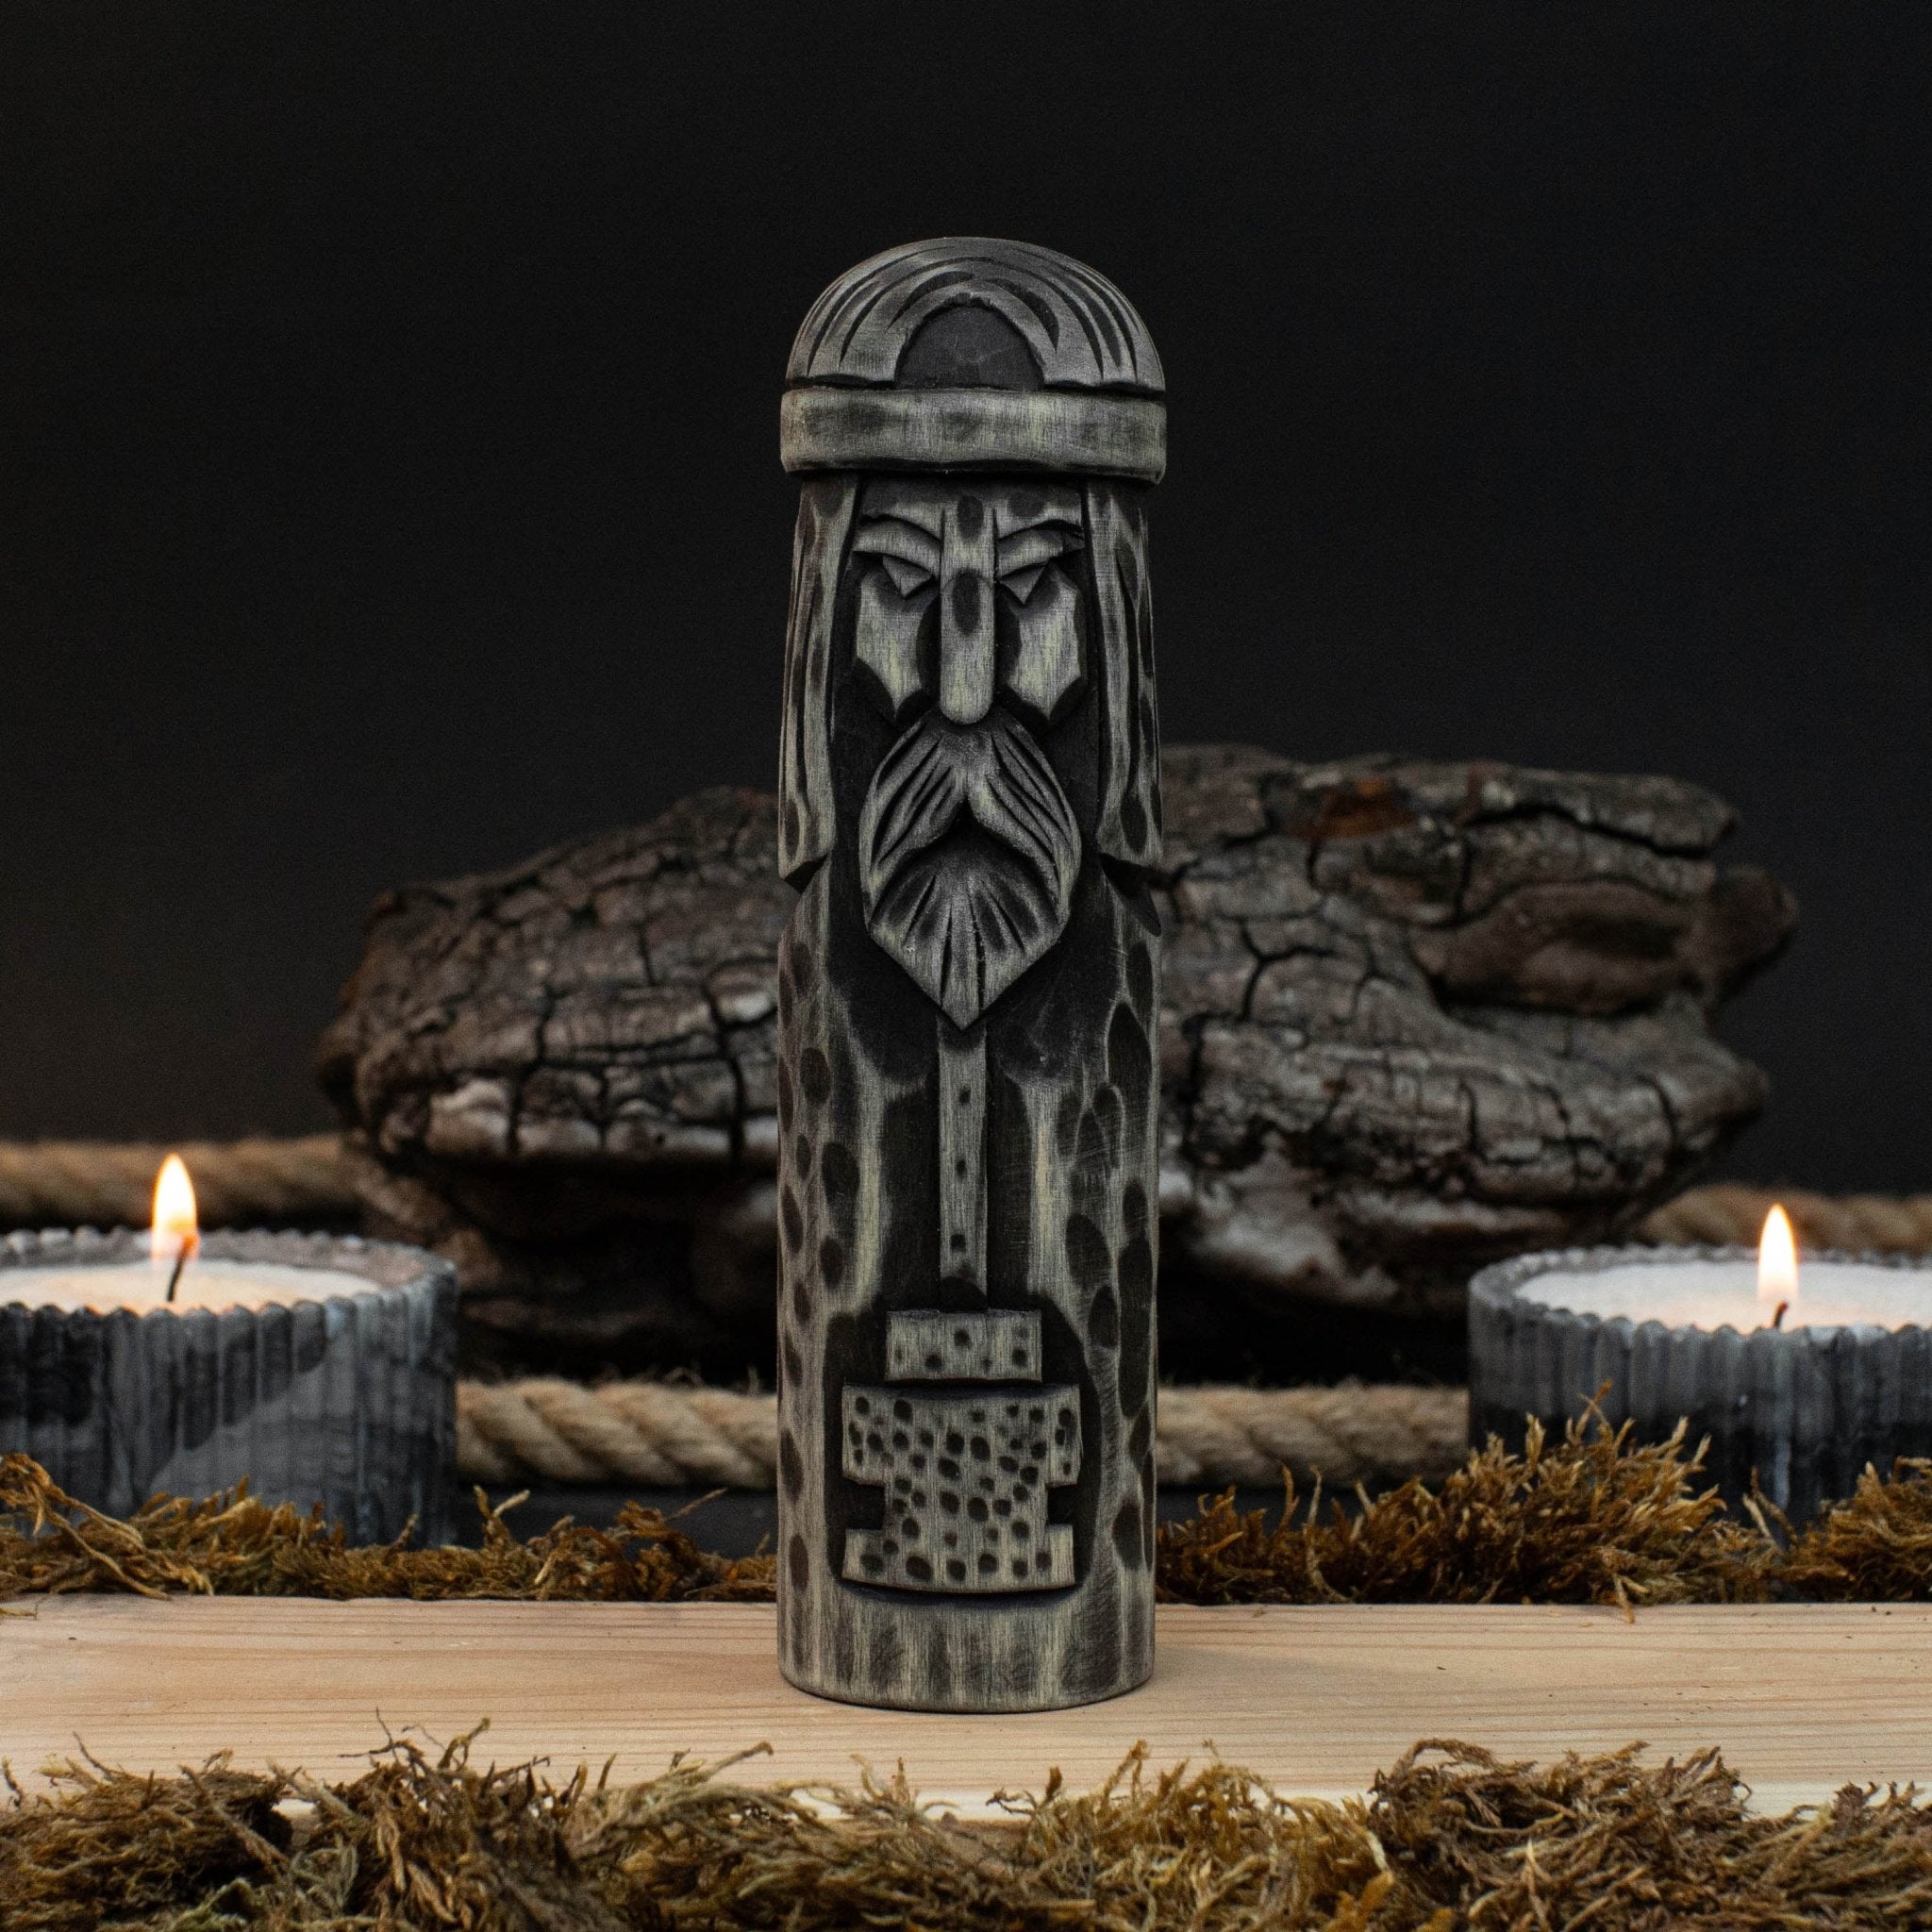
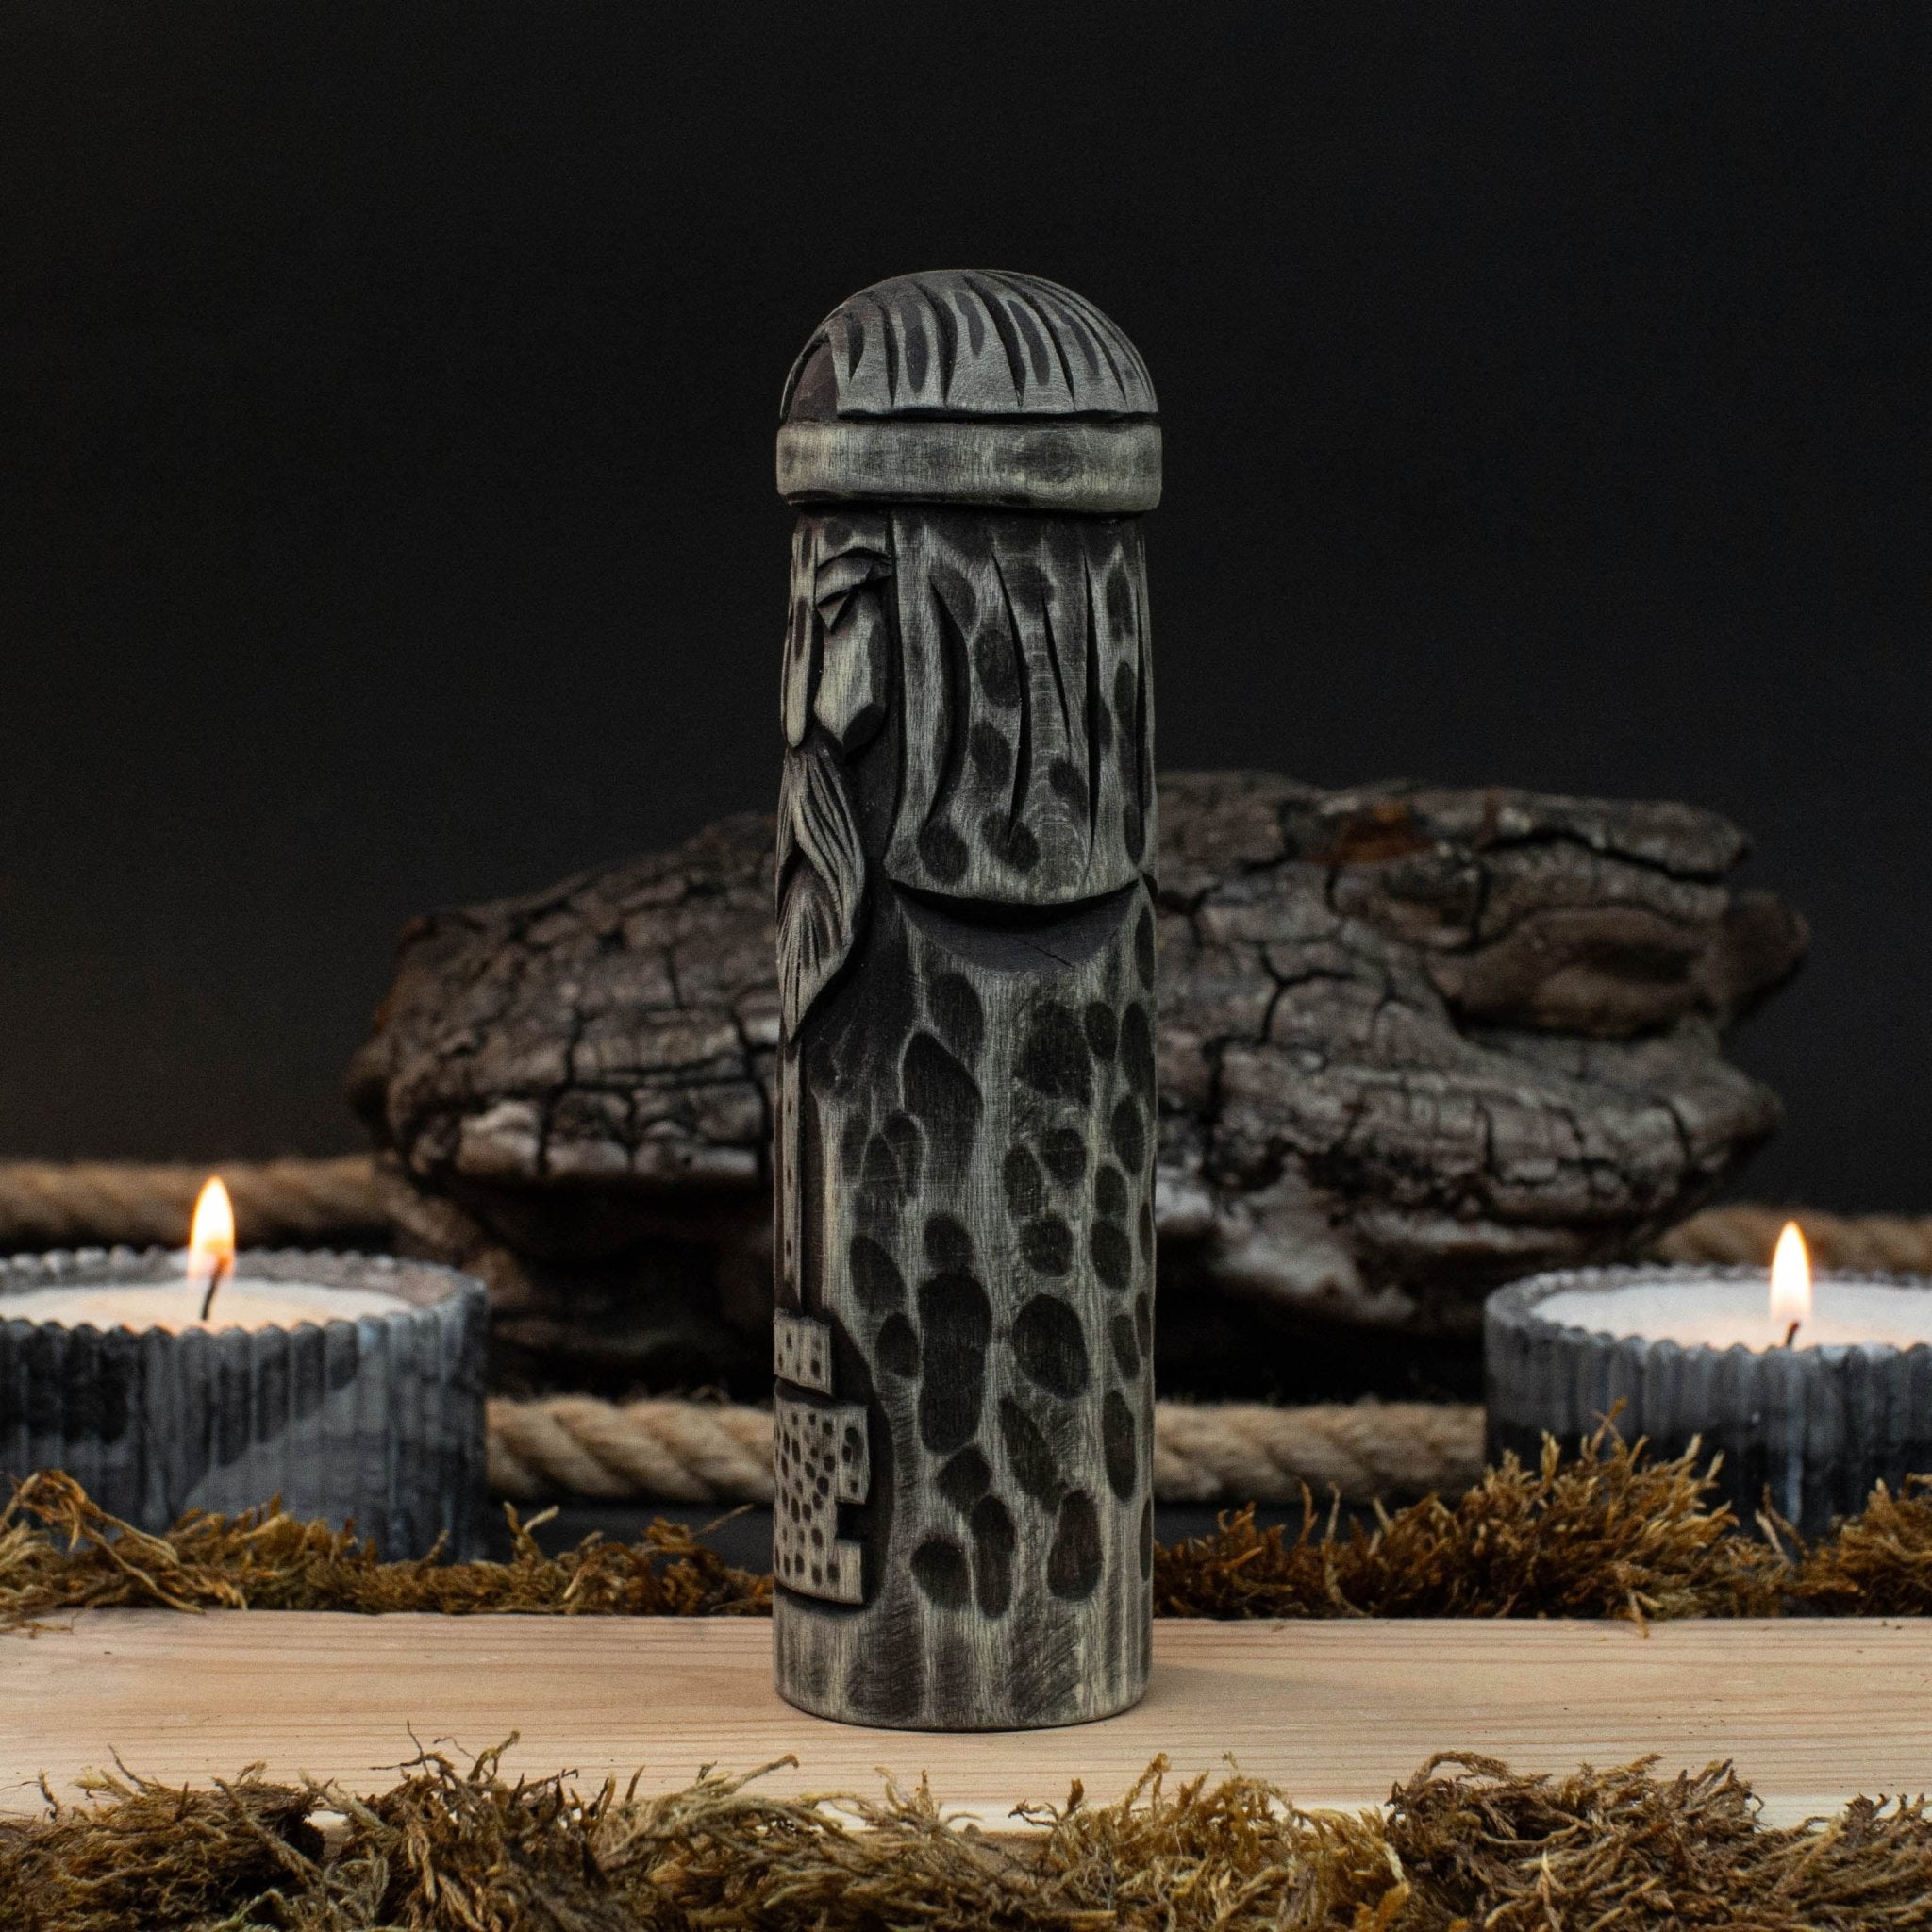
If you are drawn to Viking and Norse themes and enjoy the ancient spirit of Scandinavian stories, you can explore the many patterns inspired by Norse gods. Taking on hand carved wood sculptures of Odin, Loki, or Freyja can be a really rewarding experience:
- Odin — the All-Father, shown with his missing eye and spear, a symbol of wisdom and leadership.
- Loki — the trickster, lean and restless, often carved with a sly grin or fiery motifs.
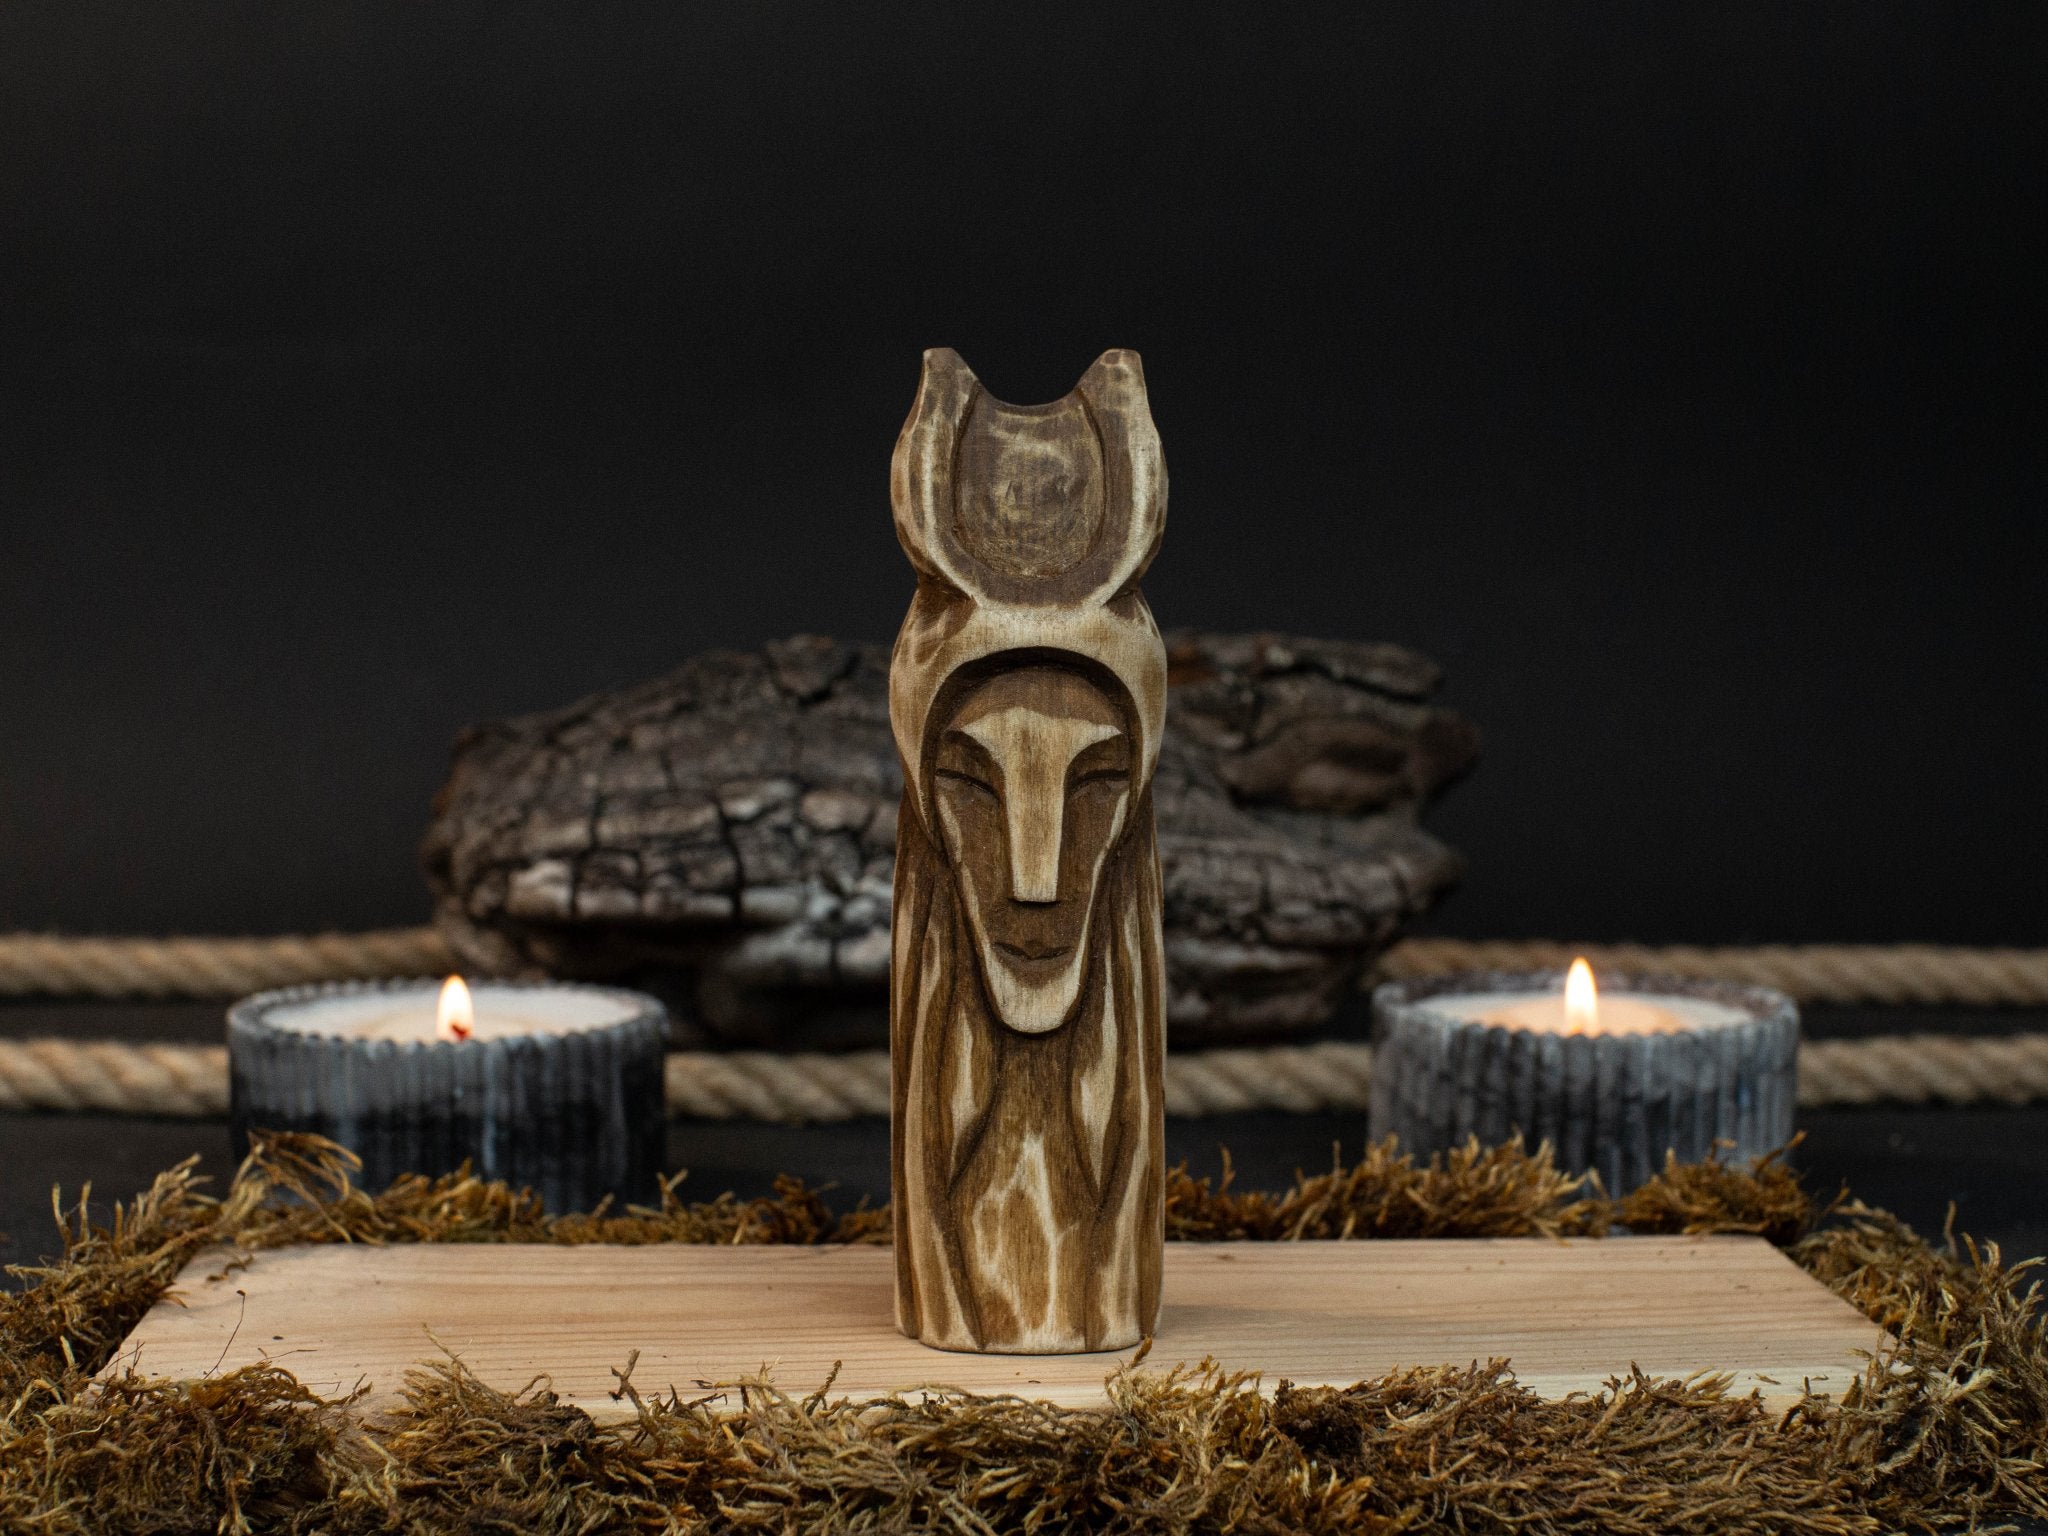
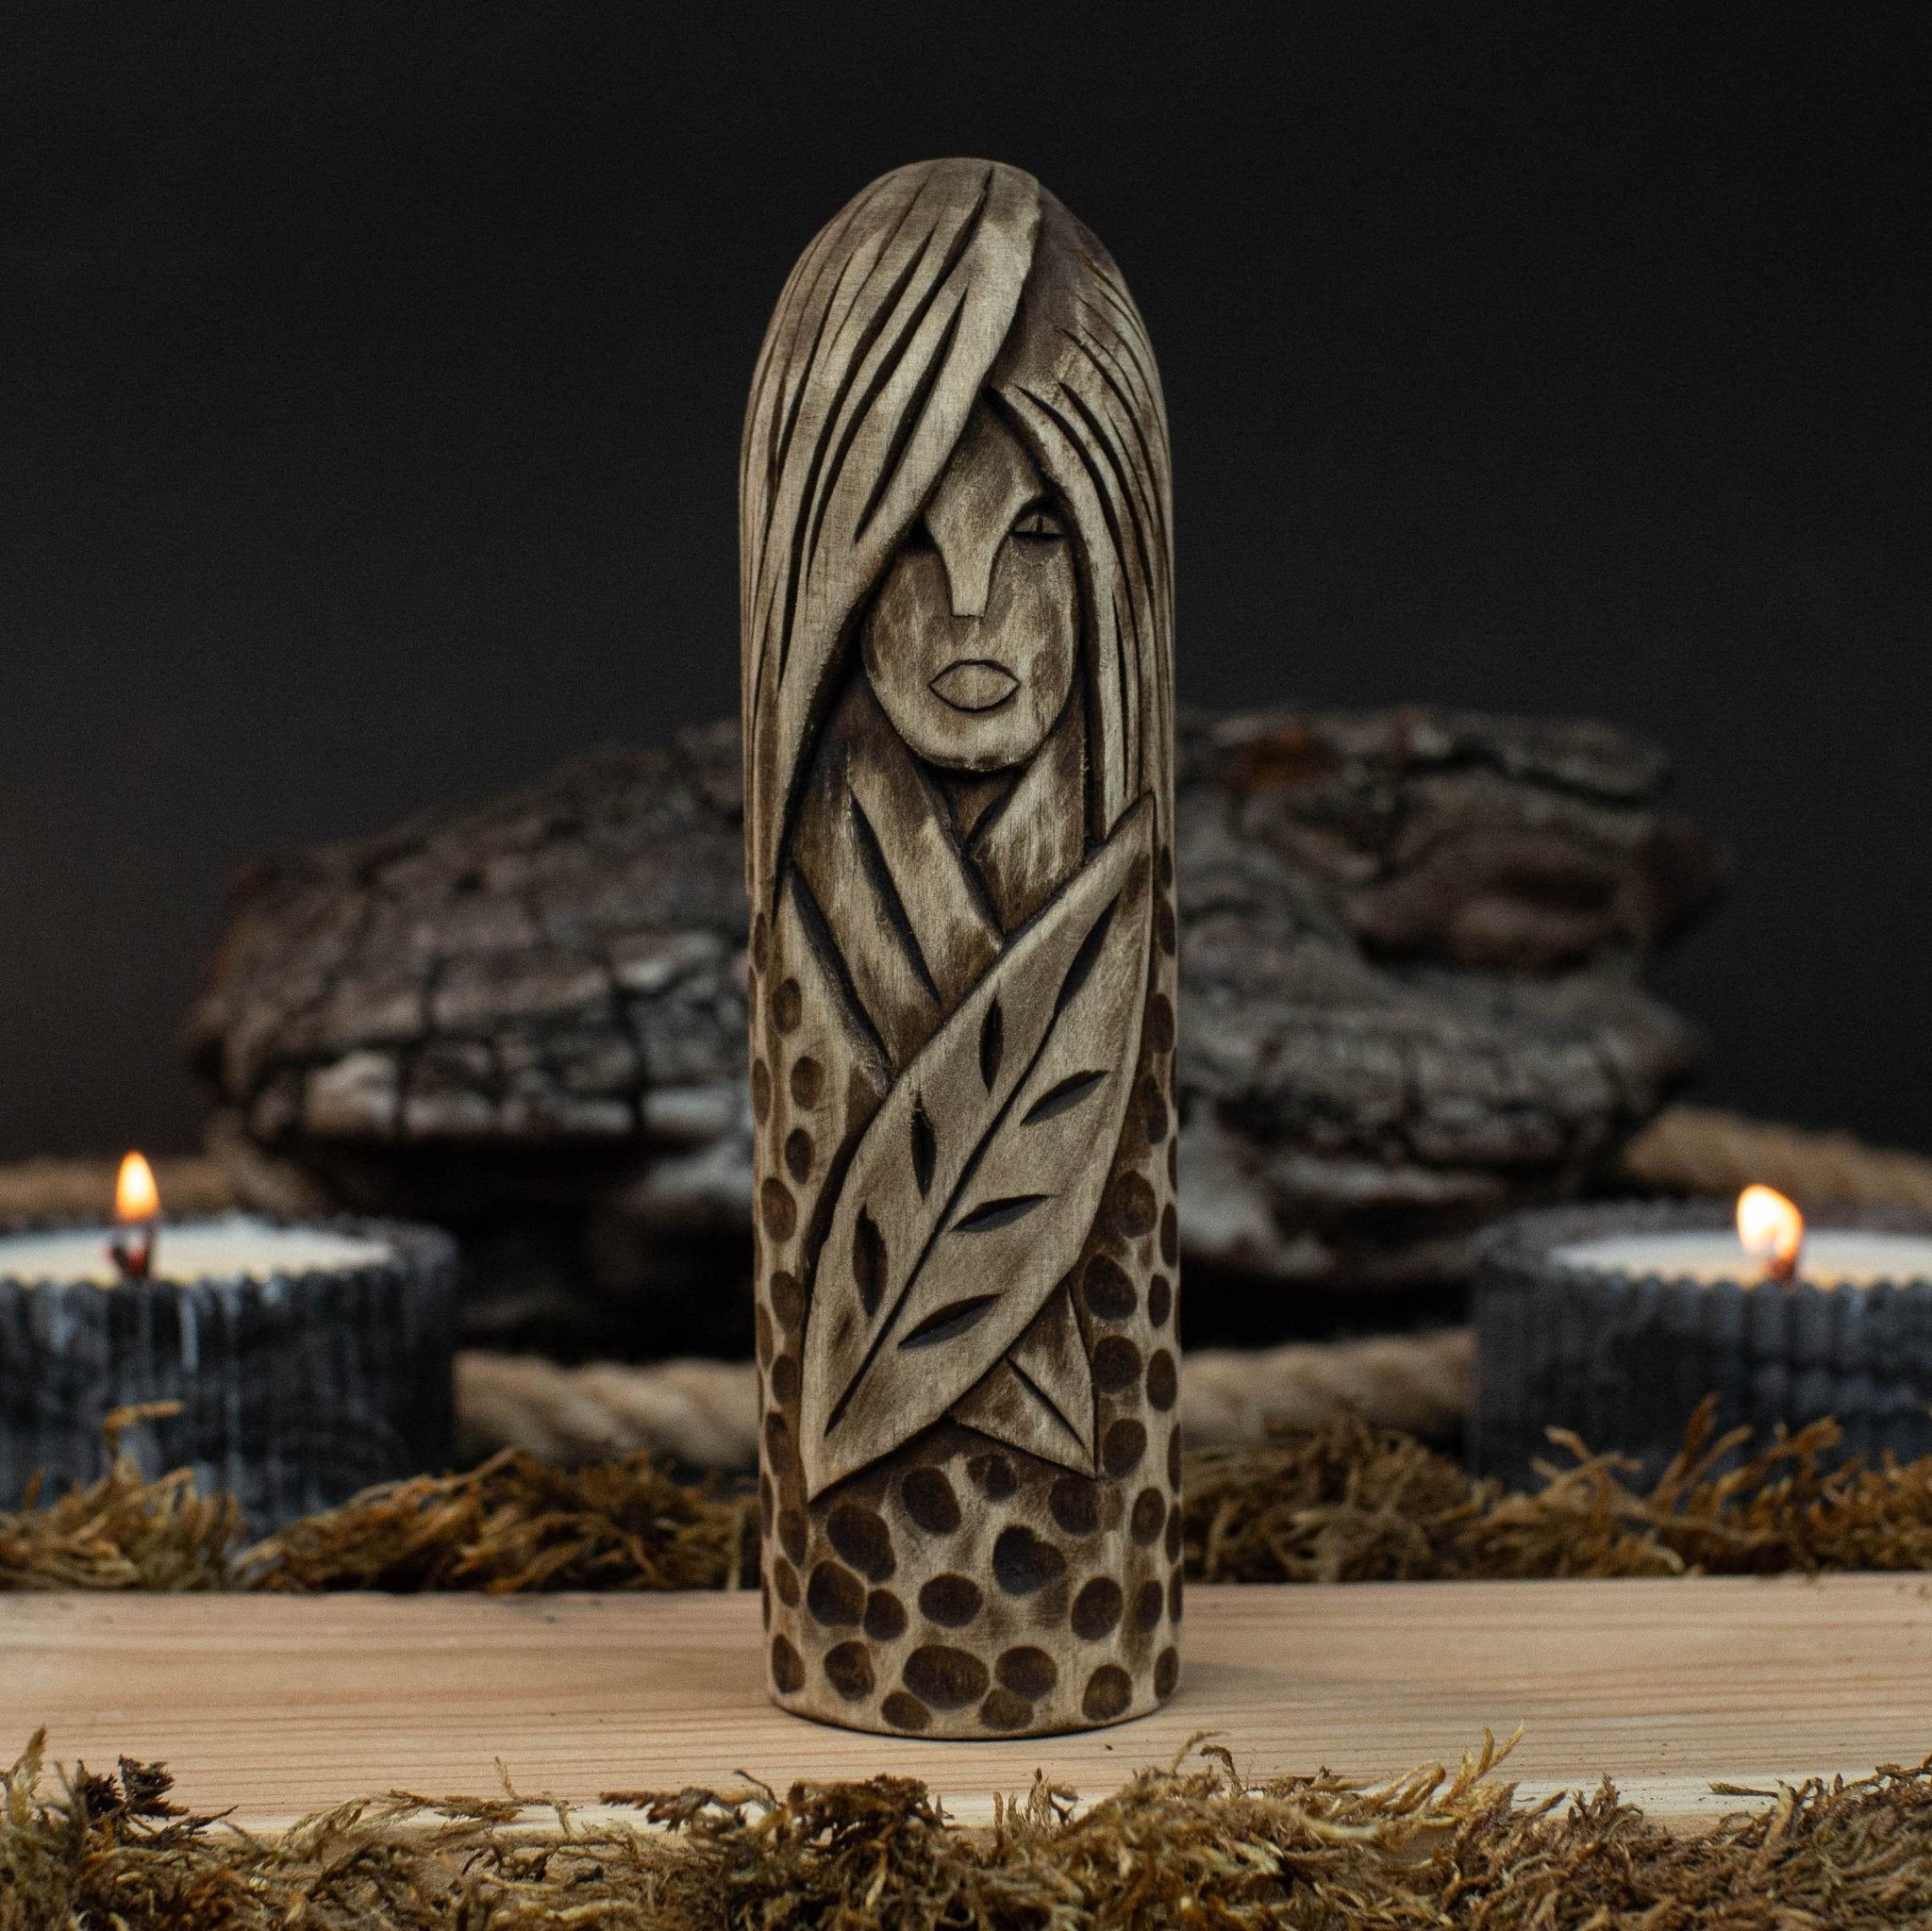
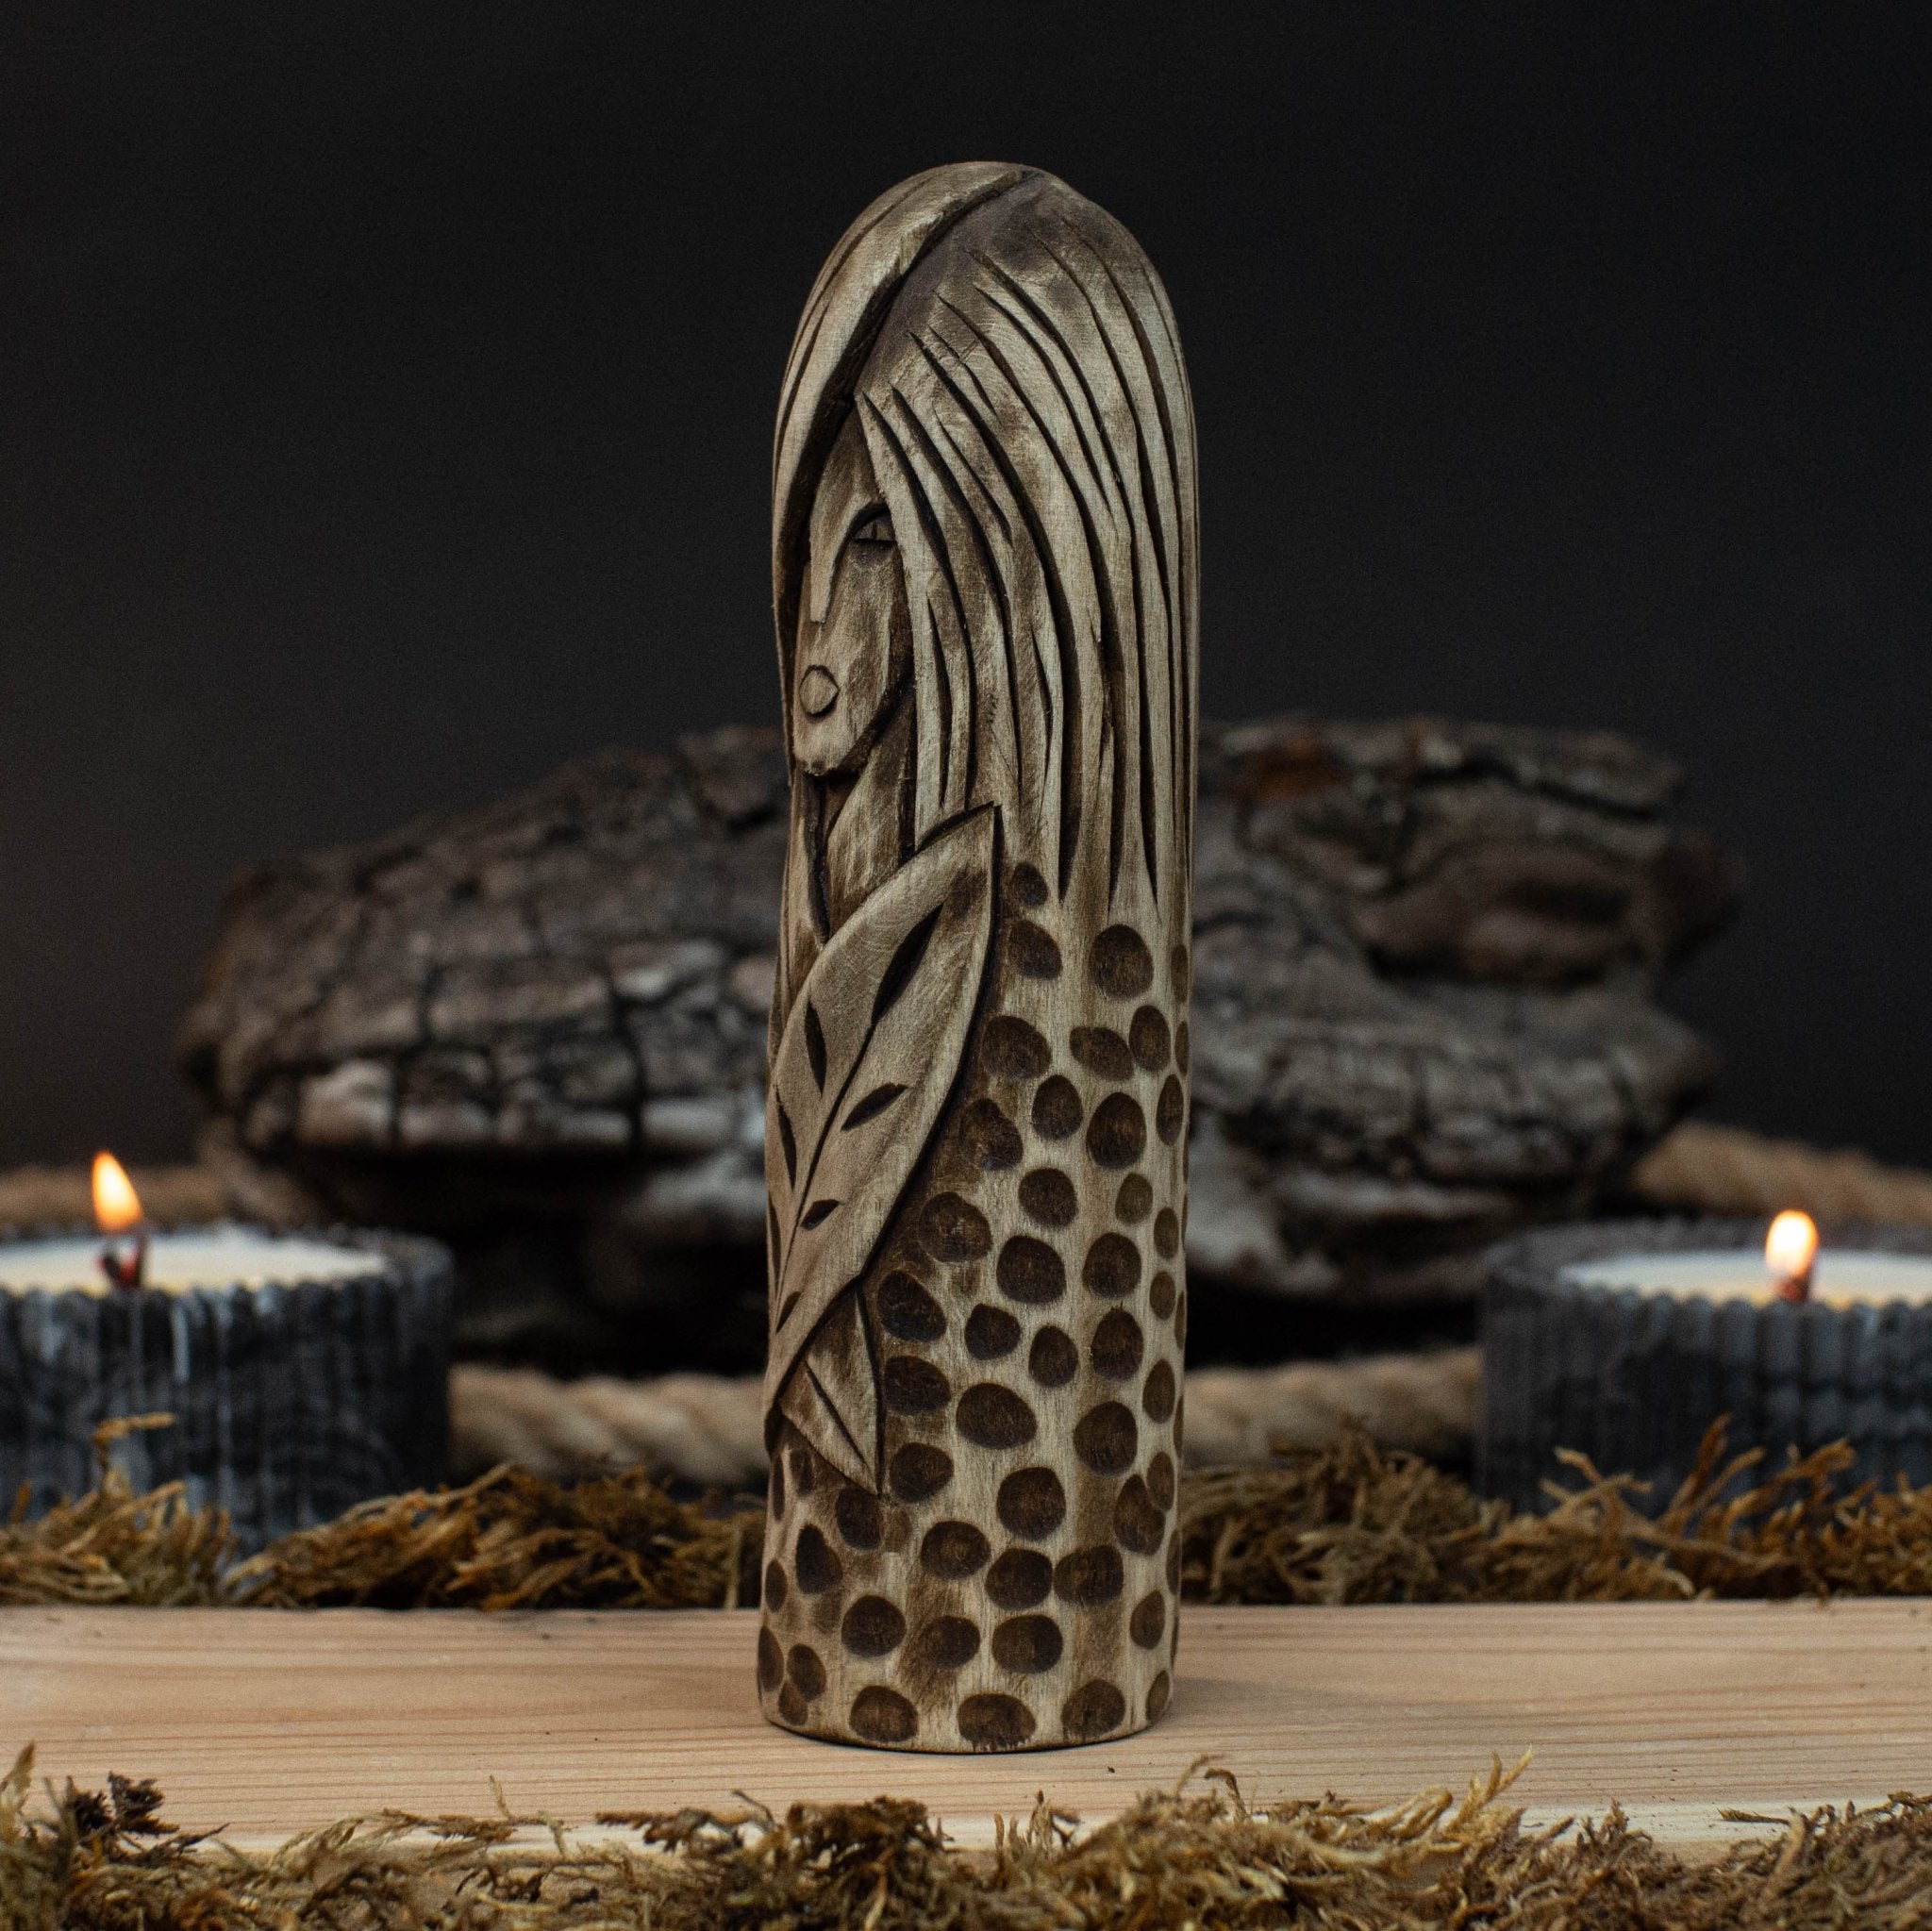
- Freyja — graceful and powerful, depicted with flowing hair, necklace, or falcon-feather cloak.
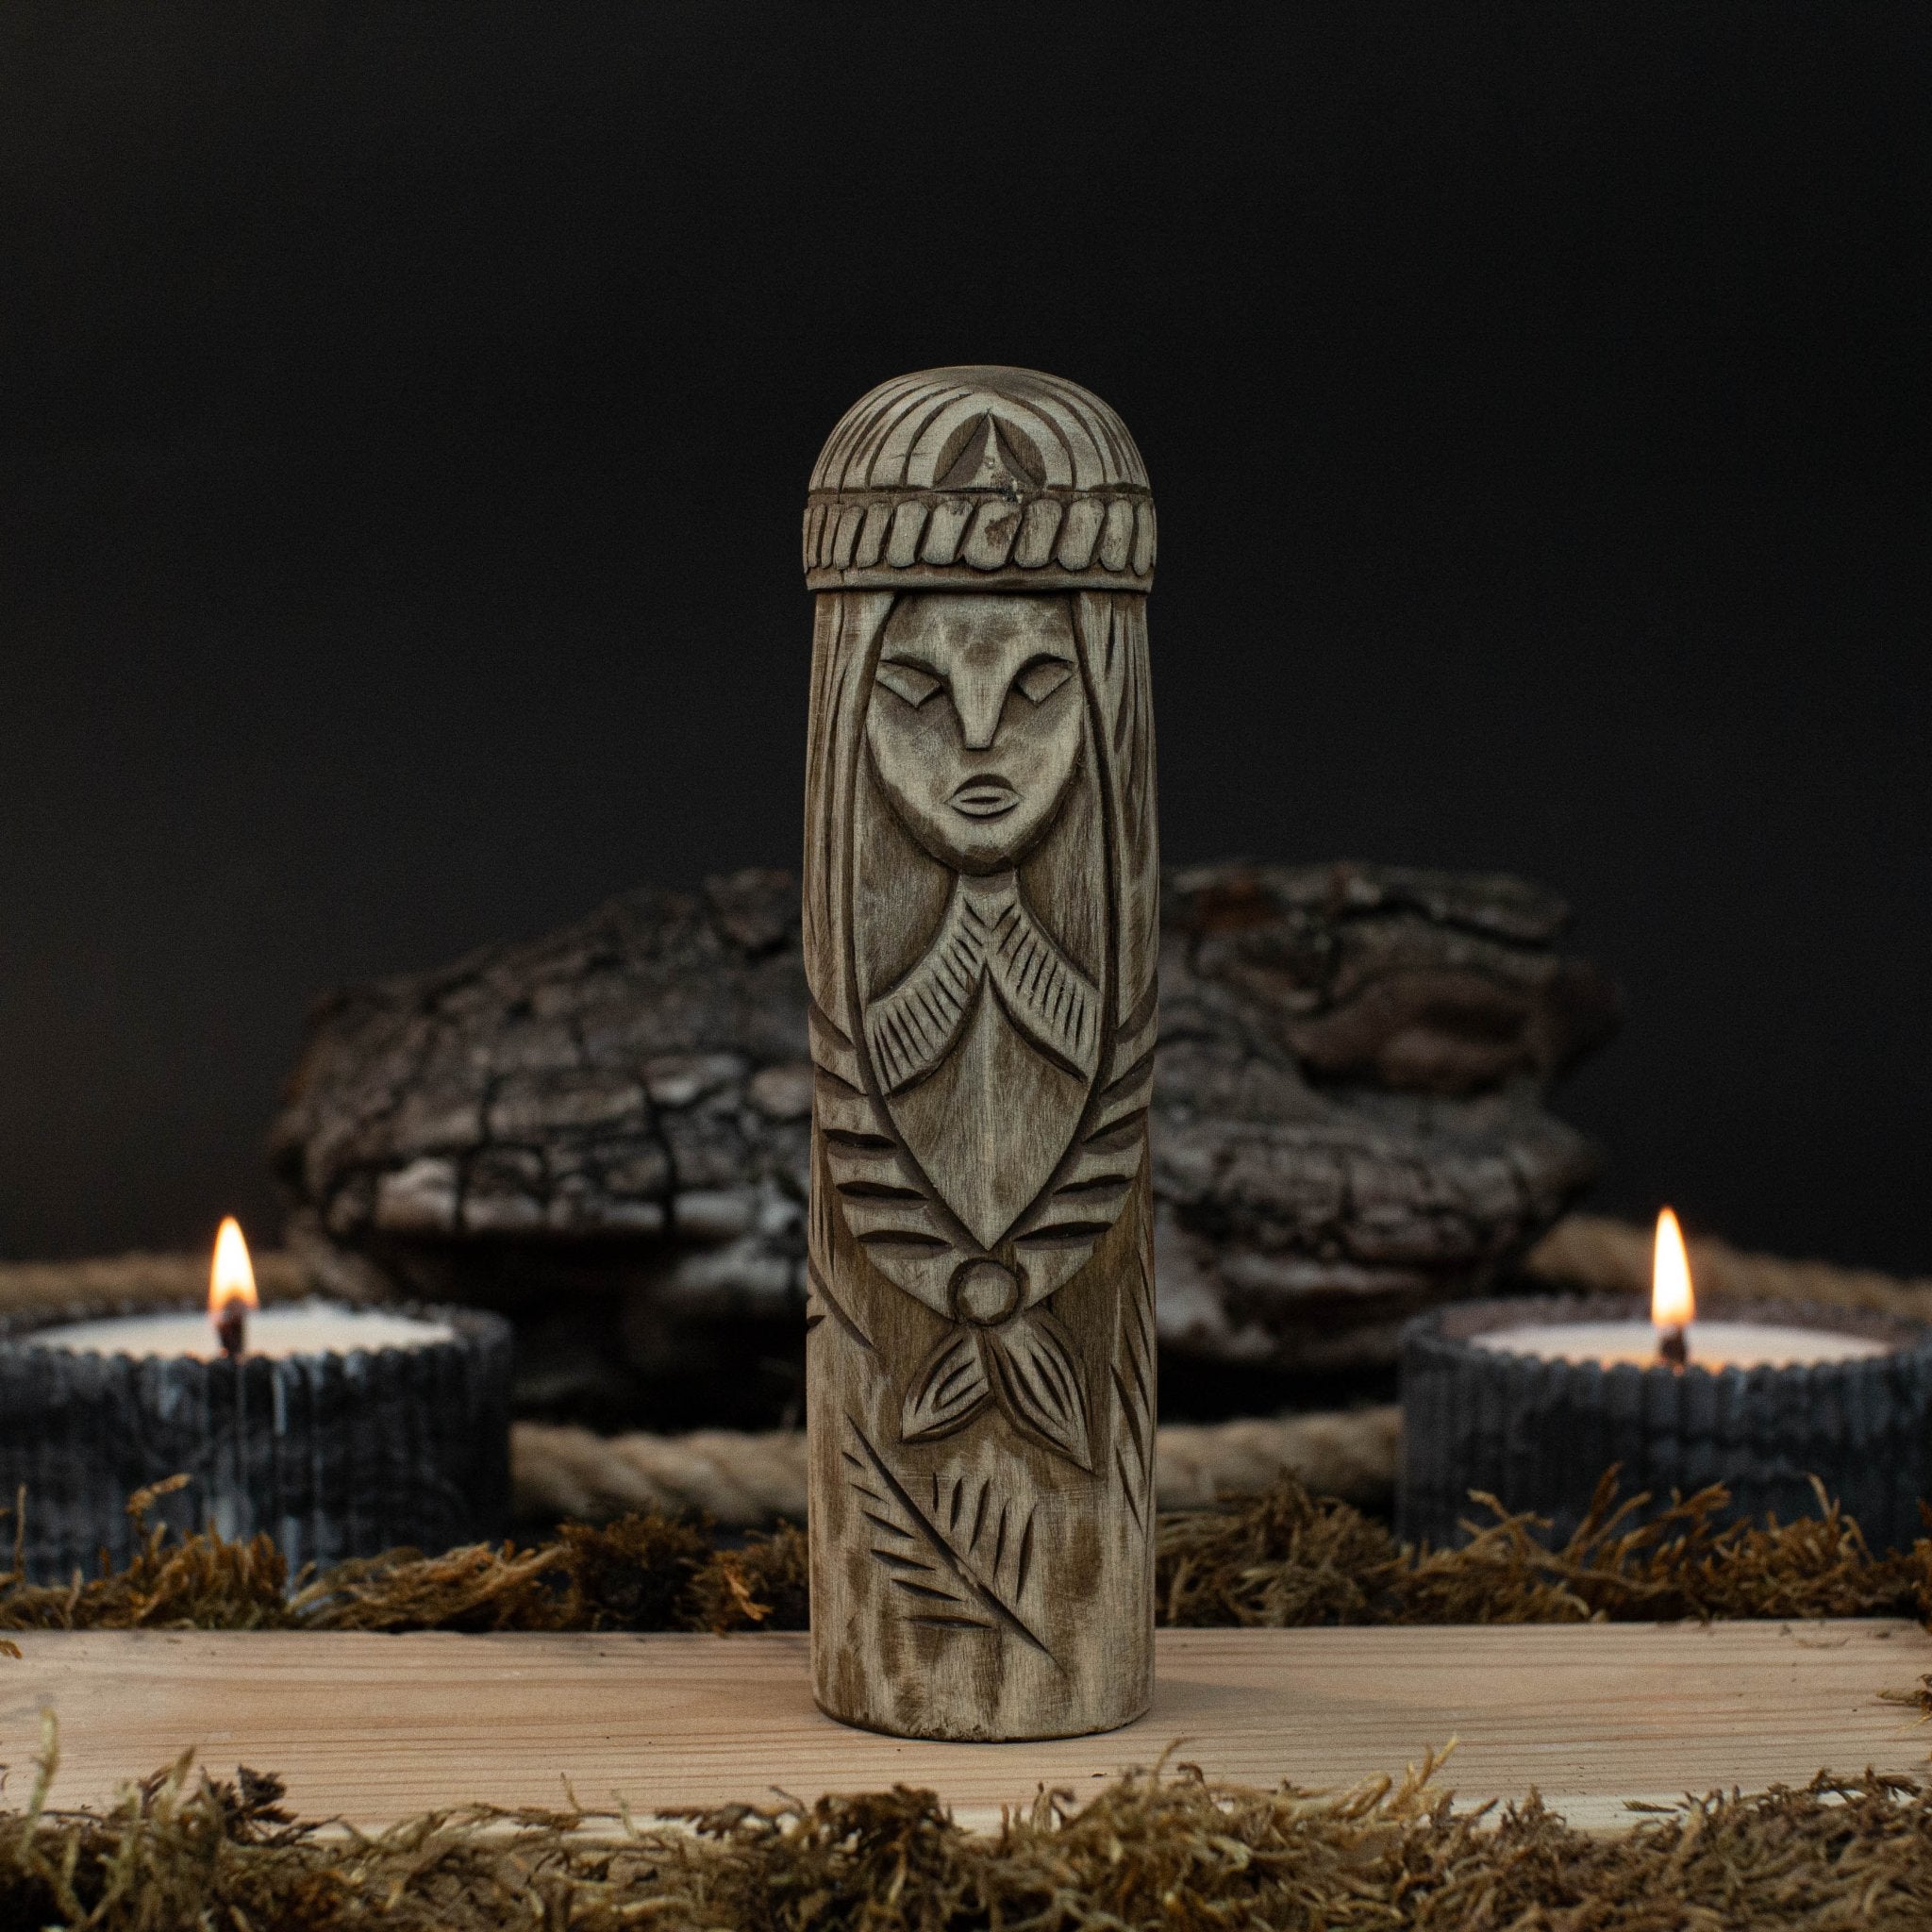
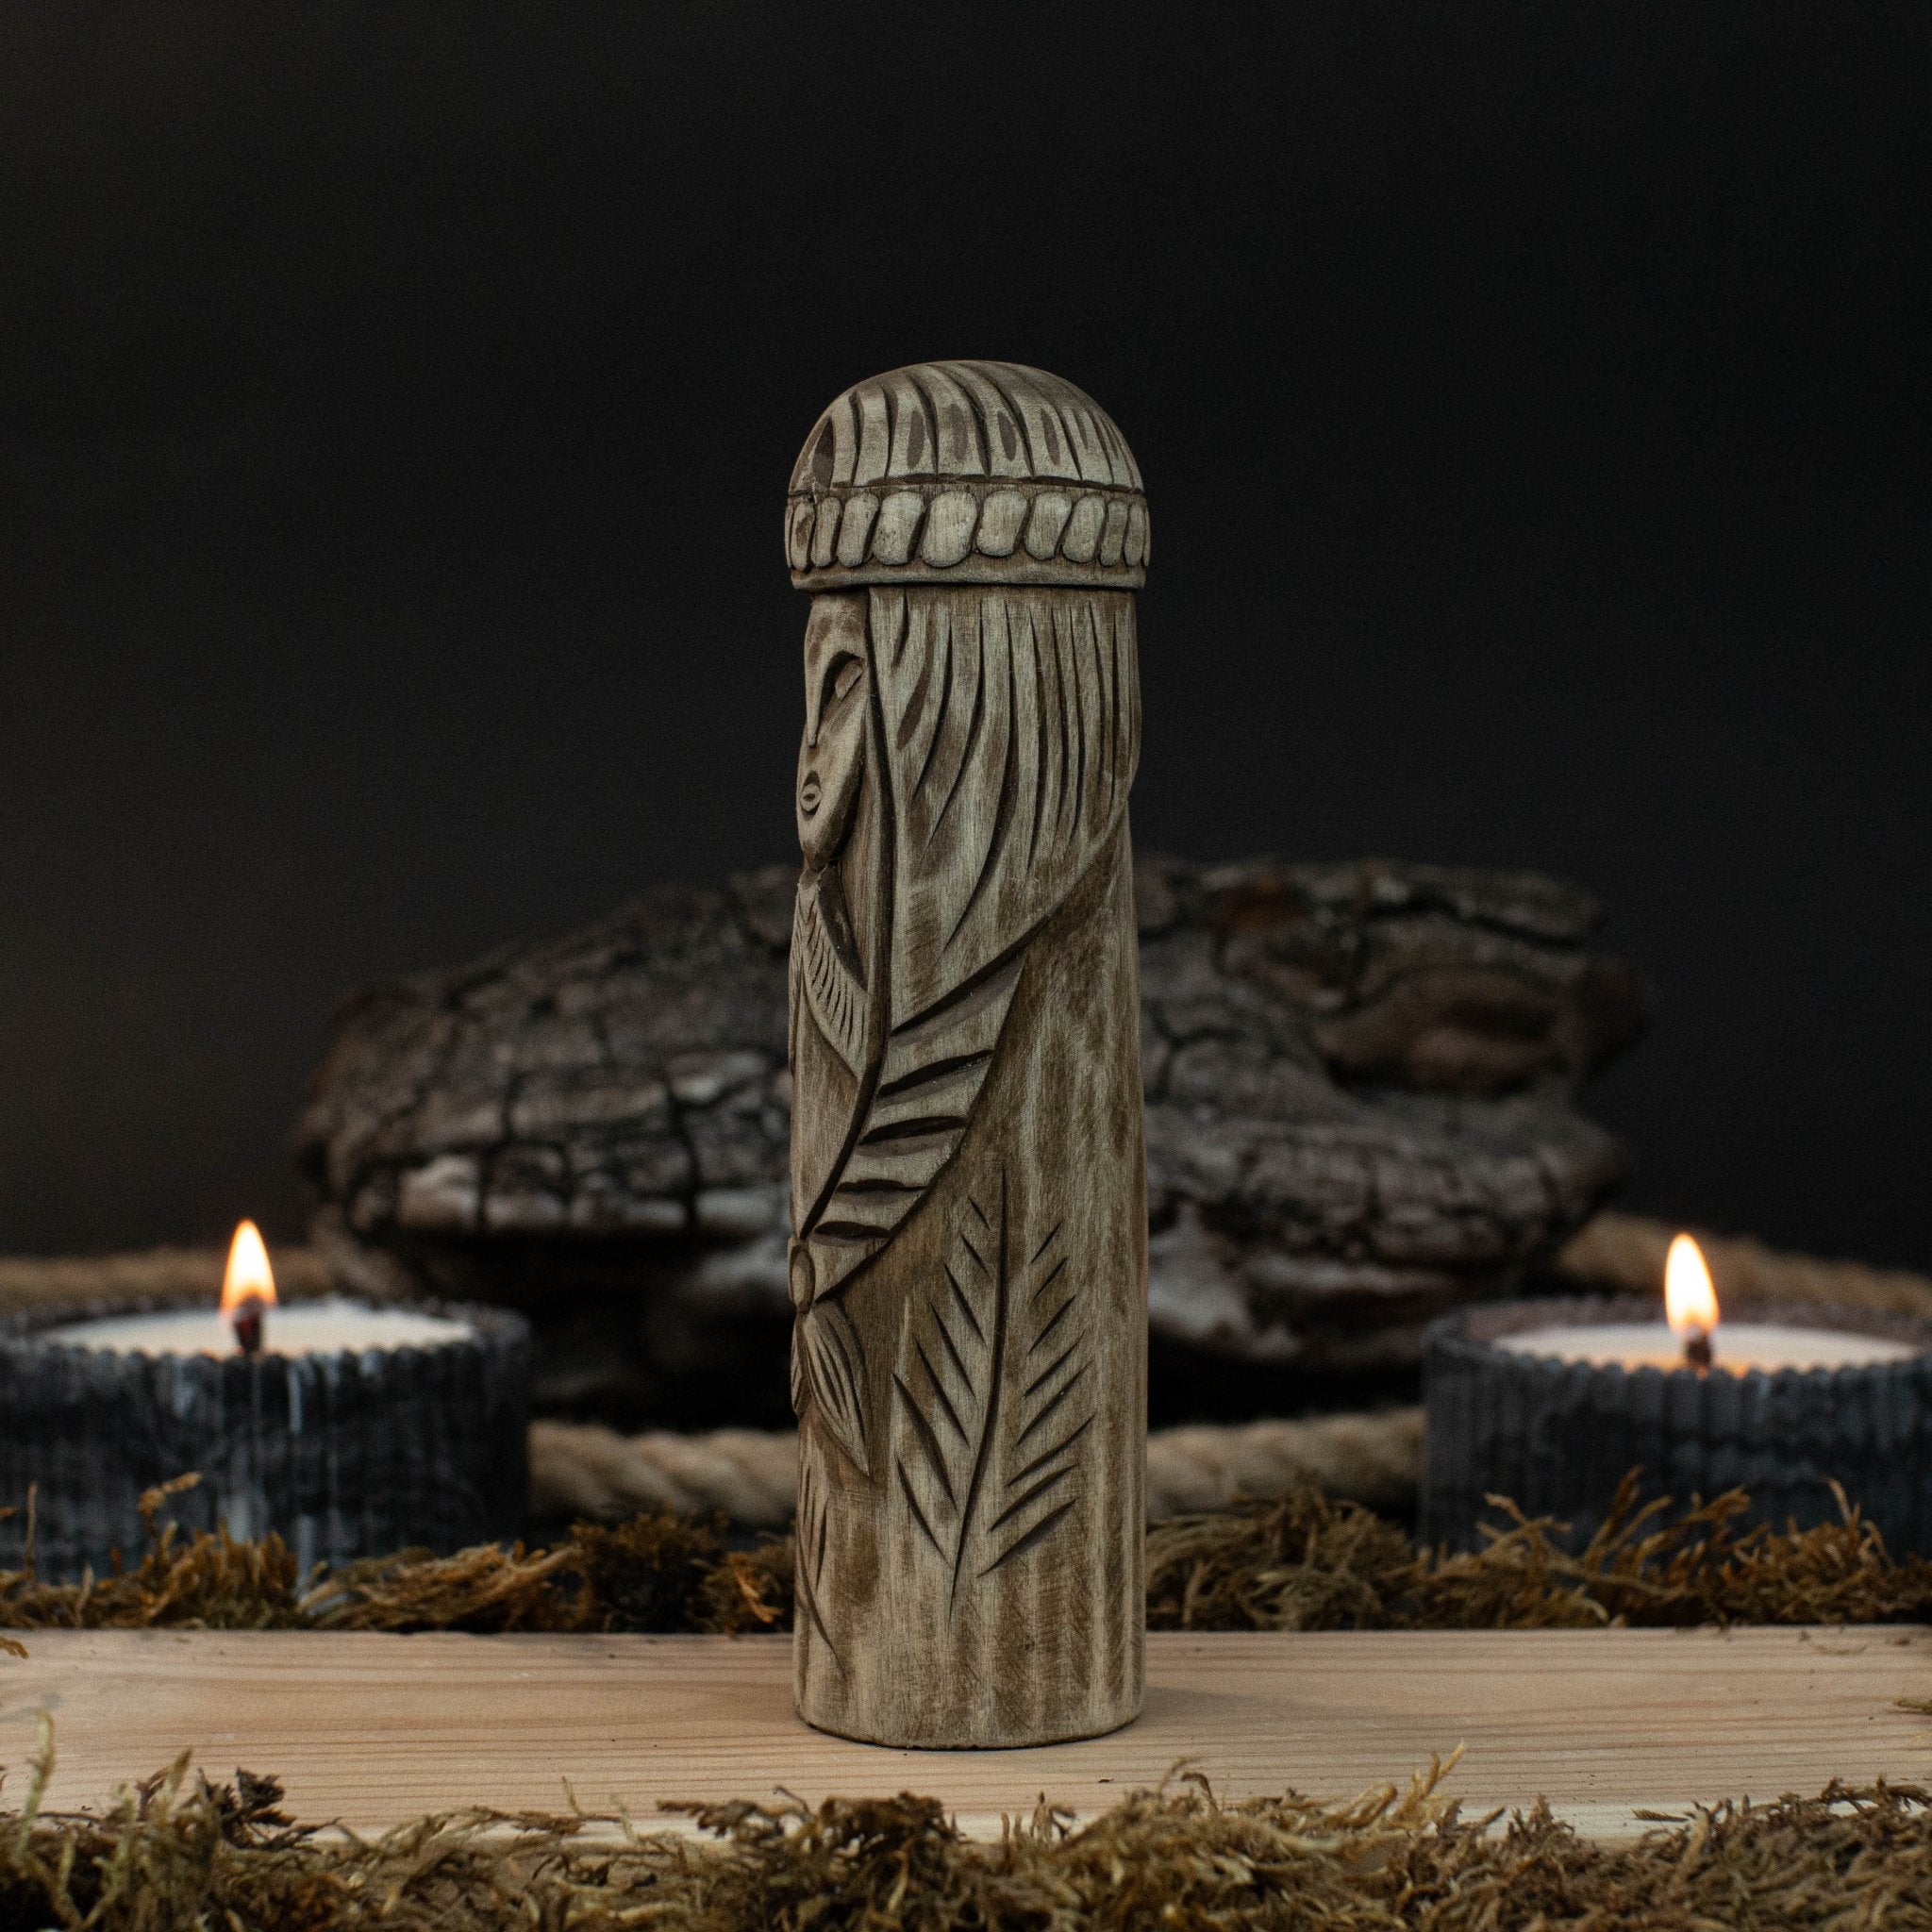
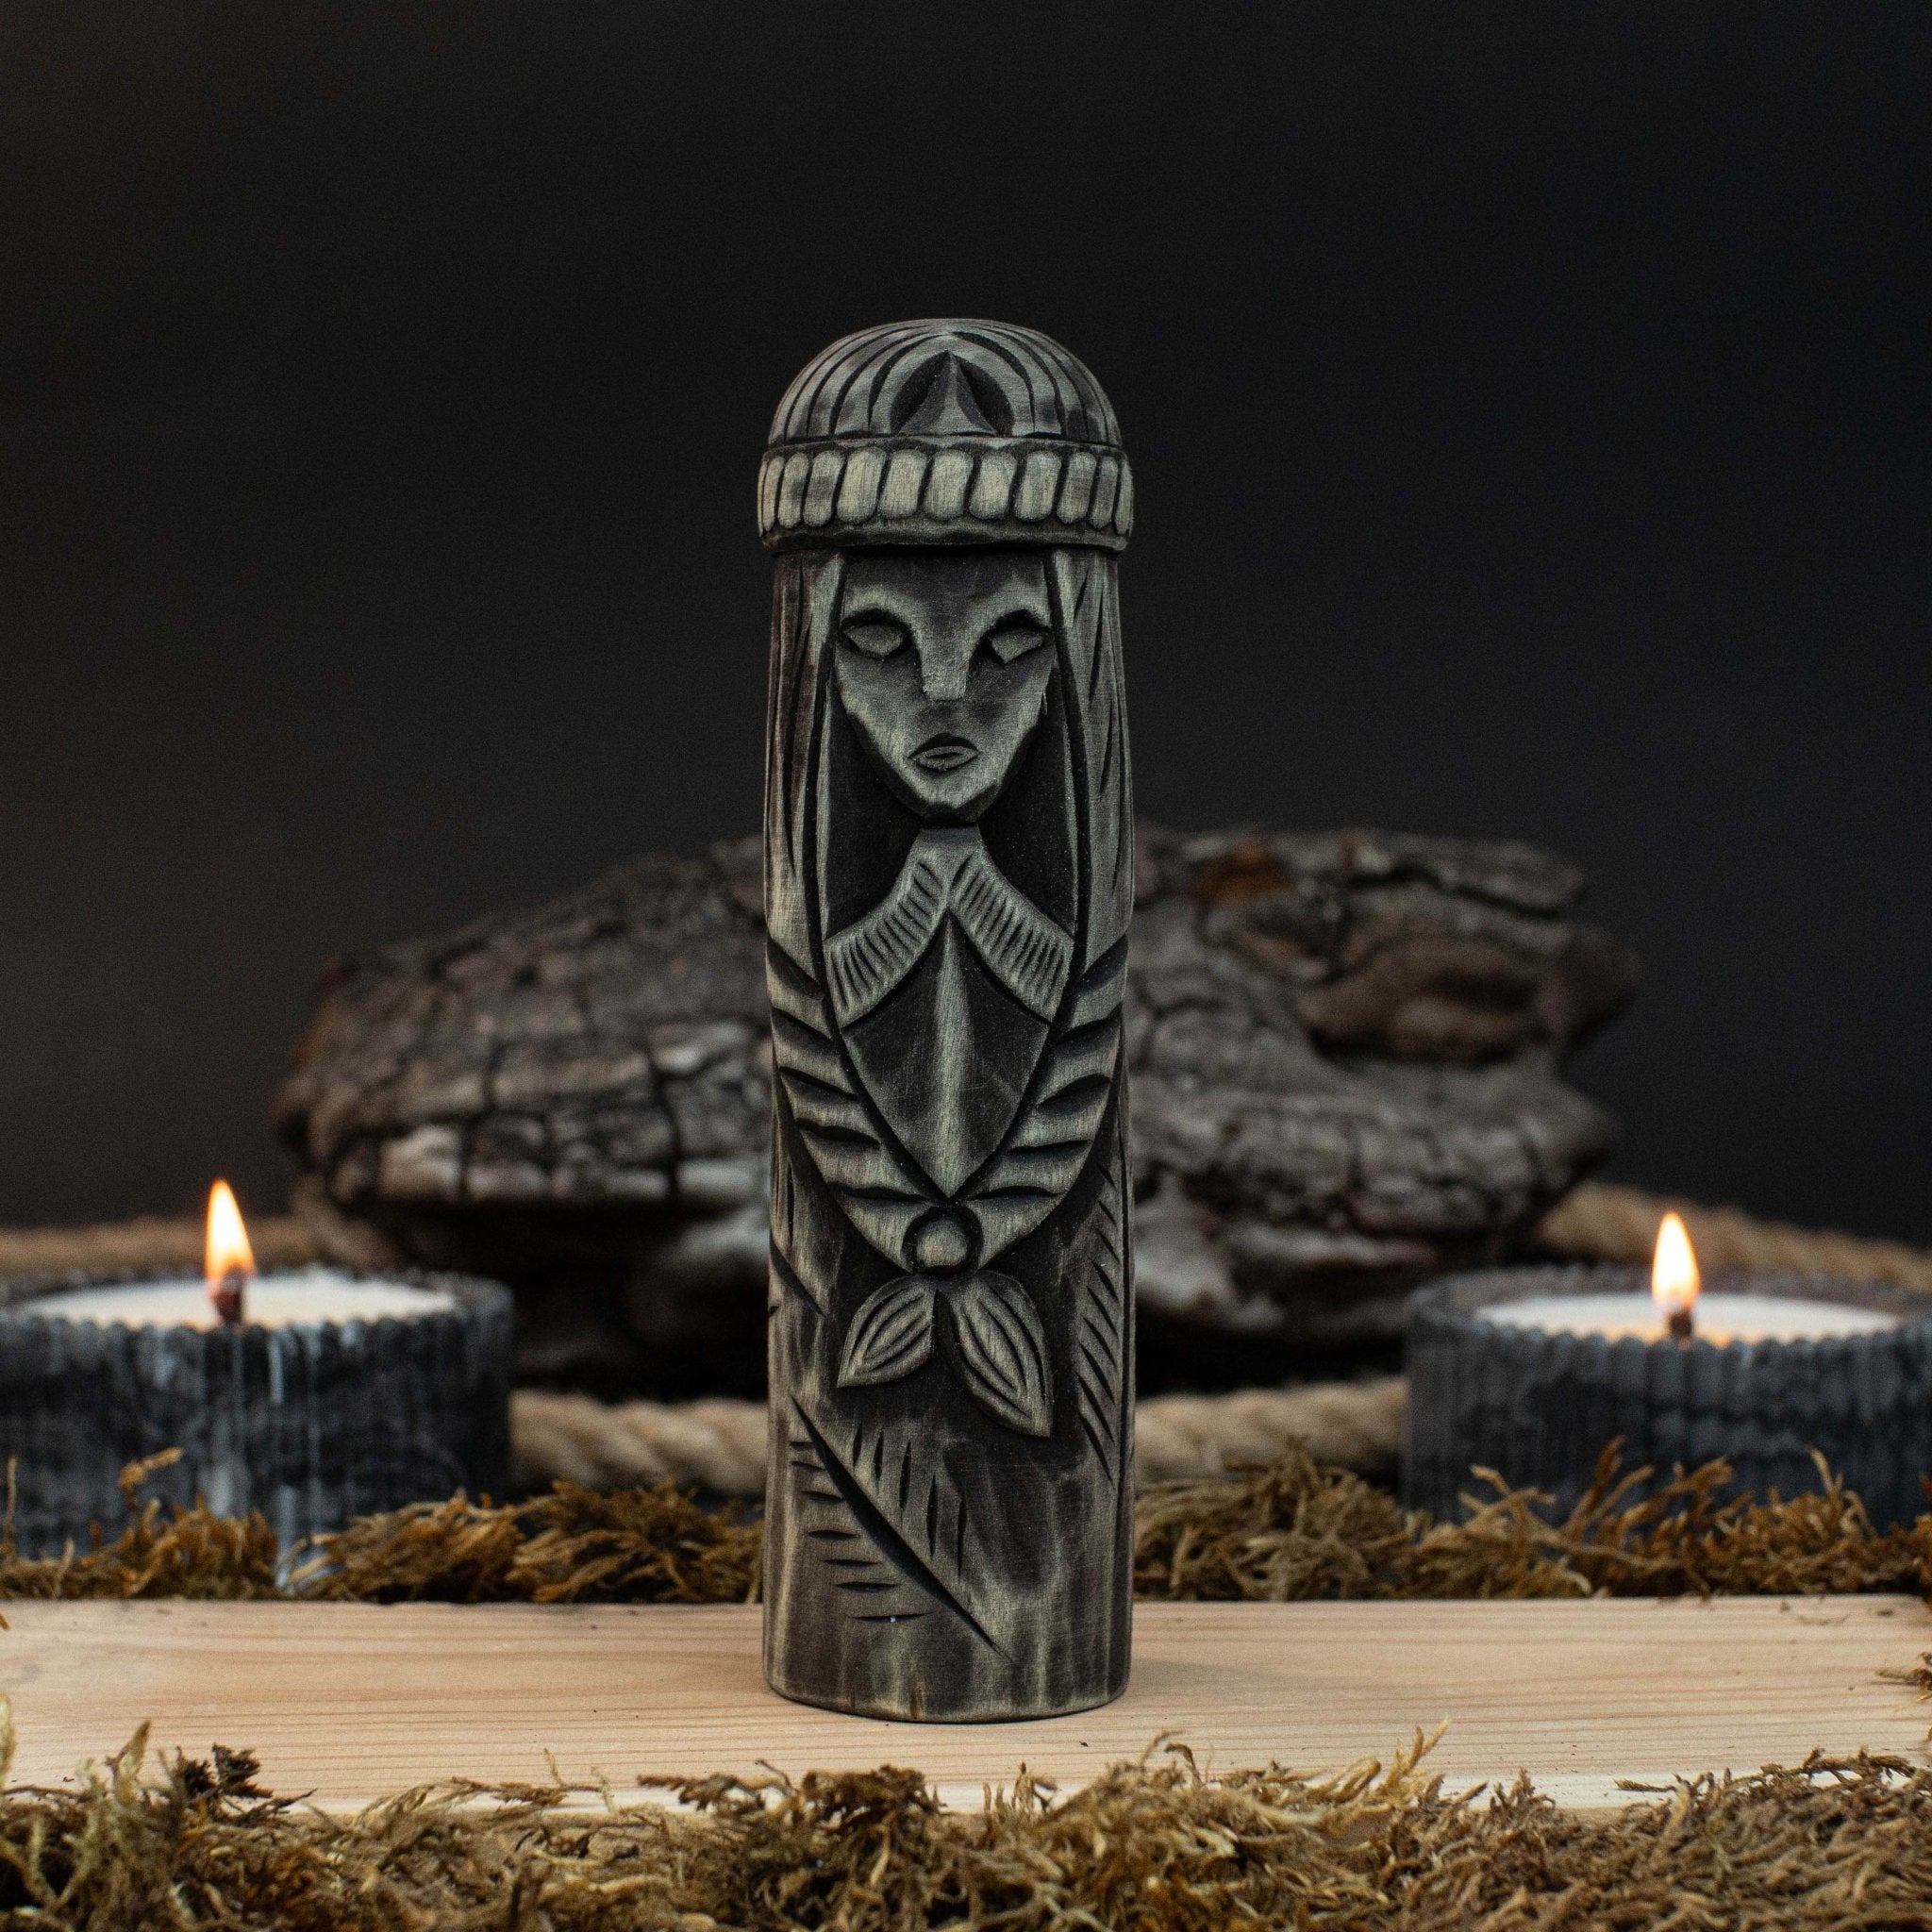
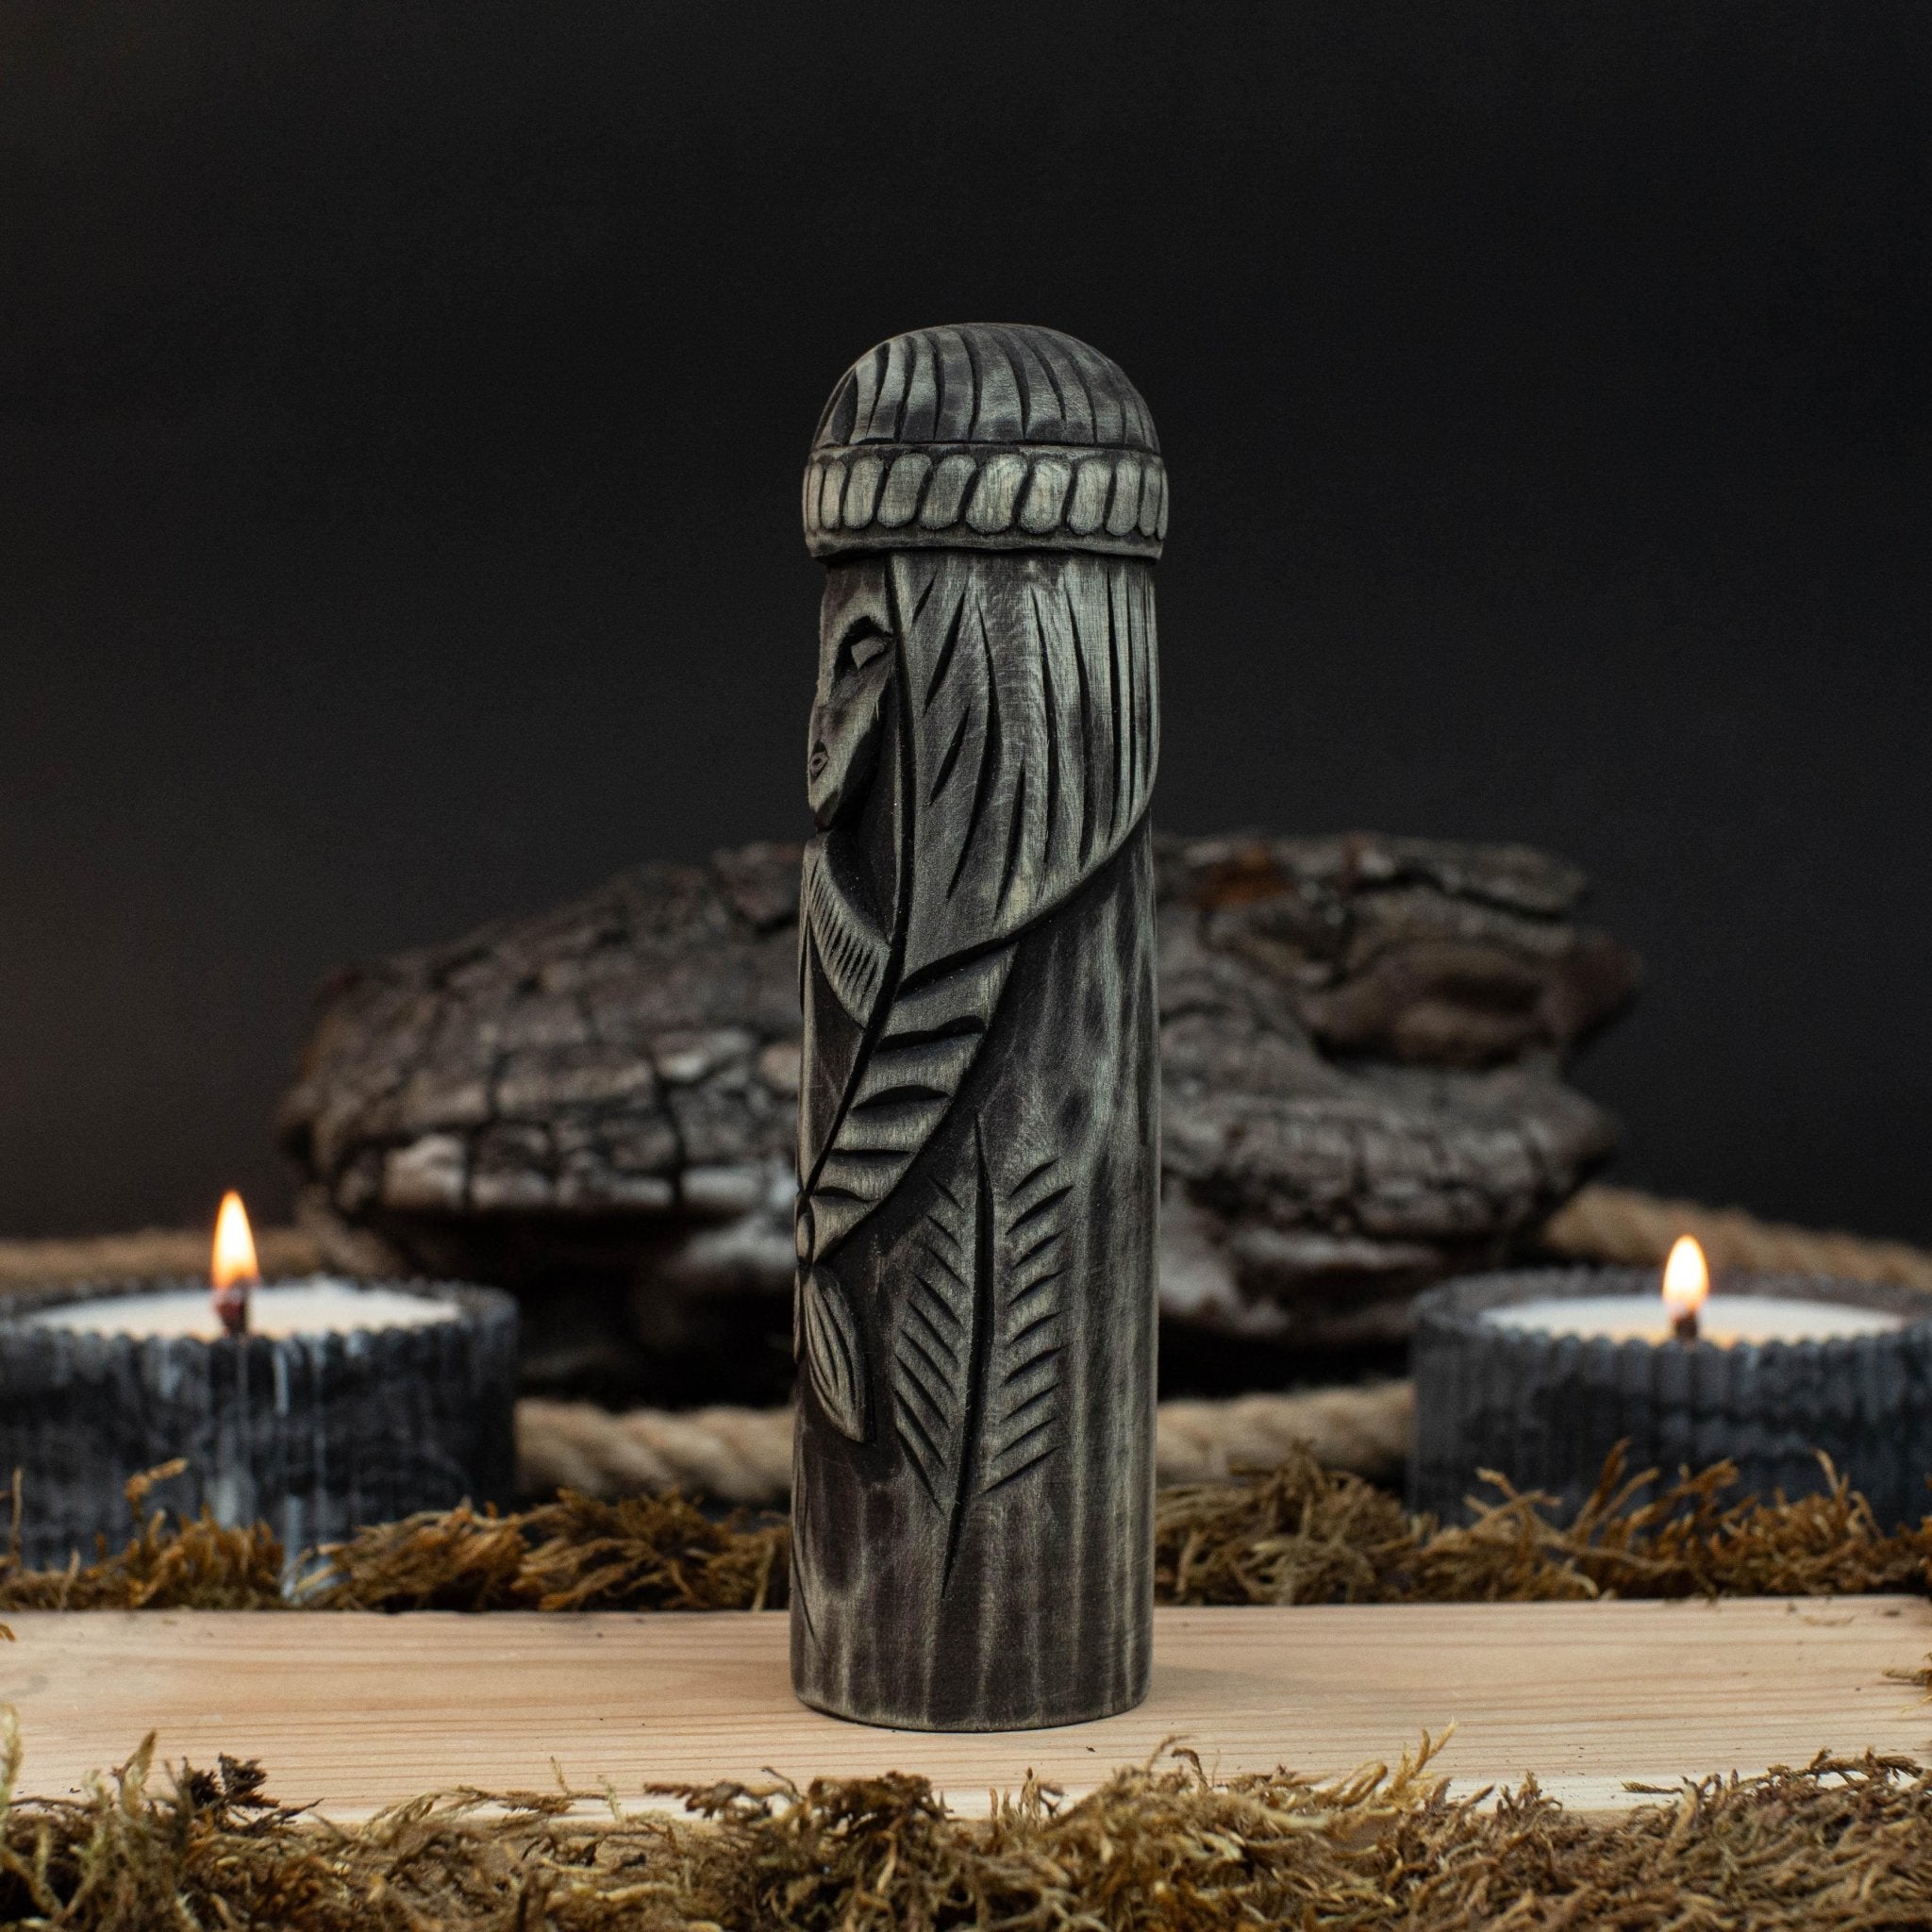
Scandinavian Goddess and Mythical Figures
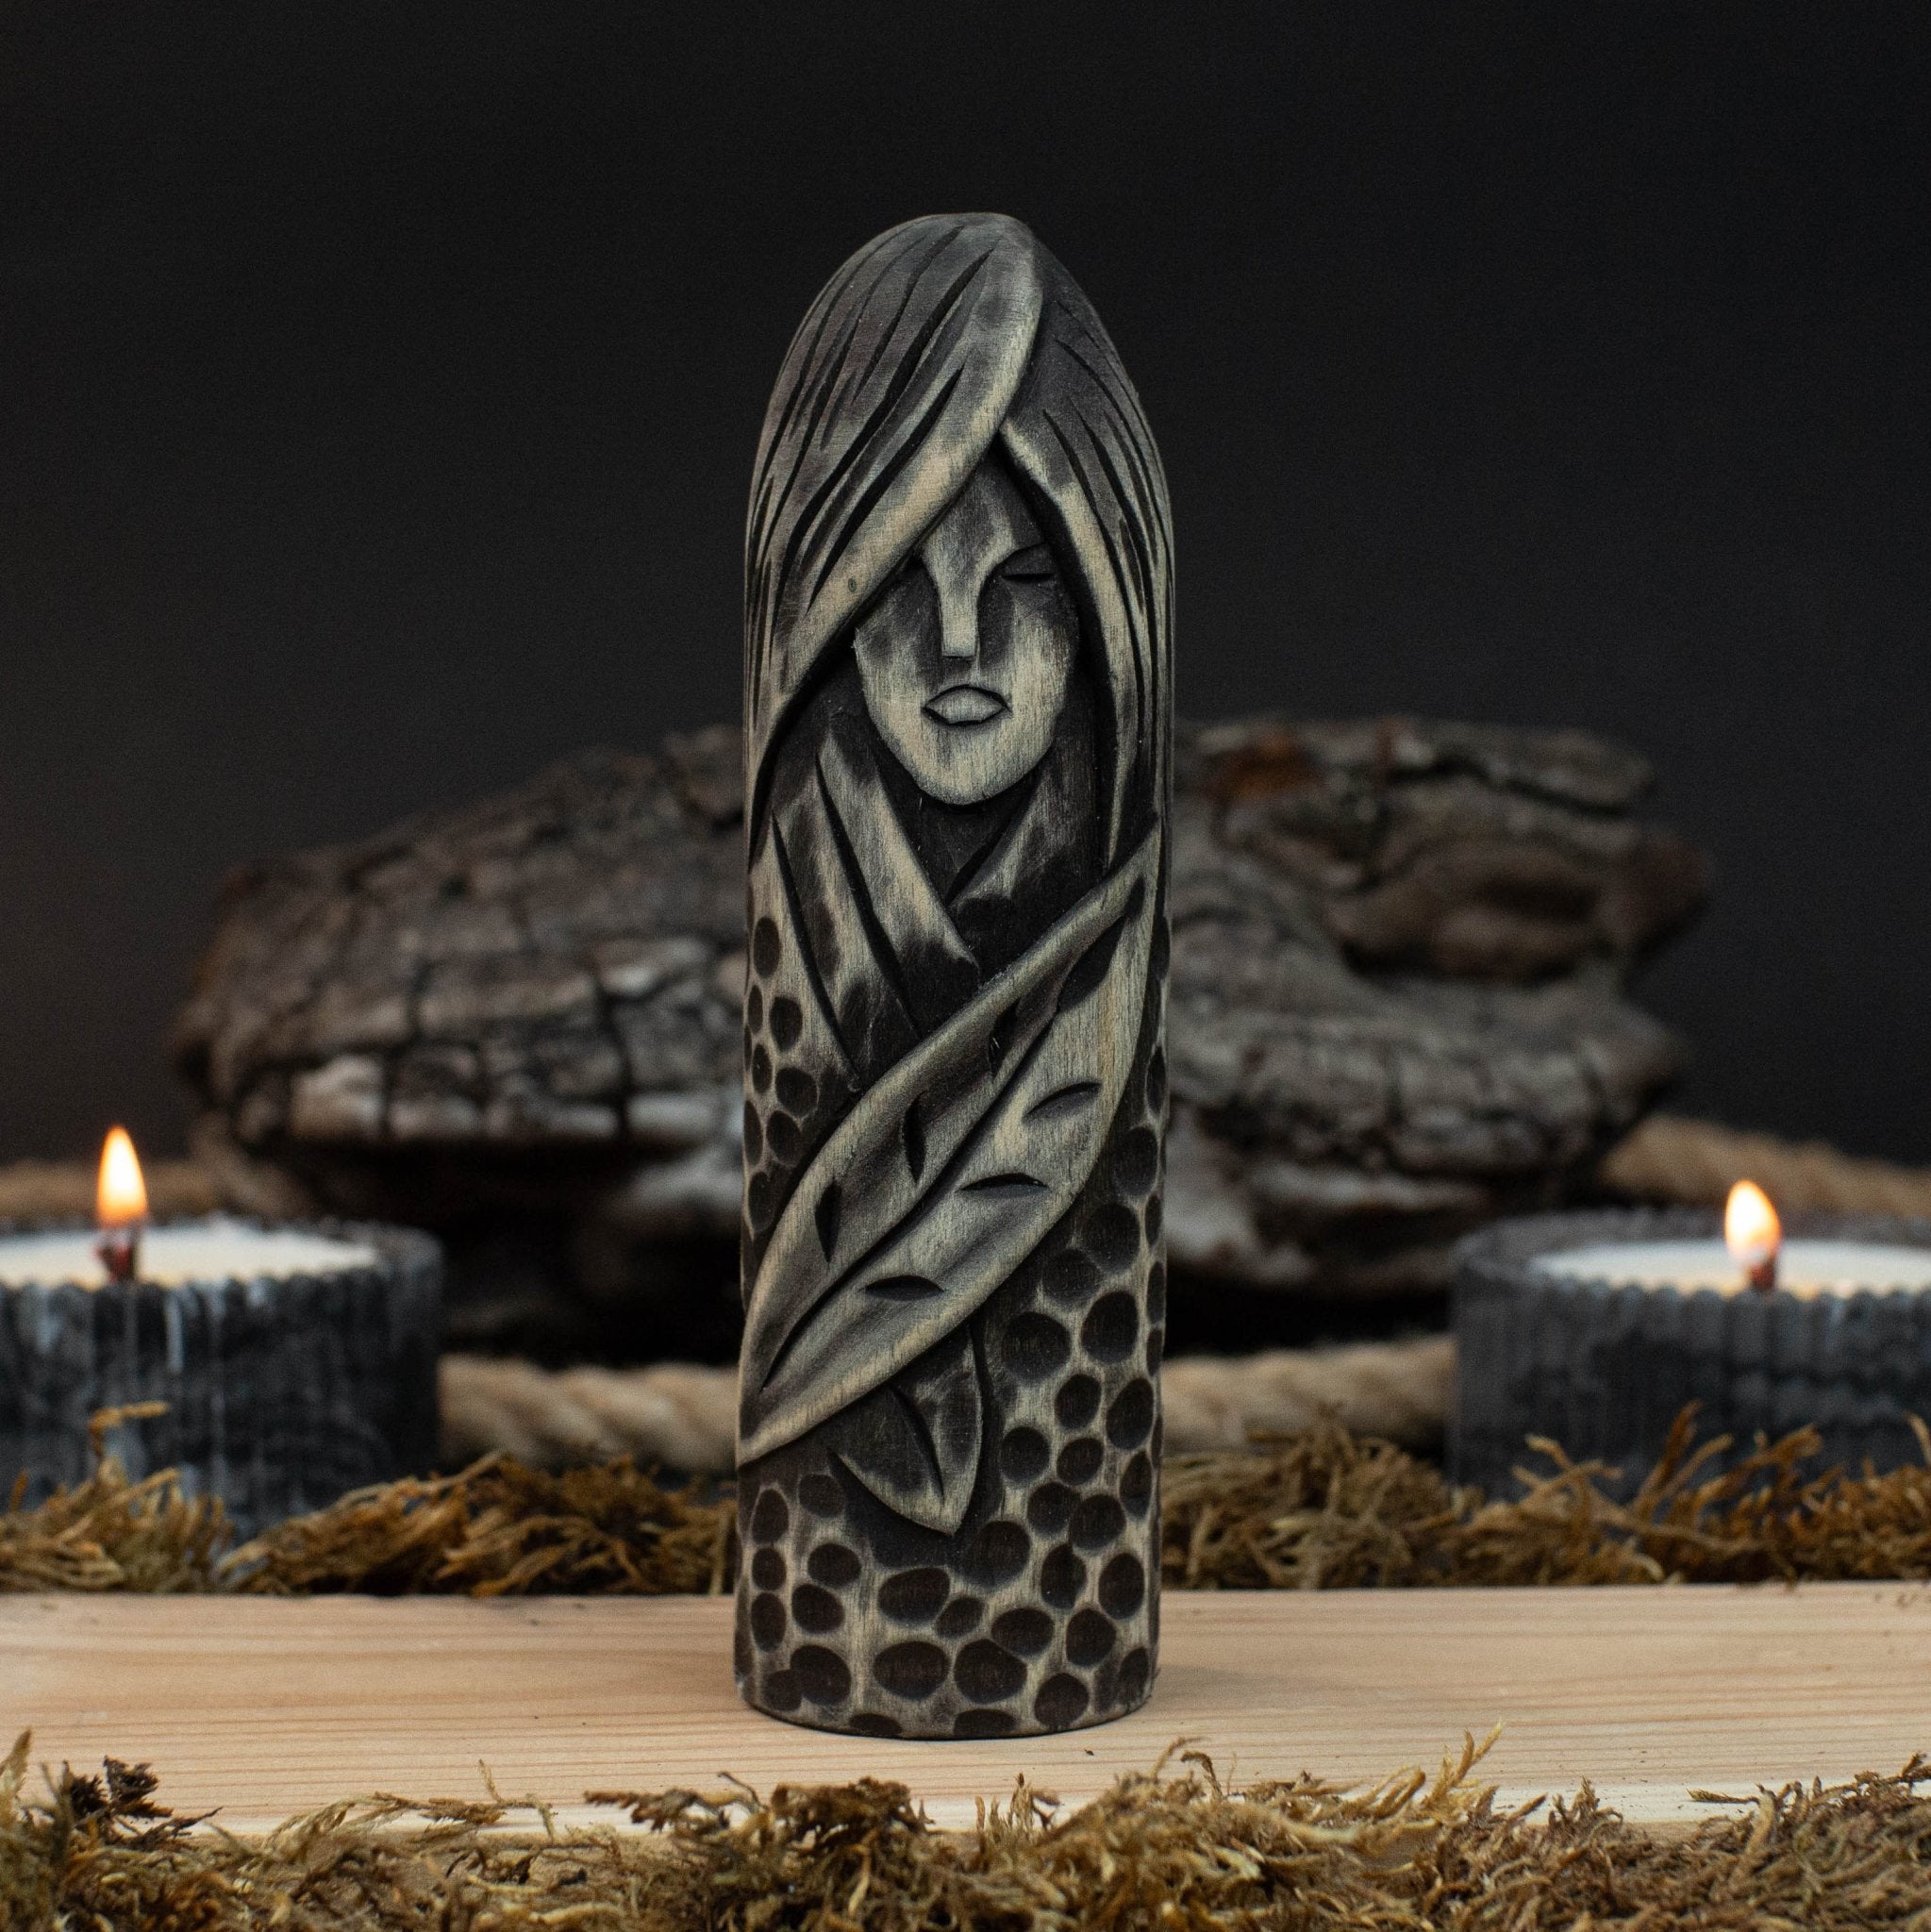
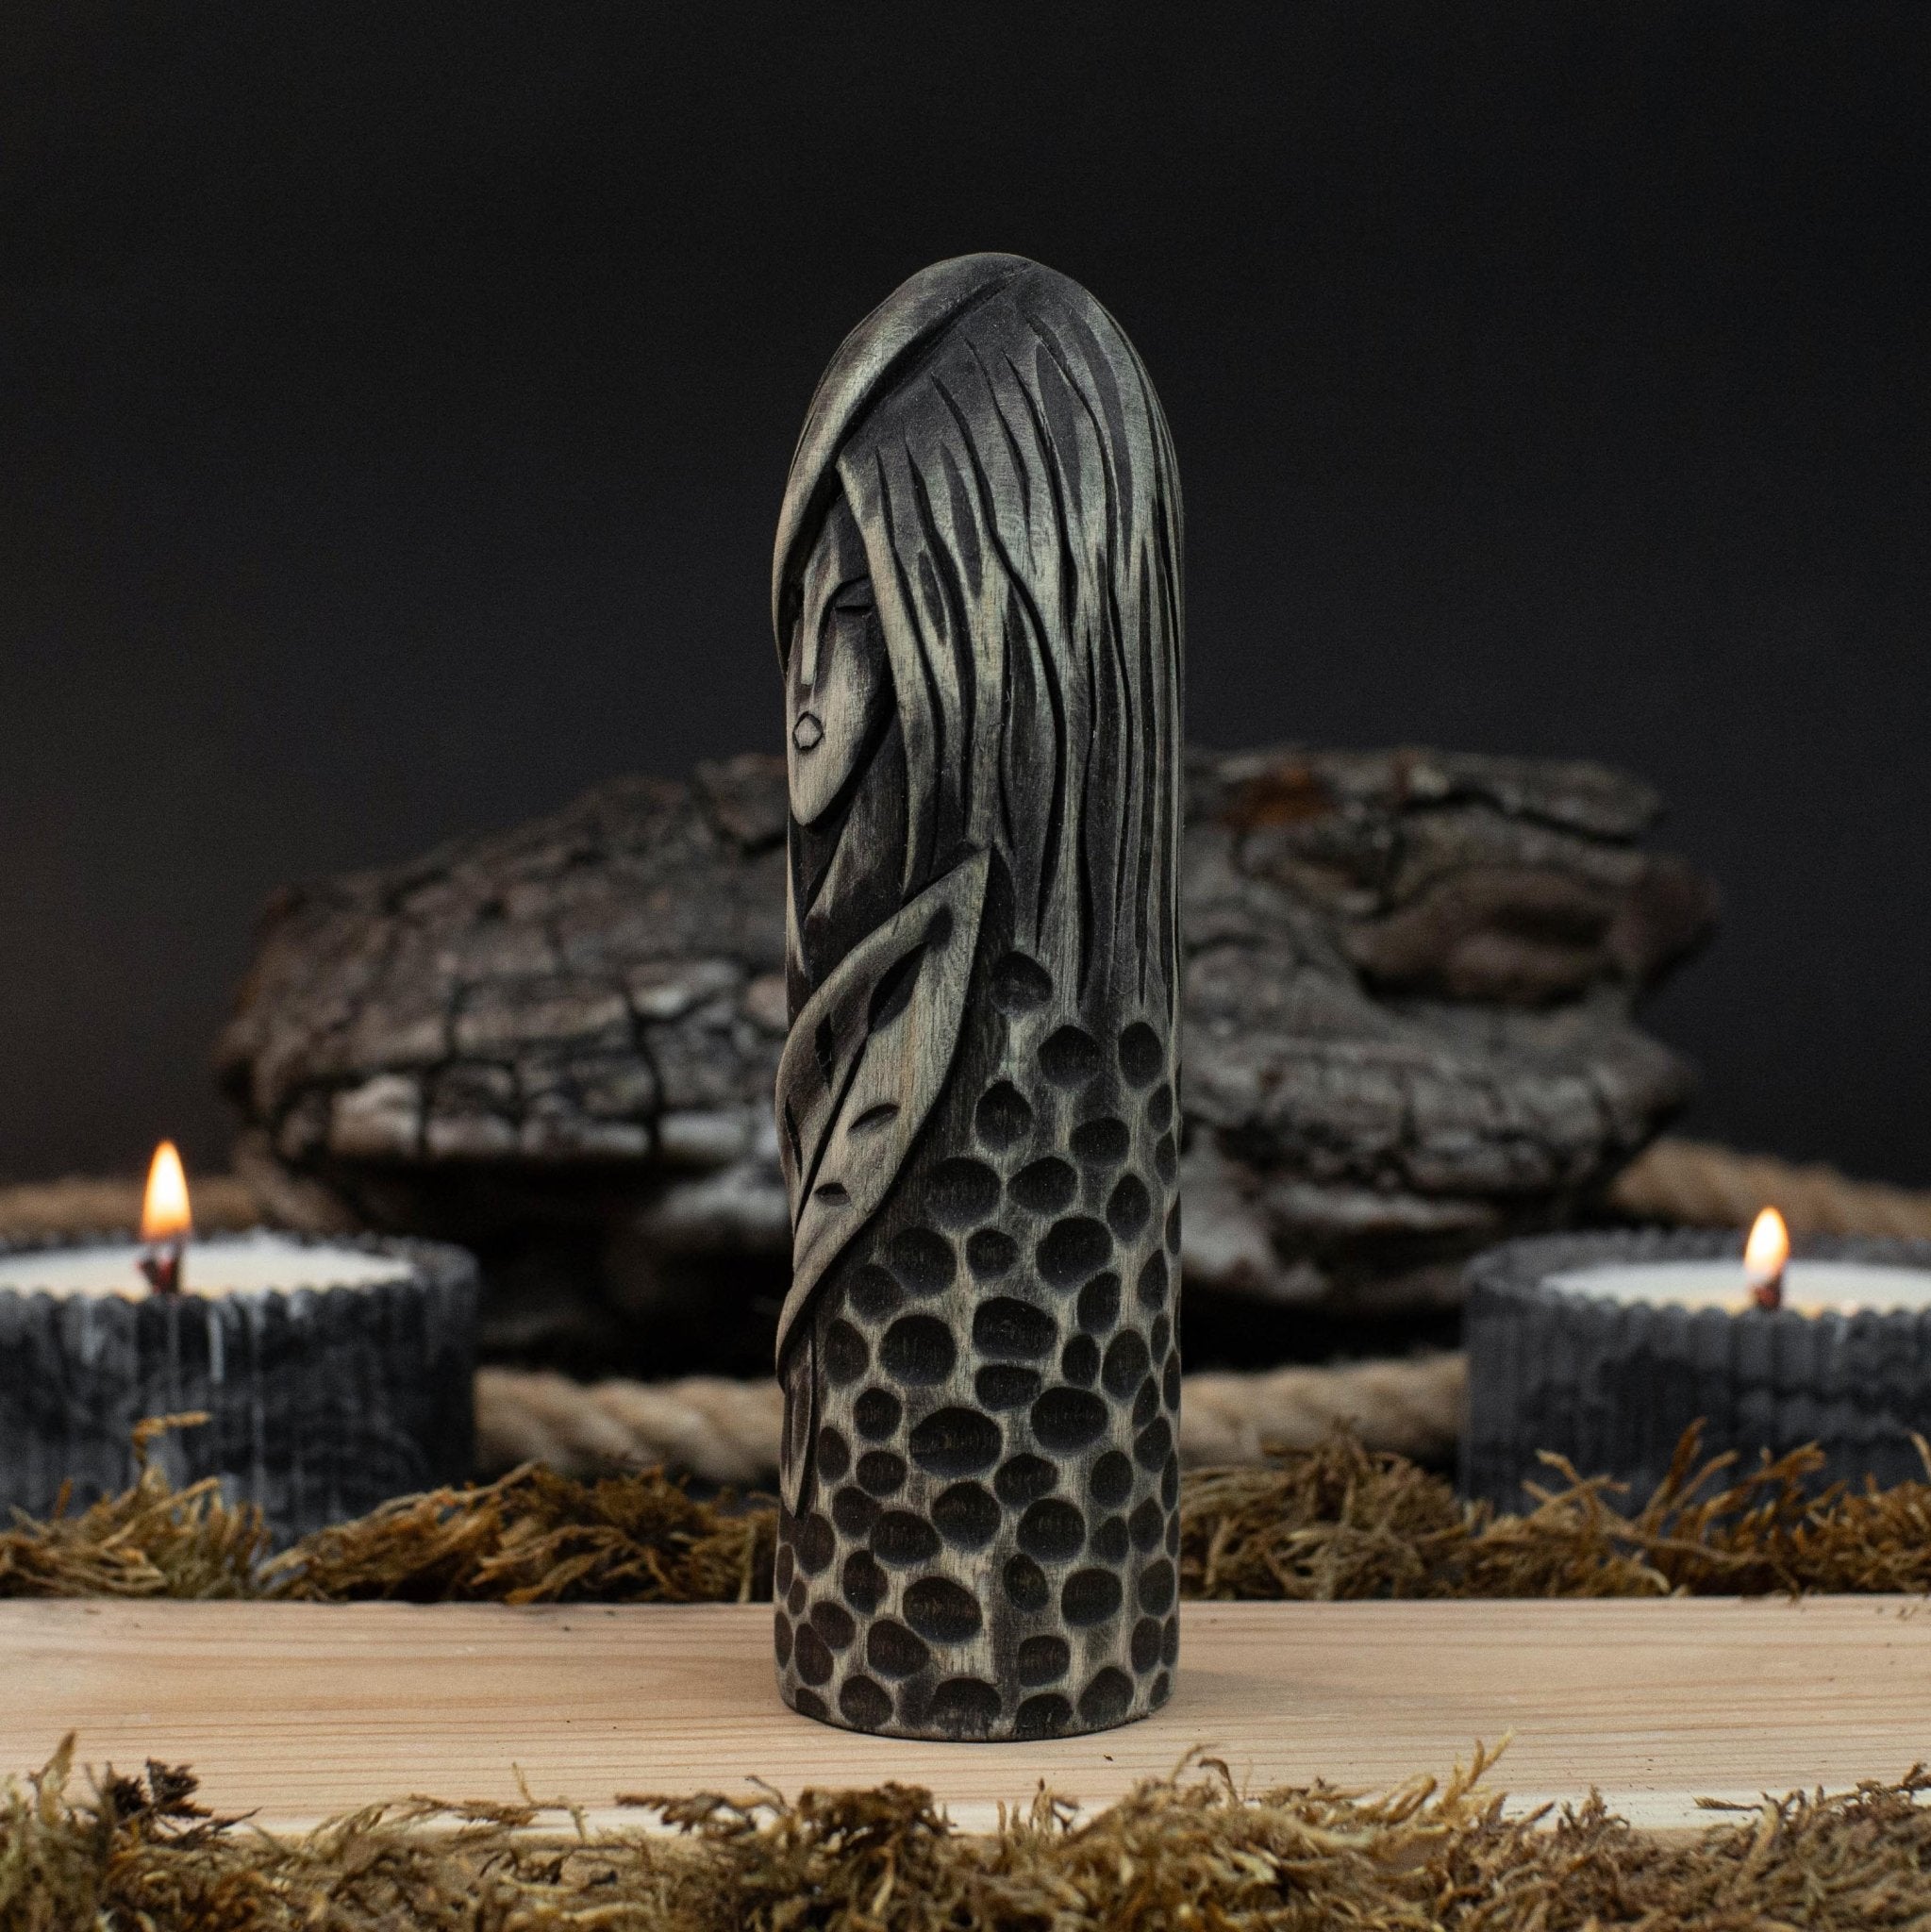
Carving Scandinavian goddesses and mythical beings gives you the chance to explore different moods and forms. Plus, you end up with wood sculptures that are both deeply meaningful and decorative:
- Frigg — foresight and motherhood, often shown with keys or a spinning wheel.
- Skadi — winter and hunting, rugged with skis, a bow, or wolves.
- Idunn — youth and renewal, holding apples of immortality.
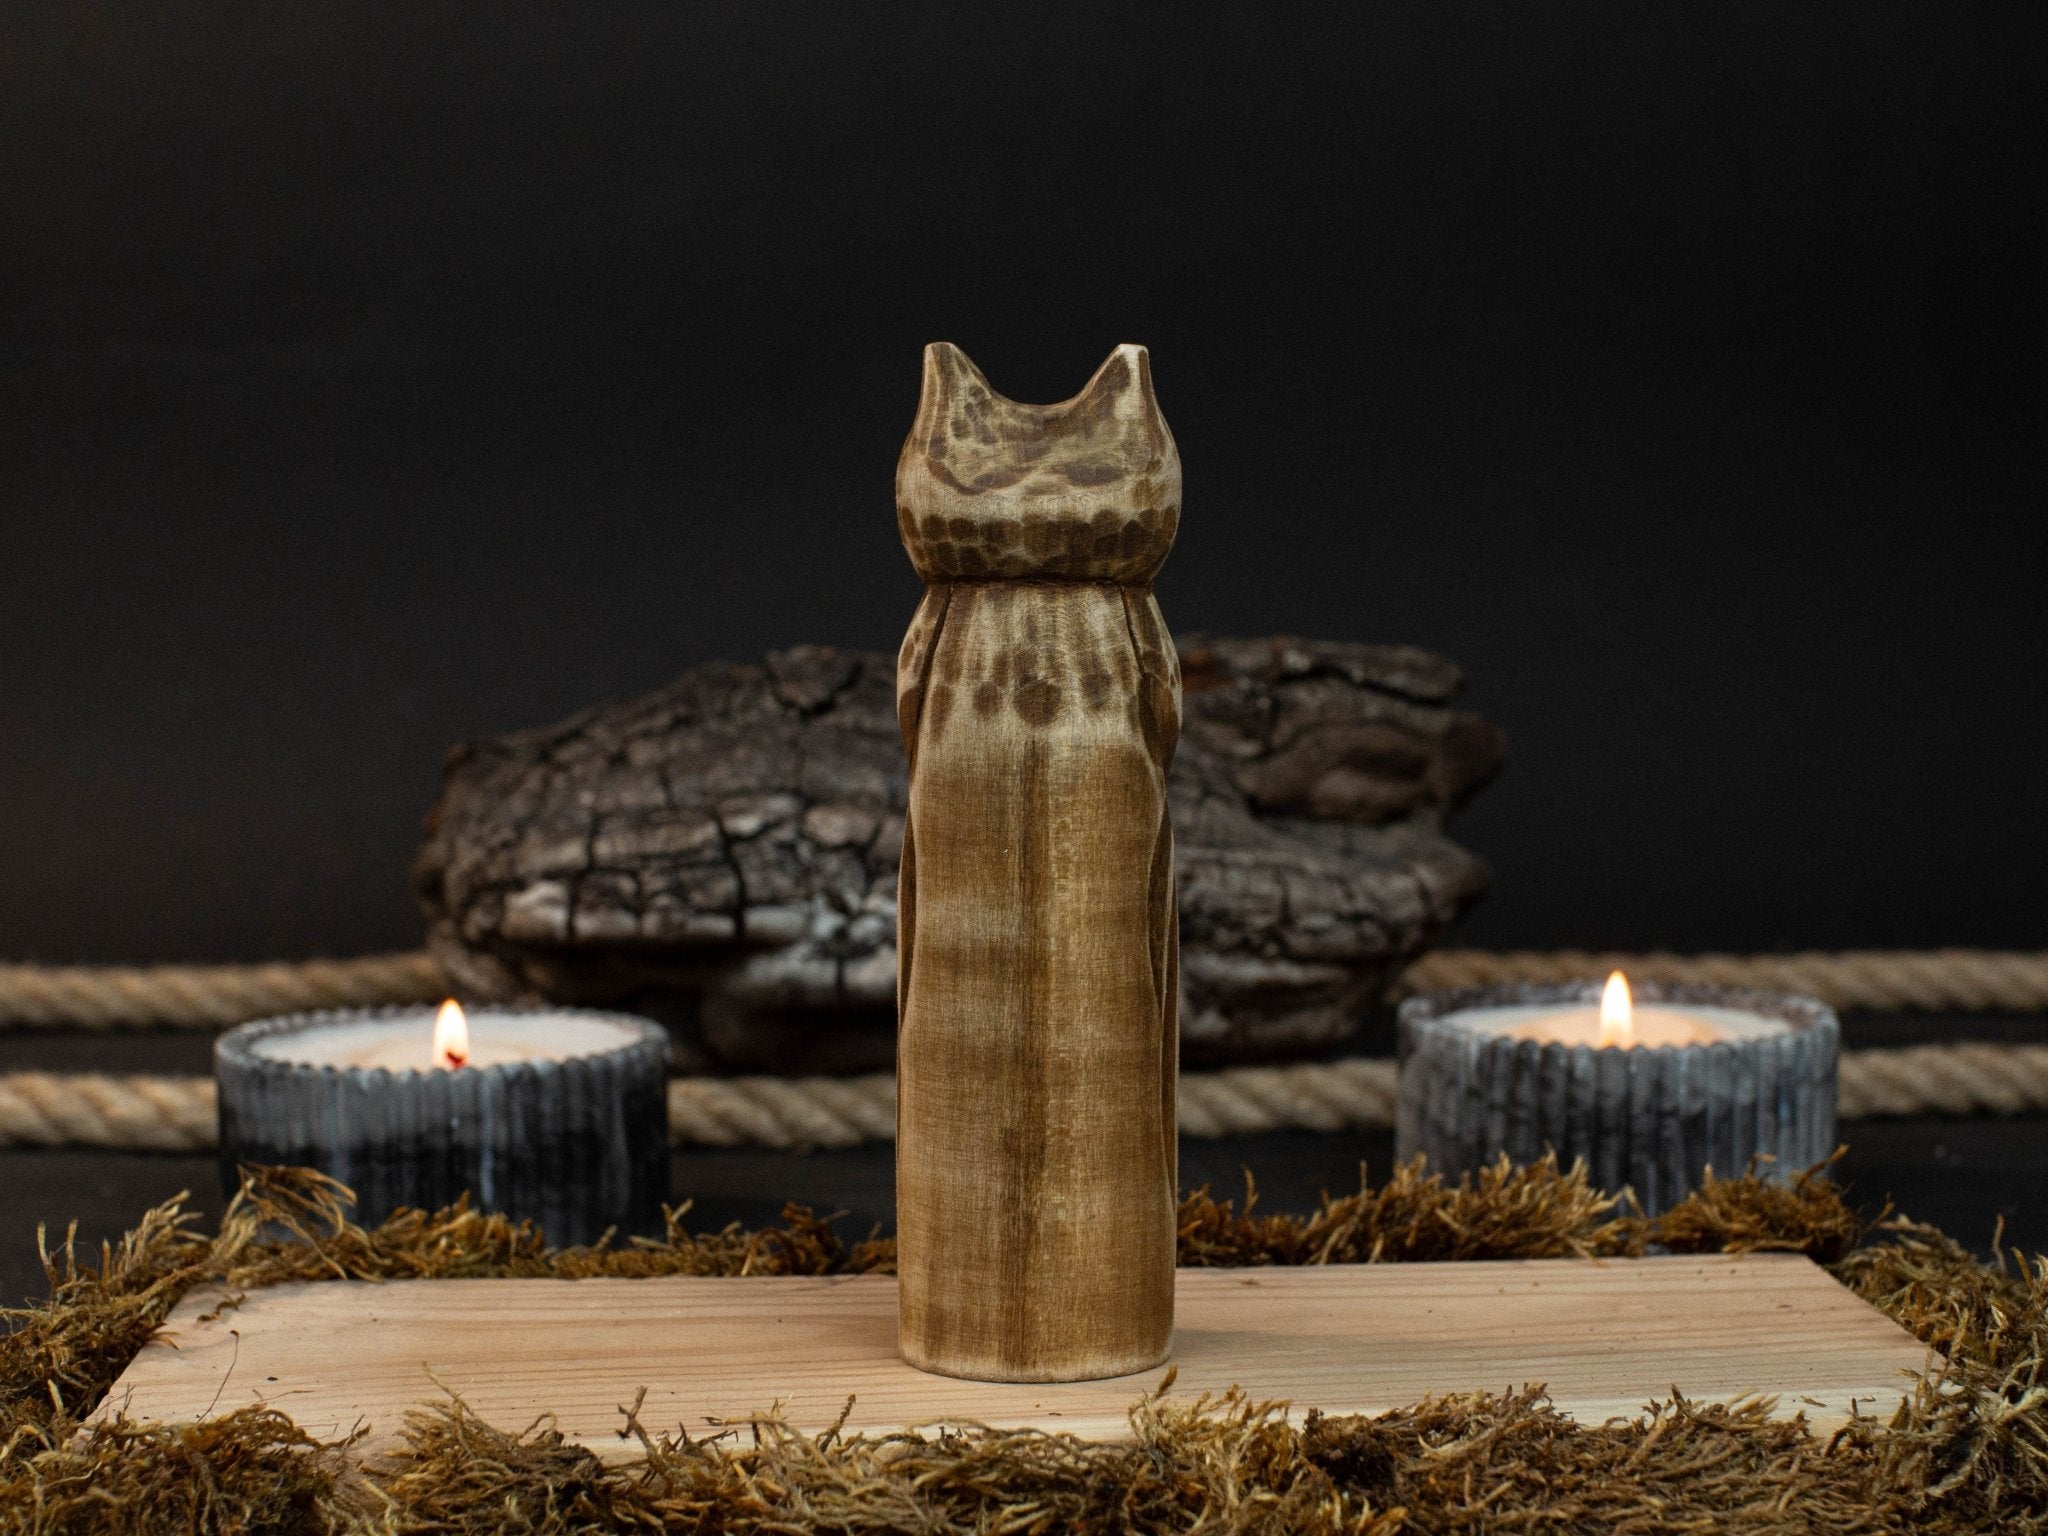
Compact Wooden Figures for Home Display
For projects that are very practical and versatile, you cannot go wrong with smaller wooden figures—they make excellent pieces for art decor and home display.
- Famous characters: Sherlock Holmes or the Cheshire Cat — easily recognizable and fun to carve.
- Seasonal and festive figures: Nutcracker minis or snowmen trios — good projects for holiday displays.
- Animals and nature: Ravens in the style of Hugin and Munin or minimalist wolves.
How We Create Our Handmade Wooden Figurines and Wood
With wooden sculptures, the process comes down to the type of figurine you want to carve and the amount of detail required. Based on these, you can then decide which wood to use and which tools you will need.
Hand-Carving Process (tools, steps, and detail work)
Many carvers say that a single sharp knife can be enough to complete an entire wood figure. But if you would like to experiment with more precision or practice different techniques, a wood carving kit can be a great way to expand your skills.
Primary tool: sharp carving knife
- A small blade is preferred.
- Sharpness is crucial. A well-honed swiss knife or a carving knife set makes the whole process much smoother and safer.
Detailing tools: gouges and V-tools
- Useful for intricate details like beard lines or folds in clothing of wood figurines.
- Not required, but they can elevate your work once you are comfortable adding them to your tools set.
Safety: carving glove
- Protects your hand from slips and accidental cuts.
Preparation: pencils, rulers, measuring tape
- Used to mark proportions and guidelines before the first cut.
Steps
The process of shaping a wood figure is gradual, moving from blocky beginnings to refined forms.
1. Planning and Initial Layout
Before carving wood sculptures, the block is marked with centerlines and guides. Begin with the firm parts of the design, such as the legs or base, to make sure the figure fits well. Then trim off the corners early, rounding the block so it feels comfortable to hold.
- Establish proportions: Decide how much of the block each feature will take.
- Find center and guides: Mark lines for features like hat brims or noses.
- Remove corners: Round off sharp edges to make carving safer and smoother.
2. Rough Shaping and Establishing Forms
This is the stage where wood figures start to take shape. Stop cuts mark the edges, and larger pieces of wood are taken away to separate the head from the body. V-cuts help outline borders and give wooden figurines their first real depth.
- Stop cuts: Deep cuts along guidelines to control the blade.
- Wood removal: Carve up to stop cuts, shaping major forms.
- Use V-Cuts: Separate features like legs or facial hair.
- Gradual slimming: Slowly refine the block into rounded contours.
3. Refining Features and Defining Depth
At this stage, wooden figures start to feel alive. A clear side profile is important, especially for mythic figures. Broad cuts smooth the curves, while careful carving adds depth.
- Creating depth: Stop cuts and sweeps add shadow and separation.
- Side profile: Ensure features project properly.
- Shaping details: Smooth curves and refine minor features.
Detail Work
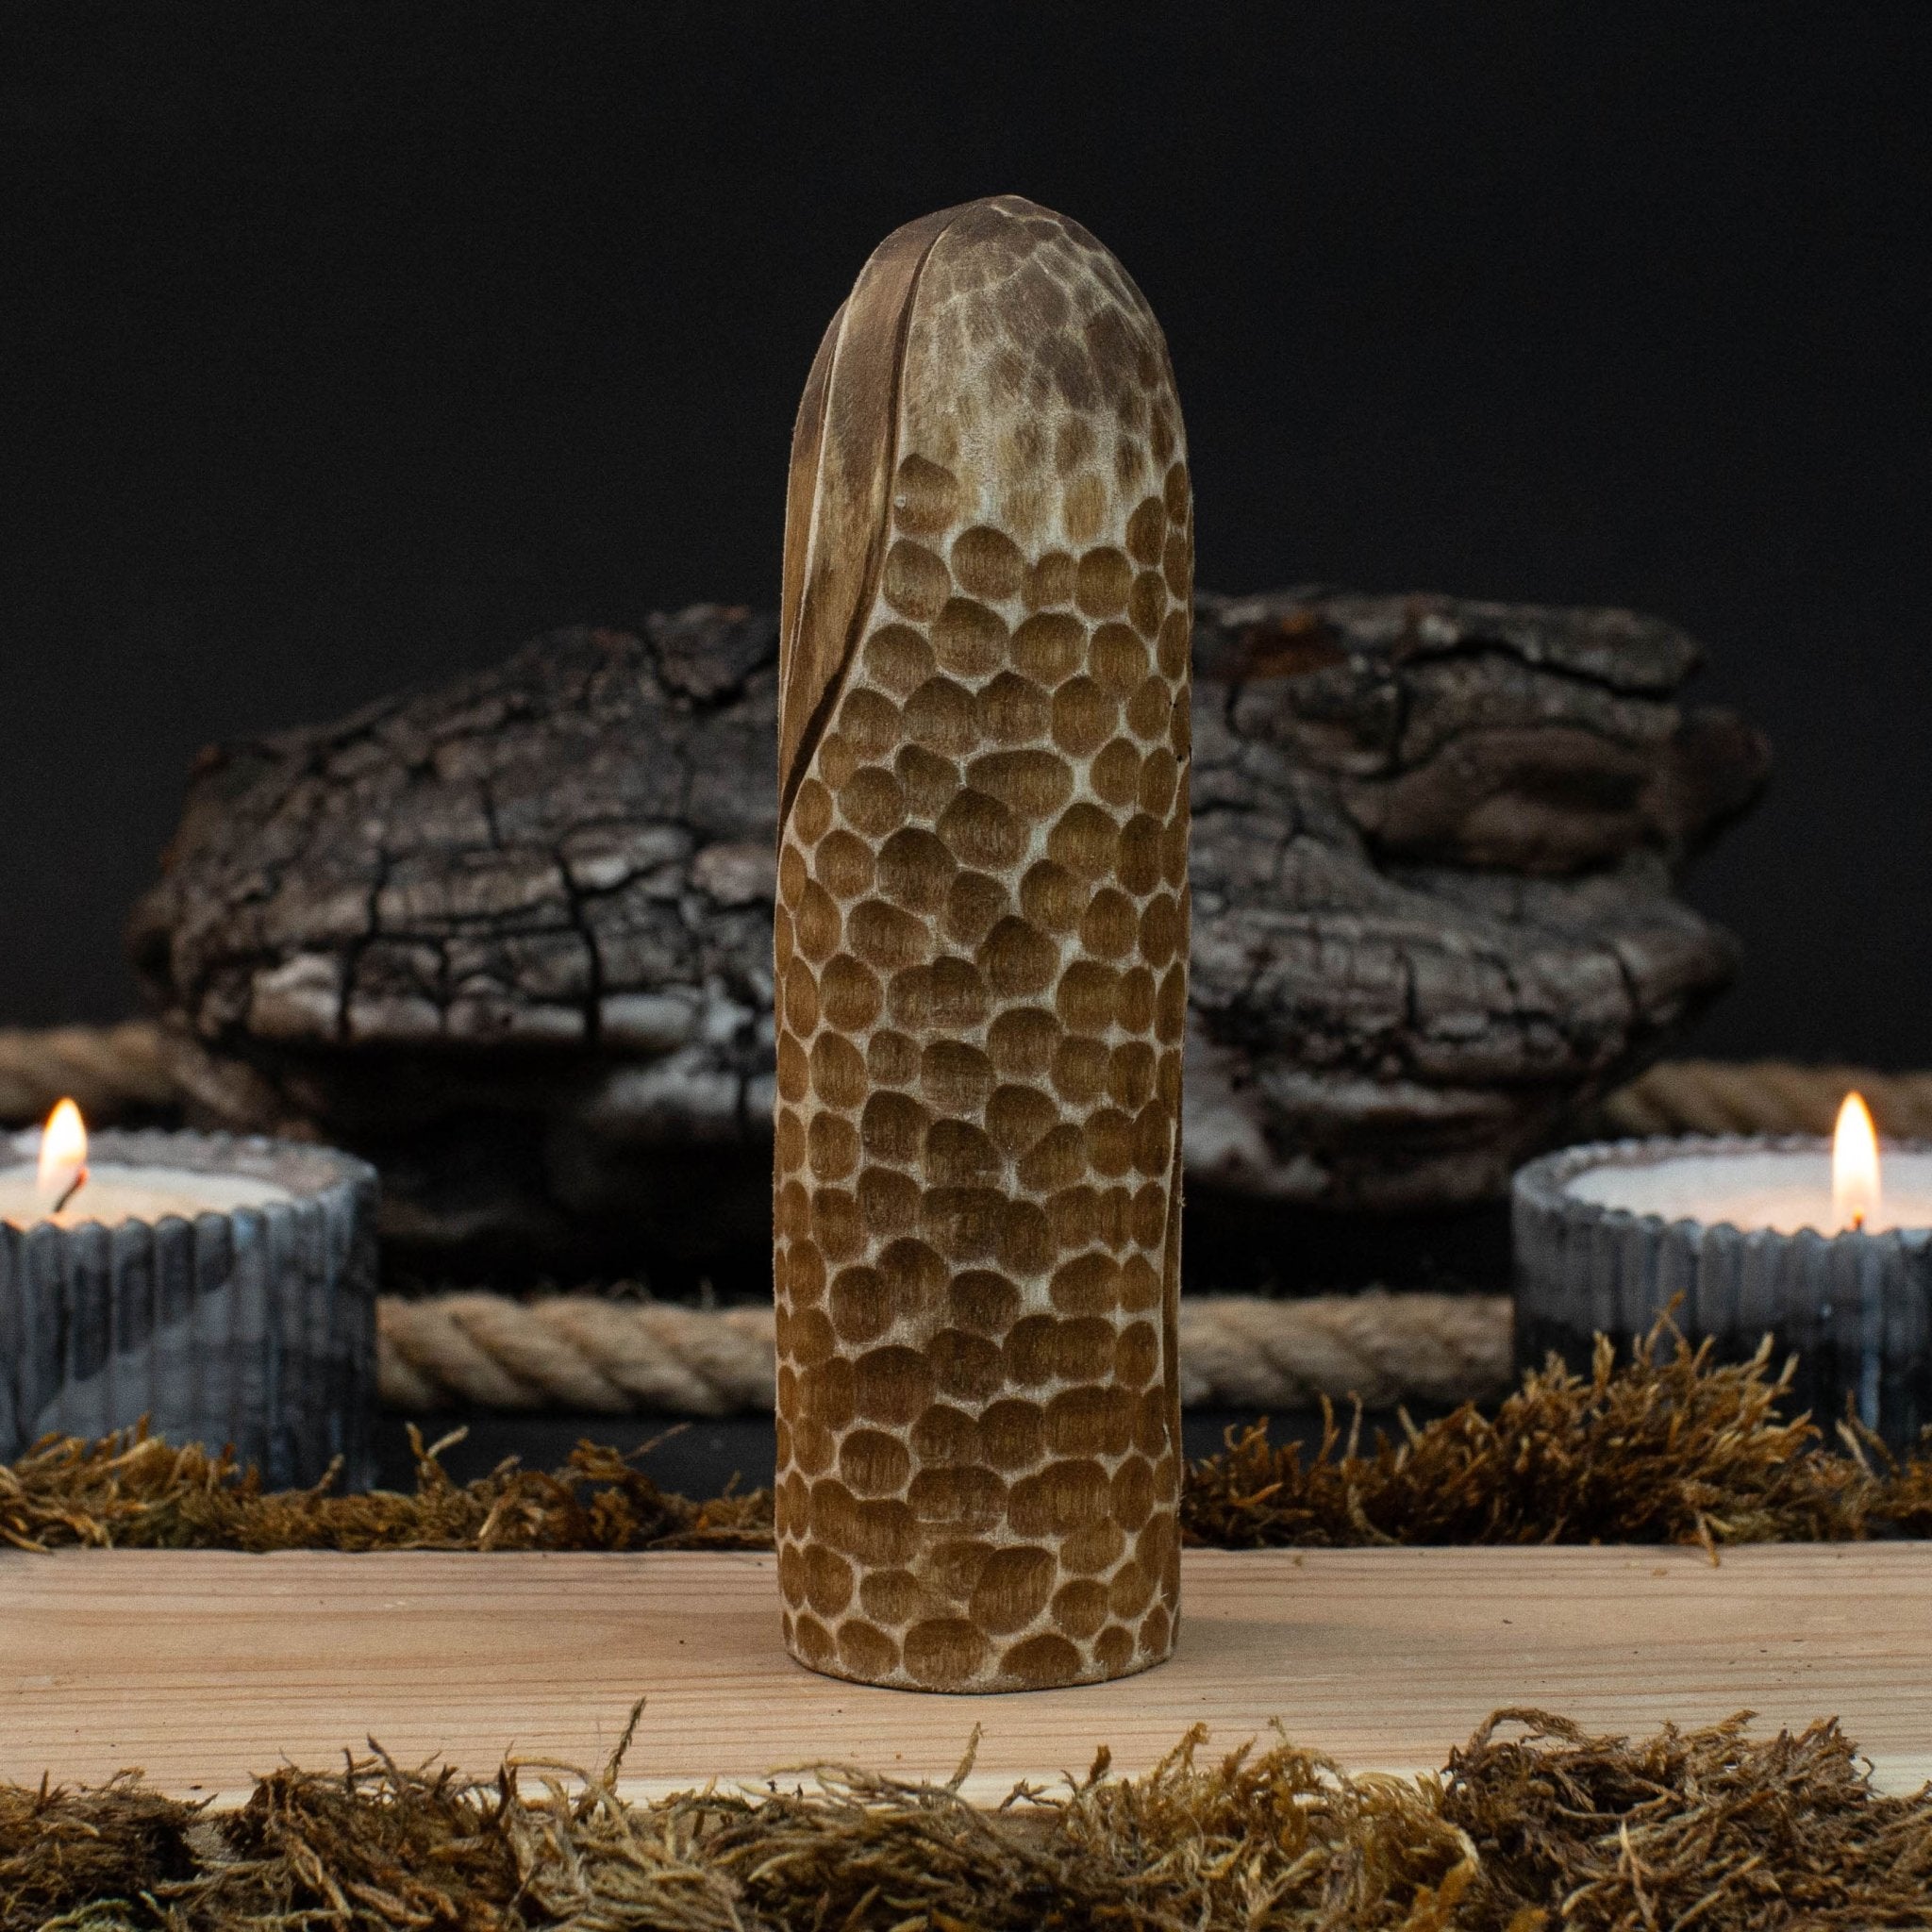
Detail work is what transforms a rough block into a finished wood figure. A beard, a cloak, or the wrinkles of a rustic troll can all gain texture, shadow, and character through these techniques.
- Deep initial cuts: Define features cleanly from the start.
- Three-corner cut: Create sharp separations at junctions.
- Texture and hair: Add detail with consistent V-cuts.
- Creating shadows: Small finishing cuts cast natural shadows.
- Cleanup: Remove fuzzies for crisp, clean lines.
- Avoid shoveling: Never force the blade — let the cut follow the grain.
For this stage, many carvers prefer a detail carving knife, which allows for finer control when shaping delicate features. It is one of those specialized carving tools that can make a big difference. And if you have invested in a knife set, you will find that switching between blades can help refine textures and add precision to the smallest details.
Woods We Use for Wooden Figures (strength, grain, look)
The wood choice for wooden figures depends on how much fine detail you want to achieve. Next, think about how strong the wood is and the overall look you are aiming for, especially the grain.
Basswood (Linden/Limewood in Europe)
- Key characteristics: Very soft, with minimal grain.
- Why use it: This is the go-to choice for most projects because it is very easy to cut. Beginners love it, and it is perfect for quick practice pieces, smooth shapes, and flowing curves when learning the basics of wood carving.
For carvings that demand detail work, many carvers suggest moving to harder woods like:
Boxwood
- Key characteristics: Extremely hard, with a very fine grain.
- Why use it: Widely considered the best option for capturing the tiniest details in wood figurines, though it is tougher to carve and often more expensive.
Pearwood, Cherry, Maple, or Walnut Wood
- Key characteristics: Hard, carves well, with less open grain than many other hardwoods.
- Why use it: These woods strike a balance between detail and durability. Their hardness keeps delicate features from breaking and allows for great precision compared to basswood. These woods are ideal for finely detailed hand carved wood figurines that need structural strength.
And finally, for simple, rustic pieces or quick projects, you may want to try.
Aspen or Found Green Wood Sticks
- Key characteristics: Aspen is soft with minimal grain, while green wood is easy to cut when freshly harvested.
- Why use it: Perfect for casual whittling wood sessions or rustic wood spirit carvings. This wood is less about long-term durability and more about accessibility and ease of use when you just want to pick up a knife and carve something on the spot.
Finishes for Wooden Sculptures for the Home
The choice of finish or paint for wooden sculptures depends on the look you want. Some people prefer a natural style that highlights the wood’s texture, while others go for a more decorative finish to bring out the character of their wood carving figures. These approaches can work equally well for both a small set of wooden figurines or larger wooden sculptures for the home.
1. What to Start With
Before adding color or a protective coat, carvers often pre-treat the wood to control how it absorbs layers.
- Pre-sealing for antiquing: A clear acrylic spray or finish seals the surface. If you plan to antique the wood sculpture, this step is important because it stops dark stains from soaking in too much and makes it easy to wipe them off the raised areas of carved wood sculptures.
- Oils (conditioning/controlling absorption): A coat of mineral oil or tung oil before painting helps prevent paint from sinking in too quickly. This makes blending and shading easier when working with a carving tools set.
- Making the wood wet: Some carvers simply mist the wood with water for faster coloring. This stops dry wood from soaking paint too fast and helps with smooth blending on any wooden sculpture.
2. Finishes for a Natural Look
These finishes use oils and waxes to bring out the natural beauty of the wood while protecting it.
- Drying oils (penetrating protection): Tung oil, Danish oil, and polymerizing linseed oil soak in, harden the wood, and enrich its grain.
- Wax finishes (soft luster and protection): Products like waxes give a soft, low-luster finish. They can be buffed with a brush and refreshed easily.
- Clear protective topcoats (low sheen): Matte acrylic sprays or satin polyurethane are good when you want protection without a glossy shine.
3. Finishes for a Decorative Look
These methods add color, shadow, and depth to highlight carved details of a sculpture.
- Acrylic paint washes: Diluted craft acrylics (about 1 part paint to 8–10 parts water) add color while keeping the wood texture visible. Solid paint is usually reserved for small details like eyes in a decorative sculpture.
- Antiquing: A dark wax or antiquing medium is rubbed over the carving, then wiped off raised areas to leave shadows in cracks and cuts.
- Detailing and shading: Light dry brushing brings out raised details, while darker shading adds depth in the hidden spots, e.g.: under hats or arms.
What Makes Each Hand-Carved Piece Unique
As a wood carver, you want your wooden figurines to stand out, and that is something anyone can achieve. The look of your work comes from a mix of factors: the wood itself (its texture, grain, and color), your personal carving style, and the finish you choose.
Every piece of wood is different—its grain, density, and natural color make sure no two blanks are ever the same. This uniqueness is then shaped by your own touch: the way you cut with your tools, the depth of the details, and the small variations in technique. Even small projects, like compact wooden figures, show these differences.
The finishing process makes the piece truly one-of-a-kind. You may highlight the natural beauty of the wood with oils and waxes, or add washes and antiquing to create shadows and contrast. This is what transforms simple carvings into wooden sculptures for the home, each with its own personality and charm.
Caring for Hand-Carved Wood Figurines
Wooden sculptures take patience and effort to craft, and only with good care will they keep their beauty for years.
Cleaning and Dusting
Regular cleaning keeps wood carving figures looking fresh and prevents grime from hiding details.
- Routine cleaning: Use soft brushes (makeup, fan, or shoe brushes) to gently remove dust.
- Deep cleaning: Use compressed air or an electronics duster for cuts and crevices. For sealed surfaces, wipe with a lightly damp cloth and dry immediately.
- Waxed finish: If sealed with wax (like Howard Feed-N-Wax), polish once a year with a buffing brush to refresh protection.
- Dust prevention: Store wooden figurines in glass cabinets or cases, and make sure they have a protective coat (oil, wax, or varnish).
Protecting from Moisture and Sunlight
Moisture can cause swelling or paint damage, while sunlight fades colors, dries the wood, and creates cracks. Here are a few suggestions to help prevent these harmful effects.
Moisture protection:
- Apply varnish or polyurethane for a strong seal.
- Cover all sides, including the base, to prevent warping.
- In humid areas, use marine-grade products like Waterlox.
Sunlight protection:
- Use UV-blocking finishes (e.g., Spar Varnish) near windows.
- Avoid linseed oil on white areas, since it yellows faster in sunlight. Choose clear, non-yellowing synthetic seals instead.
Gift Ideas and Collectible Value
If you enjoy making presents, hand-carved wood figures would rank among the top ten thoughtful gifts.
Handmade pieces show that someone has invested time and skill to create something truly unique. Whittling wood carving transforms raw material into a piece of art, perfectly sized as compact wooden figures for any desk or shelf.
For anyone interested in mythology or history, collecting such figurines creates a real link to the past. A single piece or a set of deities like Odin and Thor makes excellent wood carved figurines for history lovers or mythology fans.
These sculptures also work beautifully in everyday spaces, not just for collectors. Designers often use the natural texture and warmth of abstract art wood carvings to enrich modern interiors. Do not hesitate to give such presents; they will surely stay with the person you give them to.