Choosing the Right Tools for Wood Carving
Wood carving for beginners is and should be accessible. A minimal set of tools is sufficient to learn how to carve wood. This guide answers all the immediate questions you may have, covering essential wood carving tools, basic carving techniques, and ways to advance your skills.
Must-Have Tools for Beginners
When getting into wood carving basics, it is best to select a few versatile tools. Avoid buying a full set of gouges or knives immediately, as many are designed for specific cuts. When you are first learning hand carving wood, focus on all-purpose tools to develop skills and become comfortable with basic techniques. Essential tools for the wood carving hobby often include:
- Knives: Shorter blades (1.4-1.9 inches) are perfect for beginner wood carving, offering better control, crucial for developing precision cutting methods. While various types of knives exist, start with a shorter, manageable blade.
- Gouges: Gouges are essential for detailed hand-carving techniques. Numbered by shape or curvature, lower numbers are flatter, and higher numbers are more curved. A number 9 gouge (half-round) and a number 11 gouge are excellent starting points for creating outlines and adding texture.
- V-Tools: V-tools come in different angles (e.g., 60 degrees) and are useful for outlining, creating textures (like hair or fur), and making clean cuts. A 1/4-inch V-tool is particularly useful.
- Axe and Mallet: A lightweight axe is recommended for processing larger logs into manageable pieces, especially for greenwood carving. A mallet can assist with splitting logs.
Understanding the Different Types of Carving Knives
As you may know, there are many carving knives available. We recommend the following types for beginners:
- Detail Knives: Short blades for intricate work, adding fine details, and making precise cuts. Essential for mastering basic wood carving techniques.
- Roughing Knives: Longer blades designed for removing larger chunks of wood quickly, shaping the basic form in the early stages of carving on wood.
- Hook Knives: Curved blades used for hollowing out bowls and creating concave shapes (e.g., spoon carving).
- Whittling Knives: Versatile knives for roughing and fine detailing, great for general-purpose carving and essential for wood carving for beginners.
- Specialty Knives: Project-specific knives (e.g., roll-cut knives, palm carving tools) for specialized tasks. These are useful for more advanced stages of sculpting wood.

Maintaining Your Tools for Longevity
Keeping your carving tools in good condition means using them properly and maintaining them regularly. Sharp tools make carving easier and make cleaner cuts. This is essential for anyone interested in beginning wood carving.
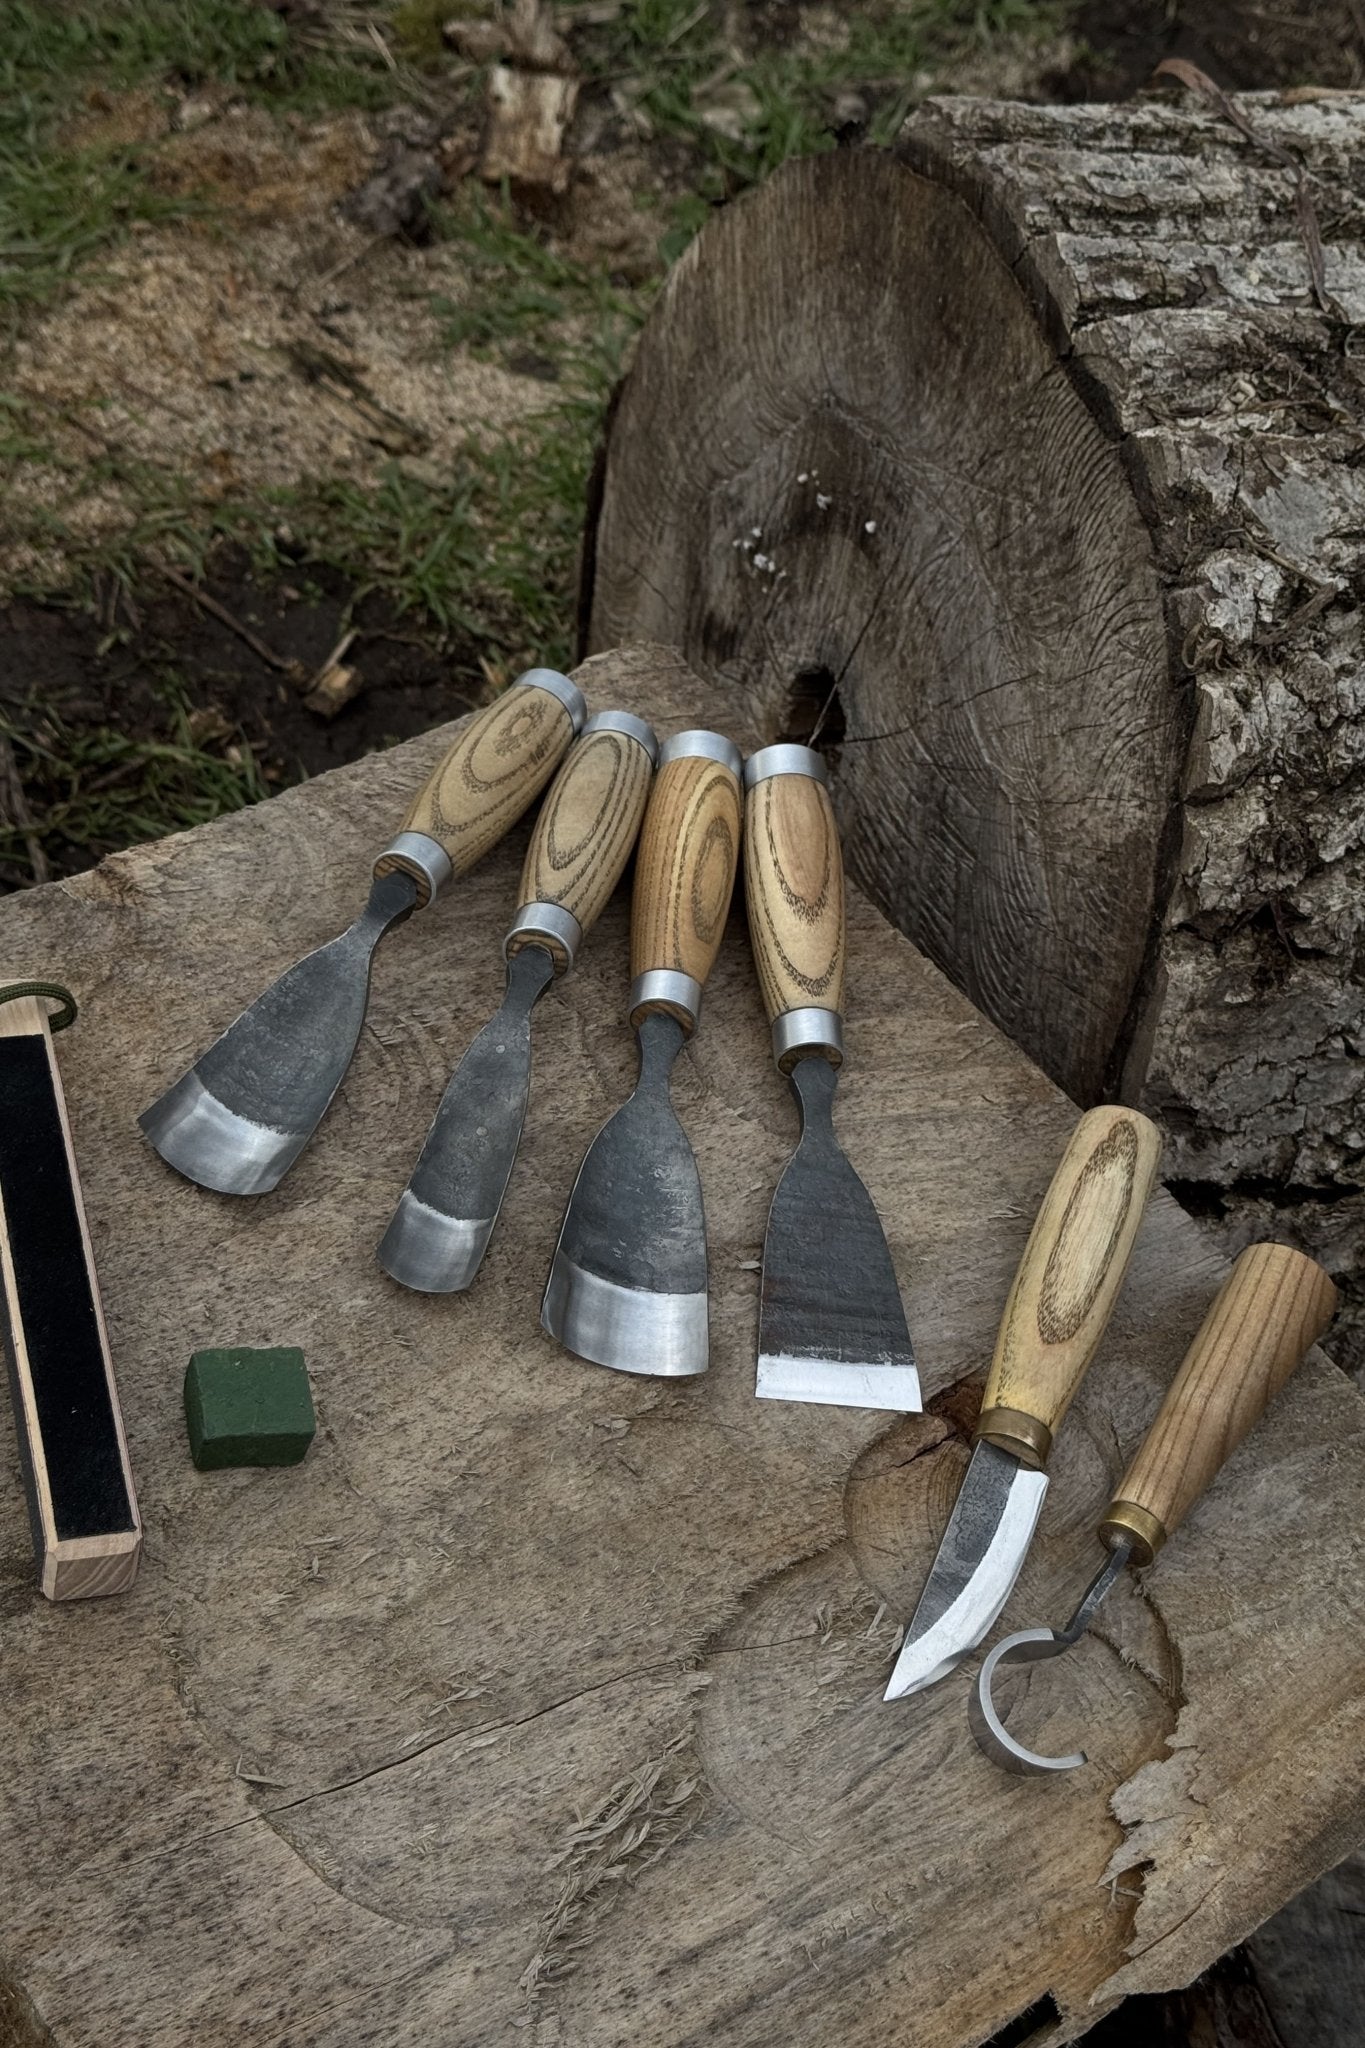
Essential maintenance tools include:
- Cleaning Tools: A soft cloth or brush for removing wood dust and debris. This simple step prevents buildup that can dull the blade.
- Sharpening Stone: Restores dull edges or repairs minor nicks on blades. Stones come in various grits, from coarse (for removing more material) to fine (for finishing and polishing). Requires oil or water lubrication during sharpening, depending on the stone type.
- Strop: Used for maintaining a sharp edge, not for sharpening a dull one. It is a piece of leather (or sometimes wood) to which a polishing compound is applied.
- Honing Compound: This abrasive compound is applied to the strop. It is what actually polishes the blade. Different compounds have different grits, with finer grits used for the final polishing stages.
- Oil: Light machine or mineral oil to prevent rust. A light coat of oil on the blade after cleaning can also help prevent corrosion. Be sure to use a food-safe mineral oil if you are carving kitchen utensils.
- Storage: A storage case, tool roll, or other protective container is crucial for protecting your tools from damage.
- Blade Protectors: Caps or sheaths for the blades prevent accidental injuries and protect the cutting edges.
Now, let’s proceed to maintenance:
- Carving Knives: These are fundamental beginner wood carving tips: Keep the blade clean and lightly oiled, strop regularly, maintaining the bevel angle. Oil folding knife joints. Avoid bending the blade.
- Chisels: Easiest to strop. Maintain the bevel angle. Avoid rocking. Keep the back clean. Mastering these techniques is essential for anyone learning hand-carving techniques.
- Gouges: Use a shaped strop (like a slip strop's rounded edge) for the inside curve. Strop the outside bevel like a chisel. Maintain the curve.
- V-Tools: Use a slip strop with a V-groove for the inside. Strop outside bevels like a chisel.
Selecting the Right Wood for Your First Project
Woodworking for novices comes with another challenge: choosing the right wood. Fortunately, much information is available to guide you.
Best Woods for Beginners
When learning wood carving basics, it is essential to choose soft wood for practicing different types of cuts. Recommend options include:
- Basswood: The best wood for carving, especially for beginners. Soft, lightweight, and forgiving, ideal for practicing details.
- Pine: Affordable and readily available. Slightly harder than basswood but still easy to carve. Its noticeable grain teaches control and patience.
- Aspen: Another excellent choice, similar to basswood in softness and workability, with less splintering.
Softwoods vs. Hardwoods: What’s Easier to Carve?
Softwoods are generally recommended for beginners due to ease of carving. Basswood, a hardwood, is an exception due to its texture and smooth cutting properties.
Key Differences Between Softwoods and Hardwoods:
- Origin: Hardwoods originate from deciduous trees, which shed their leaves annually, while softwoods come from evergreen trees that retain their foliage throughout the year.
- Growth Rate: Hardwoods grow slower, resulting in a denser material, whereas softwoods grow more quickly and are lighter.
- Hardness: Hardwoods tend to be more robust and harder, while softwoods are softer and easier to carve.
- Grain: Hardwoods have varied grain patterns; softwoods typically have simpler, even grain.

Carving Suitability:
- Softwoods are better options for beginner simple wood carving due to their softness and consistent grain.
- Hardwoods require more skill but offer greater precision for wood sculpting projects.
Skill Level & Recommendations:
- Beginners: Softwoods (pine, cedar, redwood, fir) allow easy carving and experimentation.
- Intermediate/Advanced: Hardwoods like basswood, butternut, and aspen provide more detail and control.
Please note: Understanding wood grain is crucial for clean cuts, even with softwoods.
Preparing Wood for Carving: Tips and Techniques
Here is how to prepare wood before wood sculpting while ensuring safe woodworking practices:
- Moisture Content: Ensure the wood is properly dried. Green wood contains a lot of moisture and should air-dry first. Recommended moisture content is around 6-8% for indoor projects and up to 15% for outdoor projects. Weigh the wood when you first cut it and then periodically as it dries. Once the weight stops decreasing, it is ready for carving. Properly dried wood feels warm and dry.
- Cut to Size: Rough out the wood to the desired shape with an axe or saw.
- Inspect for Defects: Check for any cracks or knots to avoid them when carving into wood.
- Mark Design: Sketch your design onto the wood with a pencil or marker.
- Secure the Wood: Secure the wood for precision and safety.
Basic Wood Carving Techniques
So, how to start wood carving? The best advice is to learn wood carving by practicing basic cuts and focusing on the way you place your hands to prevent accidents. Some of the basic techniques to start with include:
Push Cut: The Foundation of Carving
Hold the tool with both hands—one for guiding and the other for applying pressure (using the thumb). Push the blade away from the body. These cuts help remove material in a controlled way. These cuts are crucial for beginner simple wood carving, as they help refine the overall form.
Stop Cut: Controlling the Depth of Cuts
This cut defines a boundary and prevents overcutting. Place a carving tool vertically and make a straight cut into the wood to define a boundary.

Pull Cut: Adding Precision to Your Work
Pull the blade towards the body and use the other hand to guide and support the tool. Pull cuts help in fine detailing and carving intricate areas.
Chip Carving: A Decorative Technique for Beginners
Make three intersecting cuts to remove a small chip of wood. This cutting motion is often used for corners or intricate details.
Avoiding Common Beginner Mistakes
Carving for beginners is a truly rewarding activity to get into, but it also comes with its share of challenges. Understanding how to address them will directly impact your progress in wood sculpting. Here are some tips on over-carving, working with the grain, and preventing splits:
Over-carving and How to Fix It
Over-carving happens when you remove more wood than intended. To fix this, assess the damage and determine if it is possible to incorporate it into your design. If not, you can use wood filler to repair the area and sand it smooth. To avoid it in the future, regularly check the depth of your cuts and make stop cuts.
Recognizing and Working with Wood Grain
The grain direction influences how well the wood cuts. Always cut in the direction of the grain to reduce tear-out. Pay attention to the grain’s texture, as it can enhance the visual appearance of the carving.
Preventing Splits and Cracks in Your Work
Use properly dried wood to minimize splits and cracks. Avoid carving too close to the wood’s edges. Apply a wood conditioner to stabilize the wood and reduce the number of potential cracks.
Practicing and Advancing Your Skills
Start with a minimal set of tools that can serve you well in most cases. Choose wood that will help you unveil your skills and develop. Next, take on some simple wood carving projects to try your hand. As you gain more understanding about how to get into wood carving and achieve gradual progress, move on to the next level and choose more intricate techniques and projects.
Simple Projects to Build Confidence
Begin with simple wood carving projects like spoons or geometric and nature patterns. Choose projects that will help you practice all the basic cuts repeatedly. When you feel you have enough control and precision over your cuts, it may be the right time to try something more complex.
Transitioning to Intermediate Carving Techniques
Try relief carving with varying depths and overlapping layers, creating boxes with carved lids or sides, or small figurines that involve more complex poses and detailed facial features. Focus on making accurate transitions and proportions while eliminating tool marks.
Exploring Different Styles of Wood Carving
Experiment with various styles, such as whittling, chip carving, or relief carving, to find what you enjoy most. Each style has its own techniques and challenges, allowing you to expand your skills.
Conclusion
Getting started in wood carving is easier than you think. Remember that starting simple is key to your success. And never hesitate to learn from others; it is always a good idea to follow experienced carvers and reach out to them with questions. By combining these tips with consistent practice and a passion for the craft, you will be well on your way to mastering how to get into wood carving and creating beautiful projects!
Share:
How to Carve a Wooden Spoon: A Detailed Guide on How to Whittle a Spoon
Mastering Relief Carving: Techniques, Tools, and Best Wood Choices