What Is a Wood Chisel Used For?
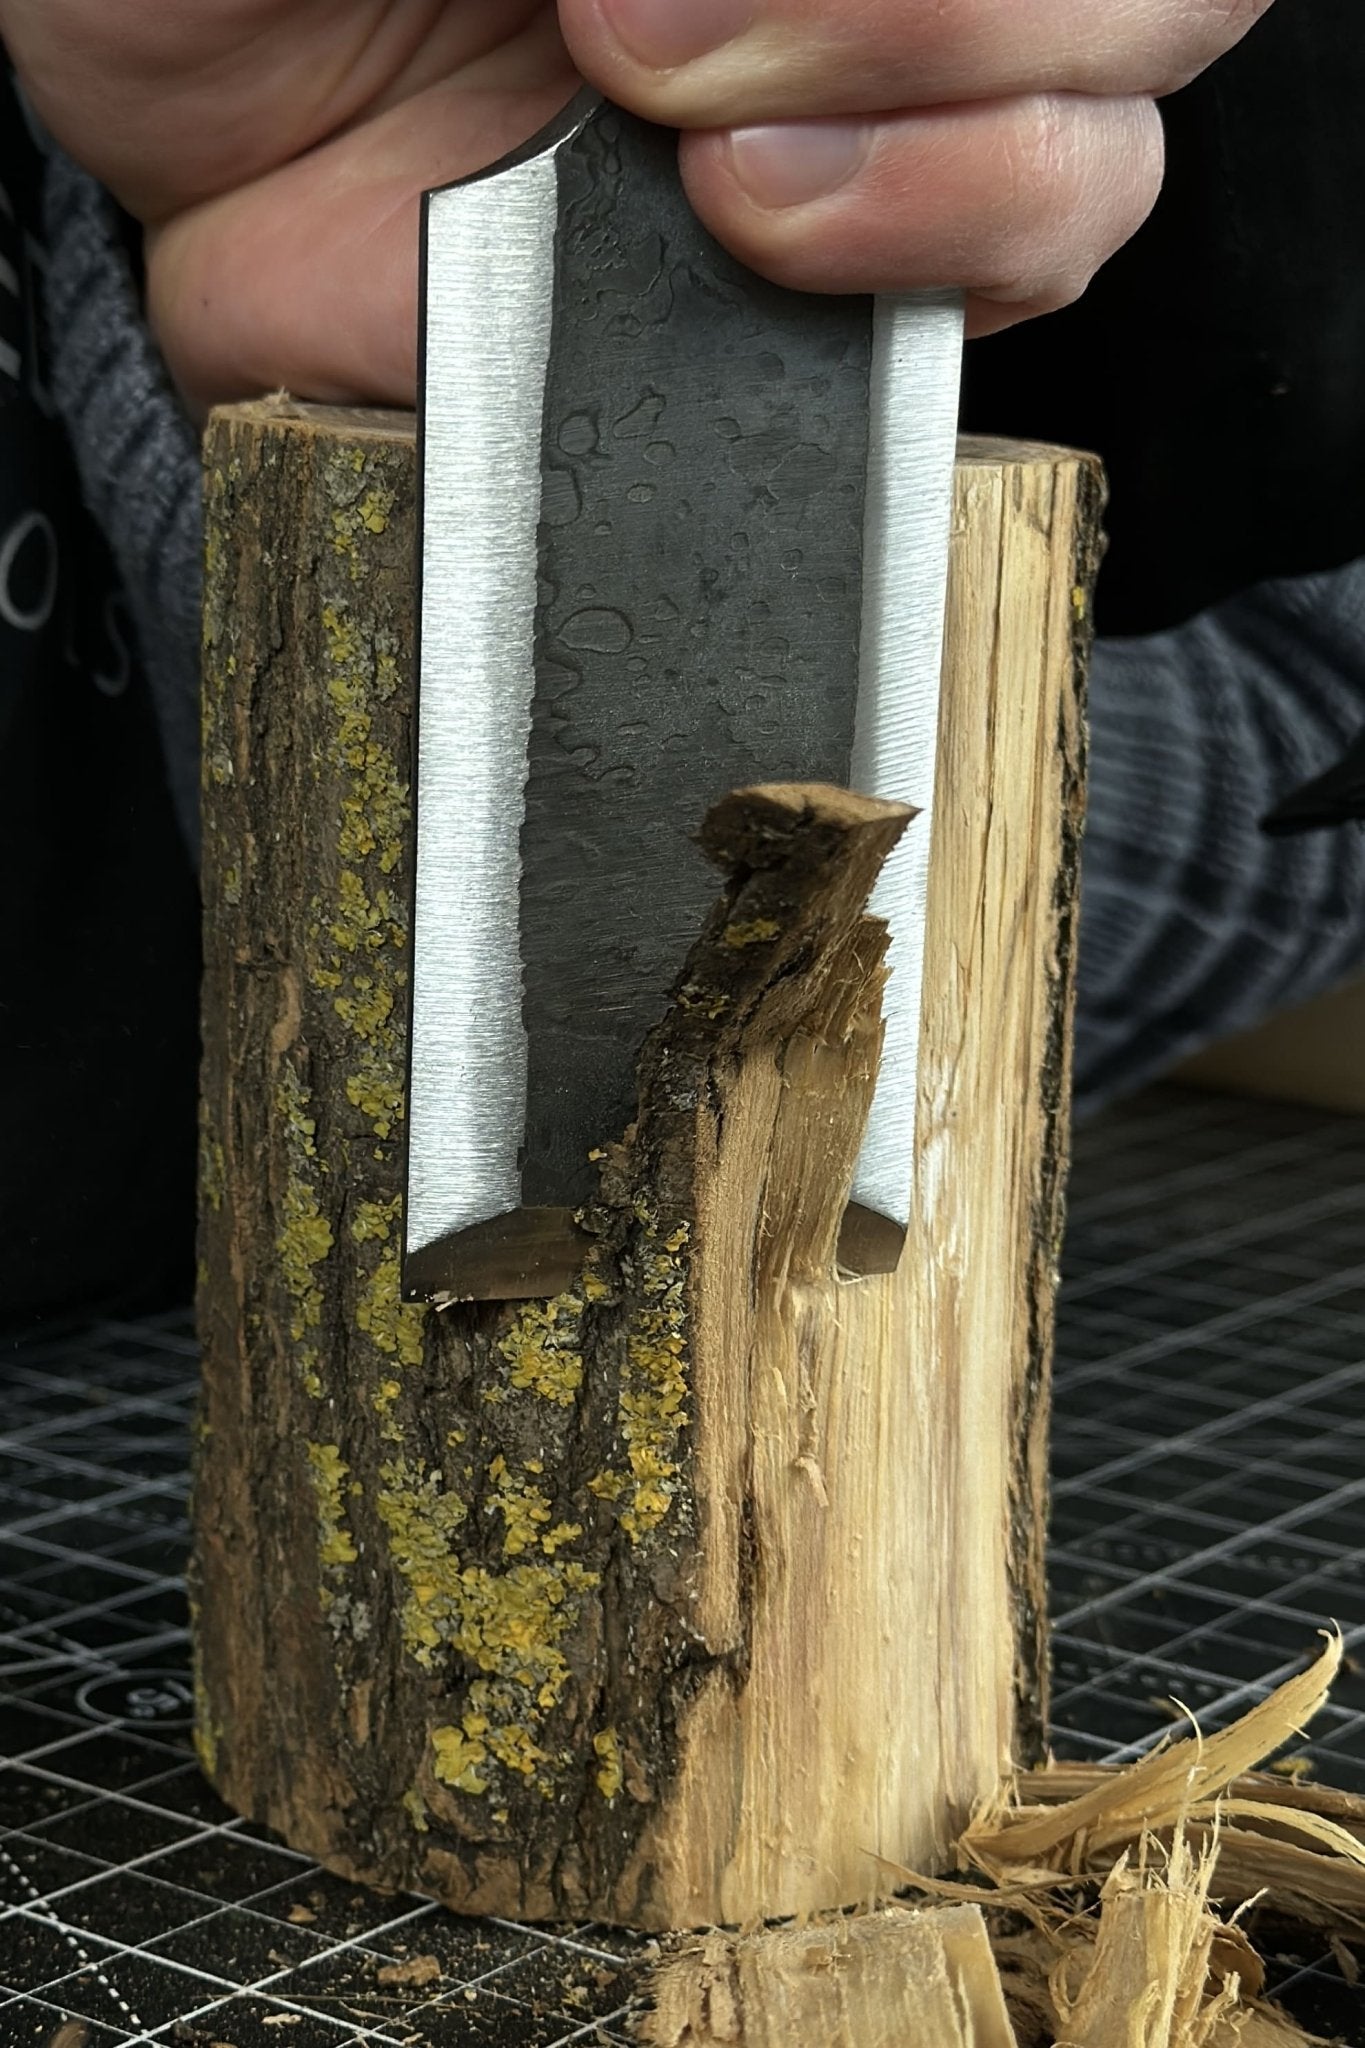
What is a chisel used for? The shortest answer would be - a chisel is used for all sorts of woodworking tasks. They can help get clean lines and sharp joints, and some are tough enough to take a few mallet hits for mortising.
Knowing the different types of chisels and what they are good for will definitely simplify your day-to-day carving work, whether you are removing material in a tight space or making deep, precise cuts.
Let’s explore chisel applications, specific purposes of chisel types compared to other tools, and the best way to sharpen chisels.
Chisel vs Knife – What Makes It Different
A chisel and a knife might seem similar, but they are built for various woodworking tasks.
Chisel Basics
A chisel used for woodworking is great for splitting, chopping, and removing material, often with the help of a mallet or hammer.
- Blade thickness: Wood carving chisels, especially heavy-duty ones, have a thicker blade to handle strong impacts.
- Handle alignment: The blade handle is usually aligned to apply force straight into the wood.
Knife Basics
A knife is primarily designed for precise cutting, scoring, and slicing.
- Blade thinness: Carving knives often have a thinner blade to make fine, clean cuts and move through wood fibers with ease.
- Handle design: Some carving knives have handles for leverage, but most are shaped for slicing, focusing on control over force.
When a Chisel Is Better Than a Blade
A chisel is used for creating straight lines and smooth, level surfaces, which are difficult to achieve with a curved blade.
Small carving chisels help shave or pare wood in tight areas, where a knife might slip.
Most would agree that chisels excel at digging, creating square corners, and making precise joints.

Unlike blades, chisels withstand impact and handle denser material better than thin carving knives, especially when properly sharpened to maintain a sharp edge.
If you are working on joinery, controlled material removal, or detailed shaping, knowing the types of chisels available and the types of wood they work best with can help you achieve the desired results.
What Does a Chisel Look Like?
So, what does a chisel look like? Chisels are essentially made of two main parts: the blade and the handle. Both of these components are built tough for durability and designed to work accurately.
The blade is typically crafted from high-carbon tool steel, which is excellent for controlled cutting and shaping. You will notice that the blade is often reinforced where it meets the handle; this allows it to withstand the impact from mallets and hammers.
The design of the chisel blade varies depending on different types of chisels. For example, bench chisels have angled, or "beveled," sides that are used for getting into tight corners. On the other hand, mortise chisels feature flat sides for heavy-duty material removal.
The handle is often made from materials like classic wood (such as hornbeam or ash, offering a great feel and traditional look), plastic, or other composite materials.
Here are some of the key features all chisel types share:
- Blade (or bevel): This is the main cutting part, which can be flat or slightly curved, and sometimes angled to shave material.
- Cutting edge: The very sharp tip that actually slices through wood, metal, or stone.
- Shank: A reinforced connection point between the blade and the handle.
- Handle: The grip, often made of wood or plastic, sometimes with a metal cap for striking.
- Size: Blade widths vary widely based on various types of wood chisels, ranging from about 1/8 inch to several inches.
Types of Wood Carving Chisels Explained
Whats a chisel depends on its function — some have angled edges for control, while others are V-shaped to create sharp, clean grooves. Below is a quick breakdown of the different types.
Straight Chisels (Flat Edge)
What they look like: Flat-edged blades with a beveled or square cross-section. They usually come with high-carbon or chrome-vanadium blades for durability. Among the different types of wood chisels, these are used most commonly:
- Bench chisels: One of the most versatile types of woodworking chisels, used for chopping and paring. Blade length varies from 4 to 6 inches, with a beveled edge. Can be used with hand pressure or a mallet.
- Mortise chisels: Designed for cutting deep mortises thanks to its sturdy construction. The blade is usually ¼-½ inches thick to withstand pressure.
- Butt chisels: Shorter versions of bench chisels, around 3-4 inches in length. It can be used in tight spaces for detailed work.
Best for: Hardwoods (oak, maple), softwoods (pine, spruce), general joinery tasks. Part of any essential chisel set.
Curved Chisels & Gouges
What they look like: These wood chisel types have curved edges with varying depths of sweeps, measured using the "sweep scale" (ranging from 1 for a slight curve to 11 for a deep curve). These tools used in carving allow for precise shaping.

Common uses:
- Used for carving concave shapes and shaping hollows or decorative curves.
Best for: Softwoods (basswood, cedar) and other carving types of wood.
Rounded Chisels for Concave Surfaces
What they look like: Rounded types of wood chisels, also known as gouges, feature a U-shaped blade that varies in depth to shape hollowed forms. The blade is often beveled on the outer side and crafted from high-carbon or alloy tool steels for durability.
Common uses:
- Relief carving, spoon making, and sculptural projects.
Best for: Butternut, basswood, cherry, walnut, and more.
Skew Chisels (Angled Edges)
What they look like: Flat blade with a cutting edge skewed at a 20–25° angle for slicing cuts. In some traditional chisel set collections, a Japanese chisel skew version is included for fine woodworking.
Common uses:
- What are the chisels used for? Most often, for detailed work, cleaning corners and making shearing cuts for a smooth finish.
Best for: Hardwoods and softwoods; fine joinery applications.
V-tools and Parting Tools
What these types of chisel look like:
- V-tools: Blade shaped like a V letter (typically 60–90°) to carve grooves and sharp lines.
- Parting tools: Narrow, straight chisels that separate or detail wood pieces with precision.
Common uses:
- Excellent for outlining, detail carving, and adding texture to carved designs.
Best for: Soft carving woods like basswood or lime.
Specialized Shapes for Detail Work
What they look like: They often have narrow blades; some are shaped for better precision.
Examples and uses:
- Dovetail types of woodworking chisels – Thin and tapered for cleaning tight dovetail joints. Typically 1/8” to 3/8” wide for precise fitting.
- Miniature/Narrow Chisels (1/16”) – Used for fine carving, tight spaces, and intricate detail work.
Best for: Hardwoods (cherry, walnut) and soft carving woods. These types of chisel are commonly part of specialized carving kits. Paring chisels, known for their delicate finishing work, also fit into this category.

What Are These Chisels Used For?
When exploring wood carving chisels, it is important to understand both the tools and the carving process, which includes rough shaping and fine detailing. Unlike a cold chisel used for cutting and shaping metal, woodworking chisels are lighter, sharper, and designed for precision.
Smoothing, Shaping, Hollowing
To do most of smoothing, shaping and hollowing, the 4 types of chisels are commonly used: bench chisels and paring chisels refine surfaces, while gouges and carving chisels shape curves.
Detail vs Roughing Work
Wood carving starts with roughing work, where you remove big chunks of wood to shape the basic form. If you are wondering what is a wood chisel used for, this stage relies on straight chisels, U-gouge chisels, and deep-curved gouges to carve out the shape quickly.
Once that is done, detail work comes in, refining textures and adding precise designs. This is where skew chisels and V-tools are used, helping you make clean cuts and smooth edges.
Matching Chisel Type to Wood Type
Choosing the right types of chisels for a woodworking project often starts with the type of wood being used, as different woods require different cutting techniques.
Some woodworkers prefer to work with materials they are already familiar with, while others select carving chisels based on the specific characteristics of the wood they want to carve. Here are just some of the examples:
- Basswood – The most popular choice for carving, basswood is soft, fine-grained, and easy to shape. It works well with paring chisels, V-tools, and gouges.
- Pine – A common softwood, pine is easy to carve but prone to splintering. Bench chisels and deep-curved gouges help control cuts and prevent rough edges.
- Walnut – A rich, dark wood that carves beautifully with sharp tools. Mortise chisels and skew chisels help shape its dense grain.
- Cherry – Known for its smooth texture and ability to hold detail, cherry works well with V-tools and paring chisels for fine carving.
Choosing the Right Chisel for Your Project
Your project, skillset, and chosen material are the key factors in selecting the right types of chisels. To make your decision easier, here are a few helpful hints.

By Skill Level (Beginner to Pro)
Knowing what's a chisel and how to use it is essential, especially for beginners. Start with softwoods and basic tools like straight chisels and gouges to build confidence and control. As you improve, try harder woods and specialized tools, using the best wood carving chisels for finer detail and precision.
By Carving Style (Relief, In-the-round, etc.)
Understanding what is a wood chisel used for also helps in selecting the right tool for each carving style.
- Relief carving: Cuts into a flat surface to create raised designs. Straight chisels, V-tools, and skew chisels will help shape edges and create depth.
- In-the-round carving: This technique is applied to carve 3D sculptures from all sides. Use gouges, deep-curved chisels, and paring chisels to refine sculpture contours.
- Chip carving: Small, precise cuts form decorative patterns. Short-bladed chisels and V-tools will help make precise carvings.
- Whittling: It is a freehand carving style using minimal tools. Straight chisels and small gouges shape and smooth wood.
By Material (Softwoods vs Hardwoods)
Picking the right wood makes a big difference in how easy carving will be, especially when paired with the right carving tools:
- Softwoods need sharper, lighter chisels like paring chisels, V-tools, and gouges to create smooth cuts without crushing the fibers.
- Hardwoods require stronger, sharper chisels like mortise chisels, skew chisels, and Japanese chisels to handle their density and maintain precision.
How to Sharpen Wood Carving Chisels
When learning how to sharpen chisels, the first step is finding the exact bevel angle by placing the chisel on the sharpening stone and lifting it until the bevel aligns. Once set, the chisel is worked across the stone at that consistent angle. Wondering what tools you may need to sharpen chisels efficiently and avoid most of the commonly made mistakes? Let’s find out.
Tools You’ll Need
To sharpen chisels effectively, you will need these tools:
- Whetstones (waterstones): Available in different grits, they refine the edge from coarse shaping (400 grit) to fine honing (1000 grit and higher, like 3000 or 8000).
- Honing guide: Helps maintain a consistent sharpening angle for a uniform bevel.
- Water: Used to lubricate waterstones to ensure smooth sharpening.
- Non-slip mat: Keeps the sharpening stone stable on your workbench.
- Leather strop: Often paired with a polishing compound, it removes the final burr and polishes the edge for better sharpness.
Sharpening Flat vs Curved Chisels
Now, how to sharpen wood chisels if they have different geometry? Let’s take a closer look at some examples.
Sharpening flat chisels:
- Flatten the back. Ensure the back is smooth and polished, especially near the cutting edge.
- Find the bevel angle. Set the chisel on the sharpening stone with the beveled edge facing down, then lift the handle until the angled edge sits flat against the stone. A honing guide will help you maintain a precise sharpening angle.
- Sharpen with consistent motion. Move the chisel steadily back and forth across the stone and try to apply even pressure.
- Check progress. Check if the scratches on the bevel are even and if a burr has formed along the cutting edge.

Sharpening curved chisels:
- Chisels with a bevel on the outside. Roll your wrist as you move the chisel across the stone so the entire edge touches the surface evenly.
- Inside. Use slip stones or a leather strop to remove the burr from the inner curve.
- V-tools. Sharpen each bevel separately. Use a slip stone to clean the inside edge.
- Rounded tip issue. Ensure the very tip of the V-tool is sharpened properly, as it often gets overlooked.
Honing and Stropping: Final Touch
To get a sharp, polished edge on your chisels, follow these steps:
Honing:
- Start with 3000-8000 grit stones to refine the bevel and remove any scratches.
- Maintain a consistent honing angle (20-25 degrees).
- Sharpen both sides of a wood chisel.
Stropping:
- Rub polishing compound into a leather strop to achieve a smoother finish.
- Strop both sides for flat chisels.
- For curved chisels, use specialized strops or slip stones.
Common Mistakes to Avoid
To help you keep wood carving chisels sharp and ready for carving, beware of these common mistakes:
- Inconsistent angle. If the sharpening angle keeps changing, the bevel will not be even.
Fix: Use a honing guide to keep the angle steady when you sharpen chisels.
- Ignoring the back. A chisel’s edge is only as sharp as its back.
Fix: Flatten and polish the back before sharpening the bevel.
- Too much pressure. Pressing too hard can round the edge instead of sharpening it.
Fix: Apply light, even pressure.
- Skipping stropping. Without stropping, the edge remains rough and less effective.
Fix: Use a leather strop with a honing compound to smooth and refine the edge.
Share:
How to make DIY walking stick?
What Is the Softest Wood for Carving? [Top Picks & Tips]
1 comment
CONSIGLI UTILI. GRAZIE